Hey everybody sorry!!
THANK YOU ALL SOOOO MUCH for all the offers of help and ideas/ thoughts etc!! It just goes to show you what an amazing community we have here- i truly can't thank you guys enough. No need to worry about anything at all guys, i appreciate everyones ideas of solutions etc BIG TIME, but we're totally good on this one, I'm knocking on wood as i say this lol, but i've got everything i need and i'm on pace for d day- the start of next week sometime. It'll be done this weekend basically.
these darn technical difficulties with my junk phone are preventing me from updating as frequently (or simply being present on the forum for that matter) just cause i'm in the home stretch and can't afford the time to get that sorted out atm or to be at my computer- once this project is complete ill get my devices and whatnot sorted out and be back around like normal for sure.
Ok- so lots to catch you up on, i've been busting my butt on this. we left off with the etch around the port. Next came one of the things i had been most nervous about from the start- etching the aurebesh. i practiced plenty with this technique (which is good cause i made some mistakes along the way) so time to just see how it goes lol...
i didn't need this nearly as deep, since the blackening doesn't raise the profile to speak of (unlike the gold). And Charlie, this isn't a typo haha!, in aurebesh when 'th' are together they can be represented by that one character

.
either of these will do the trick- the aluminum blackener on the left is the more traditional go to, but i find it takes some practice getting it down well, it can be really brittle/ flaky and also prone to really dirty finishes until you figure it out- the gun blue on the right isn't really thought of for use on non ferrous metals so much, but it works too, it's a wildcard, cause sometimes you can get it to do neat things on the finish. it's what i used here.
this was super easy to put down, since all the work taping it off was already done for the etch. I just rinsed the etch out well and cleaned gently with acetone before i applied.

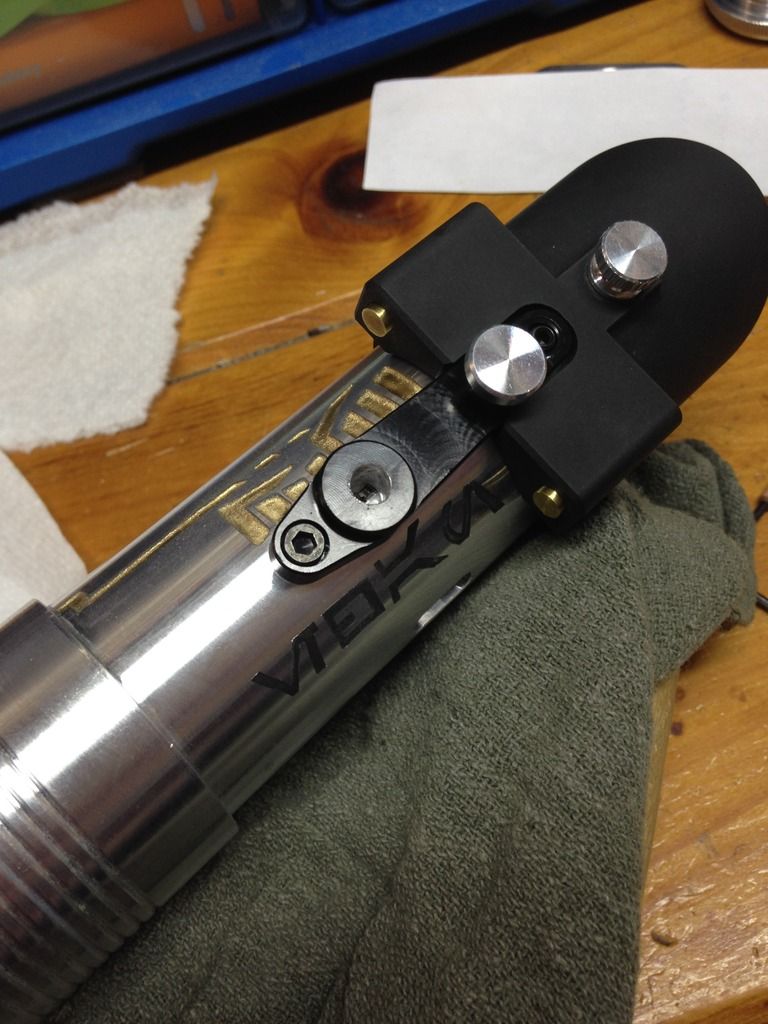
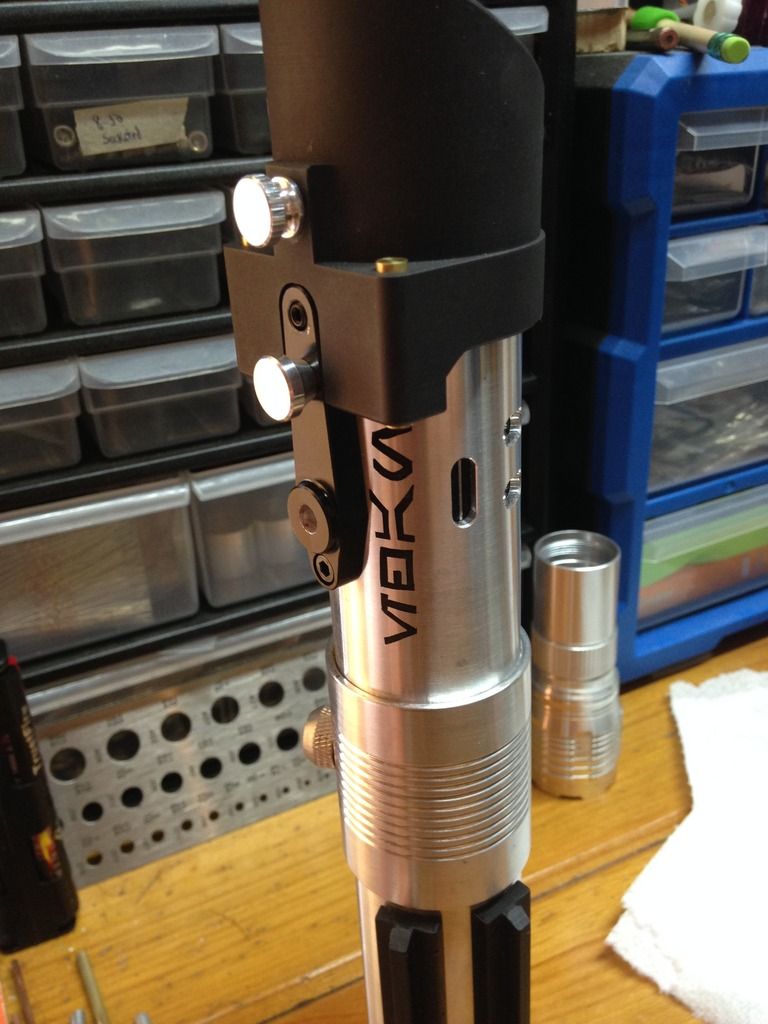
here you can see all the etched areas in one shot.

So the good news is i'm thrilled with how this came out- the bad news is, my idea about the 1st line of the jedi code will have to wait... it's just beyond my skill level atm with this manual pattern cutting method, and i don't have the time to learn the digital transfer method (i will be doing that in near future). to put it in perspective, the aurebesh lettering here is about a 1/2 centimetre in height (6/7mm's) and about 4.5 cm's long in total- i probably could have gone a little smaller, but i'd need at least twice as small to fit the line in the spots i was thinking, and just to not fill up the whole hilt in writing lol. i simply couldn't get that pattern worth a darn right now at that miniature of a scale- the cutting involved in lettering that small is insane, you poke the tiniest tip of the knife through the resist and you're already outside the lines, it's a nightmare lol.
but that's no biggie- getting Ethan etched in there was the main thing, in the future once i've got digital transferring down i can always add anything to this if he wants no problem, i'll be doing tune ups/ maintenance every once in a blue moon i imagine down the road sometime anyways. if i have time I'm gonna make a metal plaque for the stand thats etched with the "there is no fear" in aurebesh which will do for now at least.
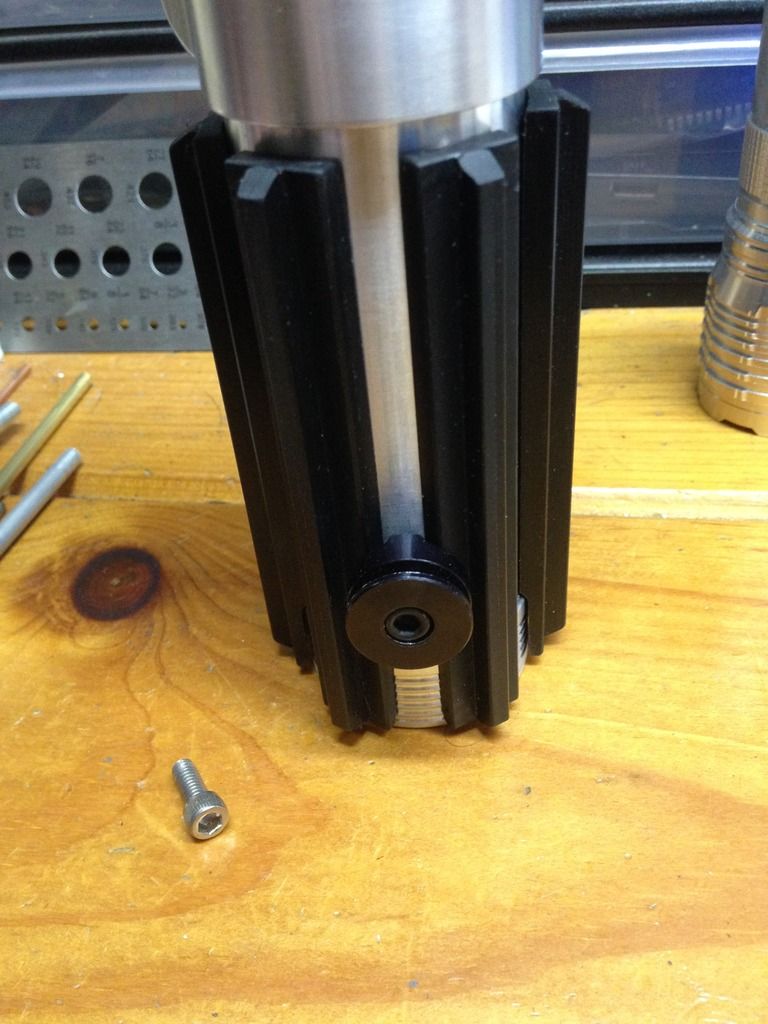
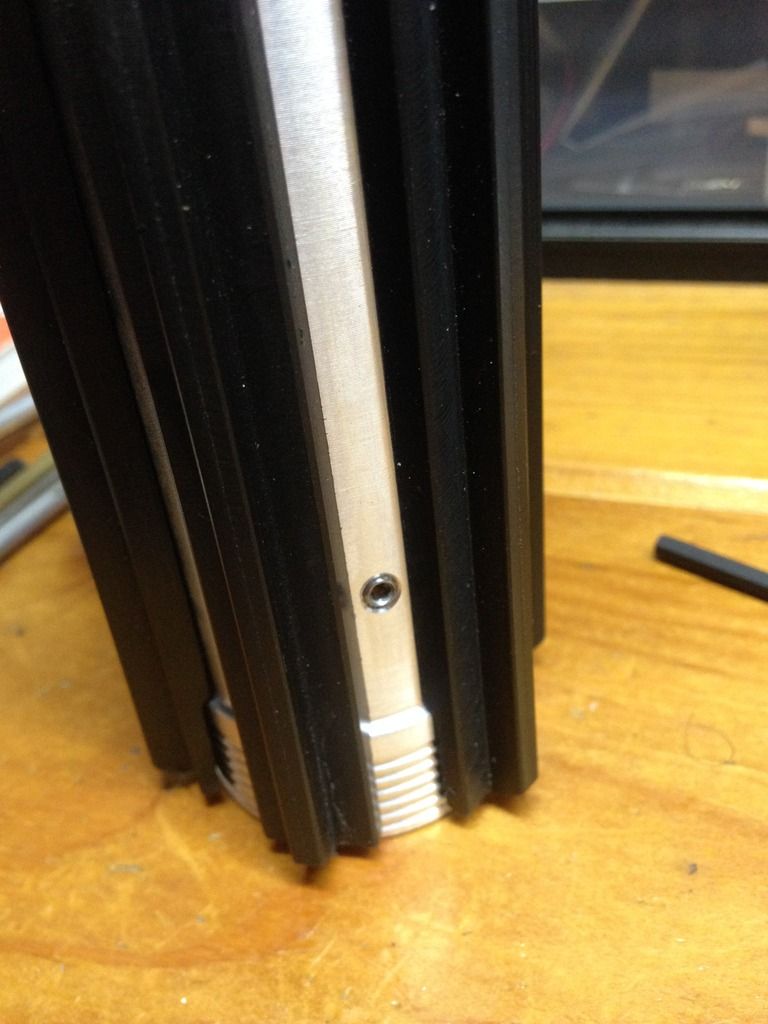
So i didn't realize this at first, but this chosen one came with a silver finish socket screw- so i swapped it out for a black one which i think looks better in this case, and trimmed the new one so it doesn't protrude into the ID.
Now, this got me 'ta think'n...
I don't mind the covertech knob at all in the grips, kinda like them actually it gives you an anchor, but especially for a younger guy like Ethan who will be likely 'growing into' this hilt in some ways, i thought the t tracks might already be pushing it a bit, so wouldn't it be best to let him see what he likes, and then have the option to go covertec or d-ring? I love having both on my hilts whenever possible, because the wheel is most solid and great for when really moving around hard, i mean nothing sucks worse than getting smacked in the nether region by your own hilt mid lunge due to d ring lol- but that said i like how the d rings hang the saber a little better, so when i'm not going nuts (pun intended lol) i prefer to use those. But anywho- now Ethan will be able to decide for himself... with a little help from Charlie of course
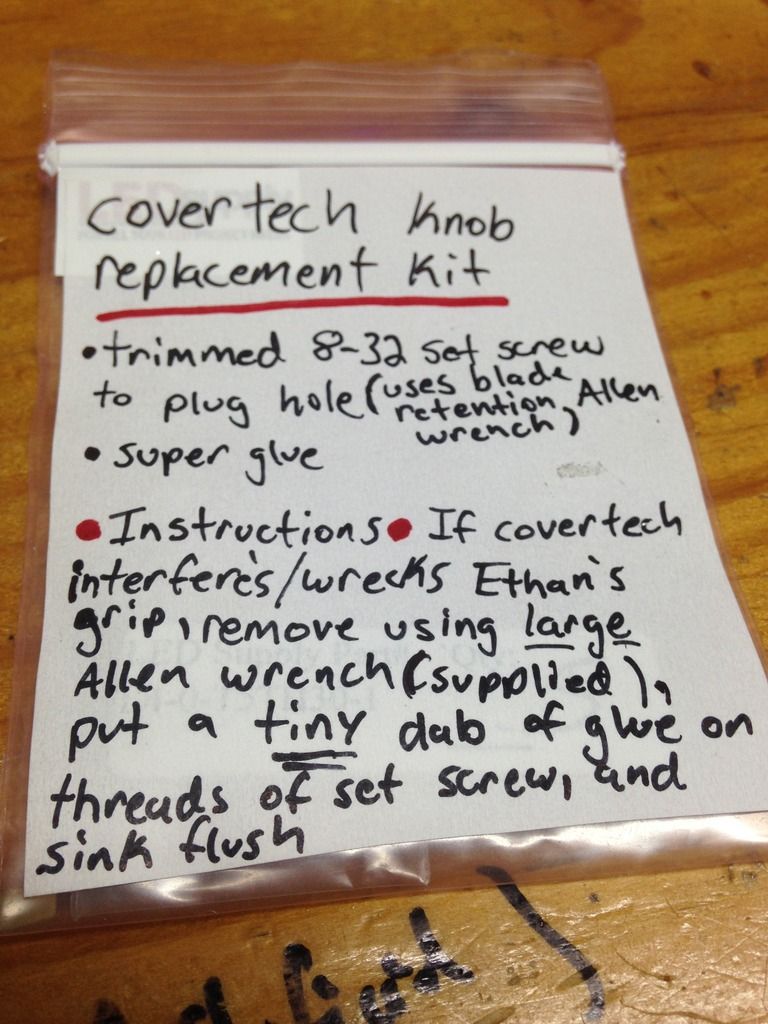
. I'm including a covertech removal kit along with this so that if the wheel is too much for Ethan, Charlie can just use the larger of the two allen wrenches in this bag to remove it for him, and then take the little silver set screw that i've trimmed (kinda painstaking lol) to be a plug for the covertec hole and sink it nice and flush, it's just the tiniest nub, so it doesn't stick down into ID- and i'll include a mini tube of super glue so he can put just a micro dab on the threads, that way it can't wiggle loose with jarring over time and end up lost or rattling inside the saber lol.

like i said, i genuinely like having both, but if Ethan finds that wheel to be too much i'm sure this will be better.
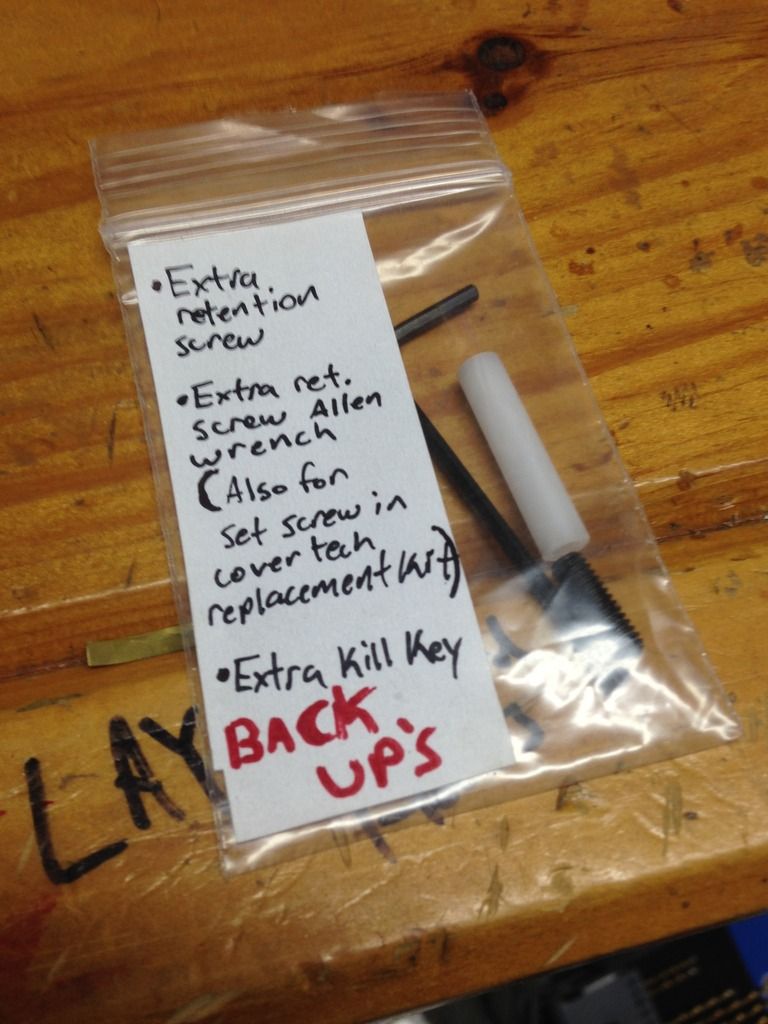
and while i was putting that little 'kit' together i did this one up too, cause it just seems like a good idea.
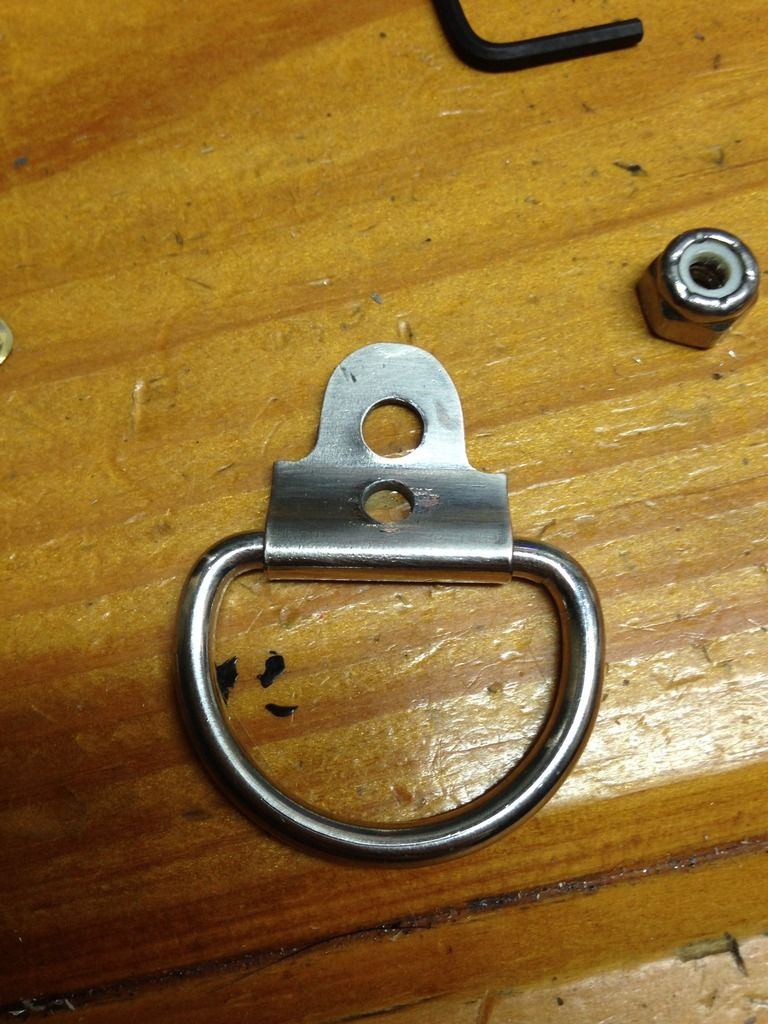
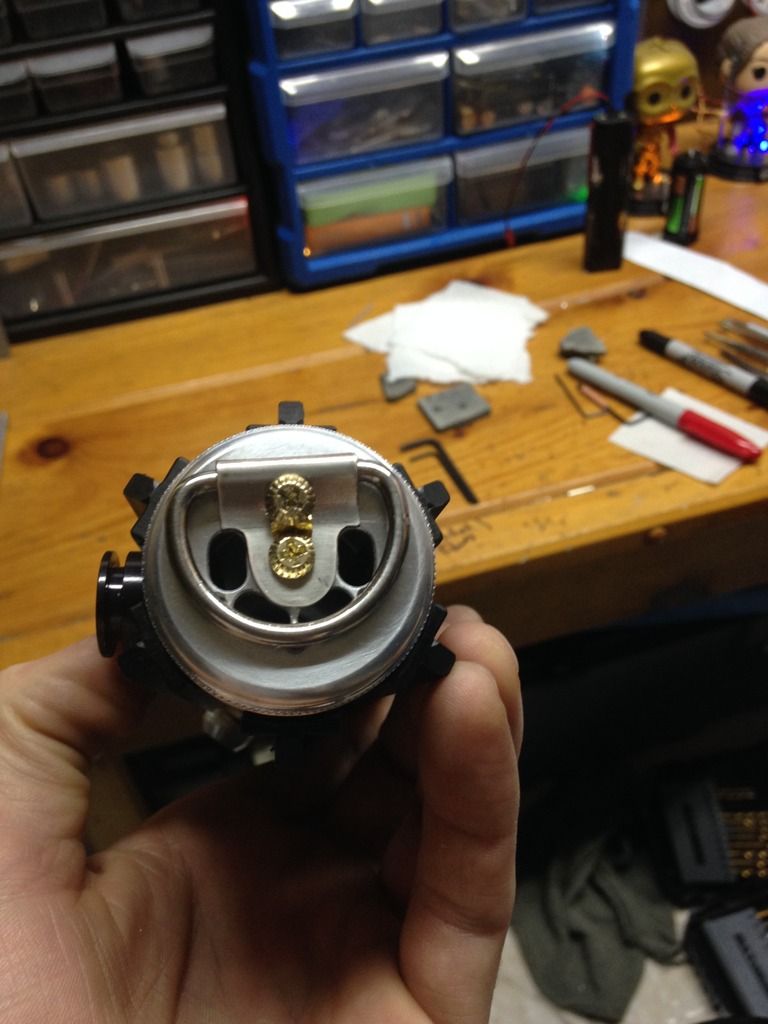
Ok, so now for that d ring lol... i was excited for this part, but, like the etch, i was also a bit nervous because i only had one of these d ring pieces to try this with, not to mention i only had one chosen one pommel lol!
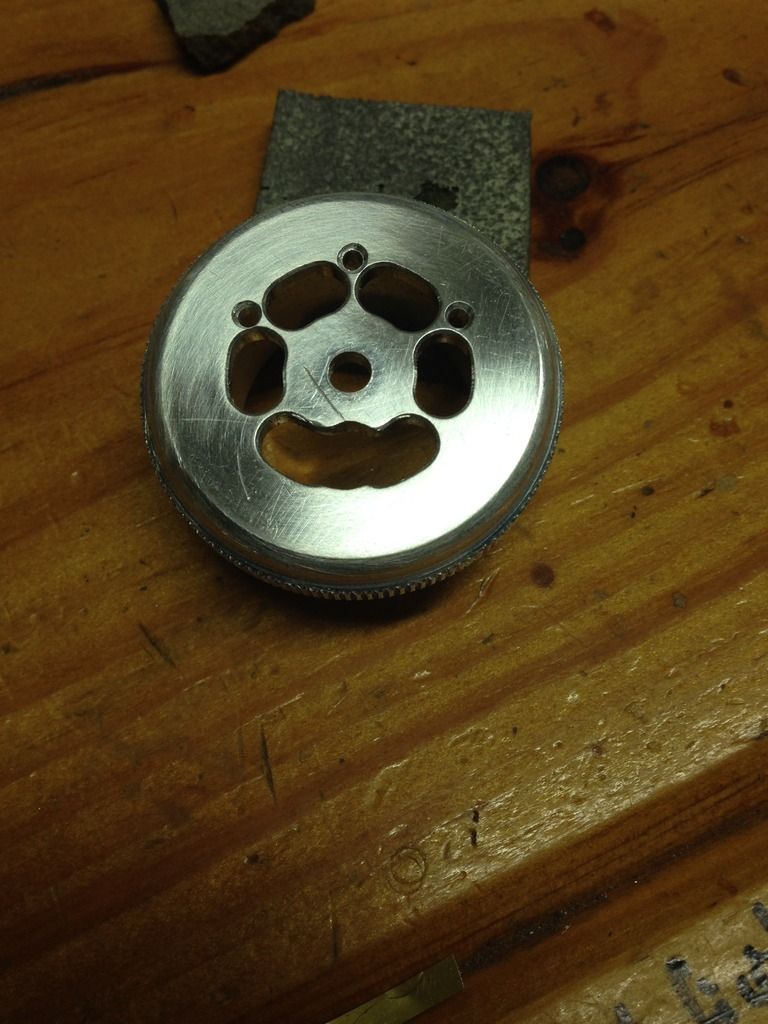
starting out with the ANH d ring from a 2.0 graflex kit i'd been saving, and a couple brass pan head knurled screws (aka 'lamp screw').
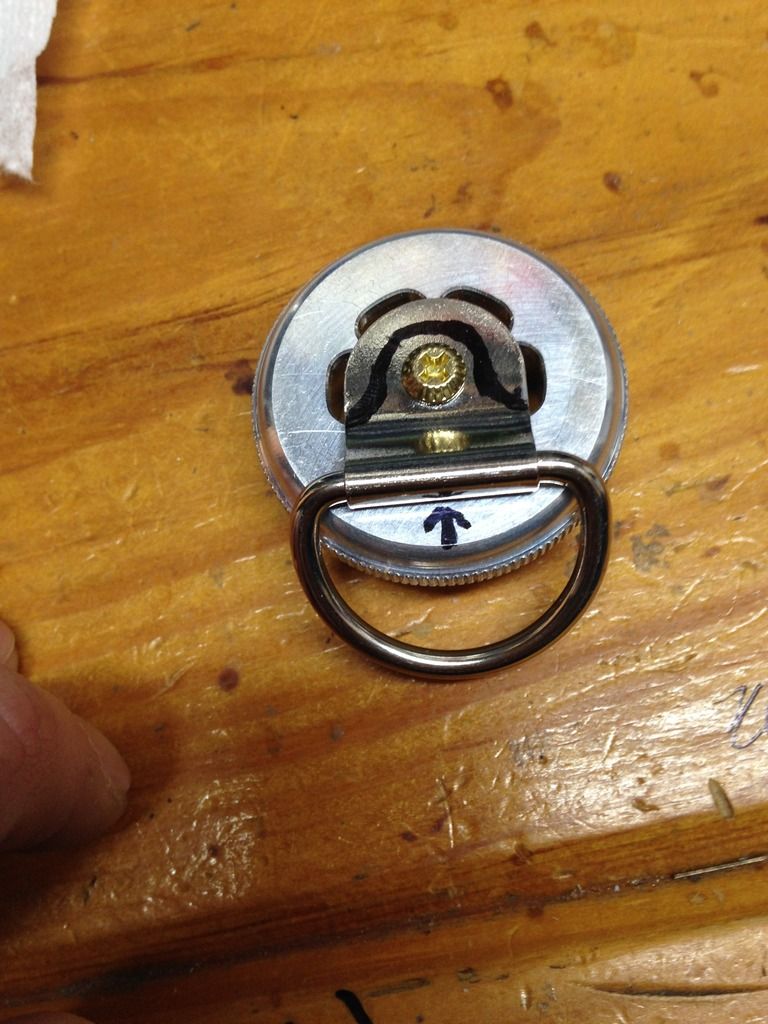
but you can see how this covers most of the sound vents, and also just looks bad lol. So time to turn this into a one of a kind vented pommel/ d ring solution

.
strategically shape the d ring tab for the vents, and get a very carefully placed hole for a second screw, which is super important because by eliminating all that material on the tab i've taken away what used to give it the rigidity it needed to not bend upward/ away from hilt slowly over time from the weight of the saber when hanging etc. but now this second screw will secure the tab flat to the pommel much better anyways
, with a very cool added bonus. Ethan will be able to adjust the rattle'y'ness of his d ring completely. i'm totally doing this in the future- the main screw up in the rounded area will be held in place by a locking nut- it's not budging. but this second screw that sits in the slant of where the tab wraps around the d ring, it's just got regular 'ol hex nut holding it in place so that it's easy to loosen/ tighten- and by doing so you make the d ring looser/ wiggly/ rattly, or super tight so it just holds its position and doesn't wiggle at all.
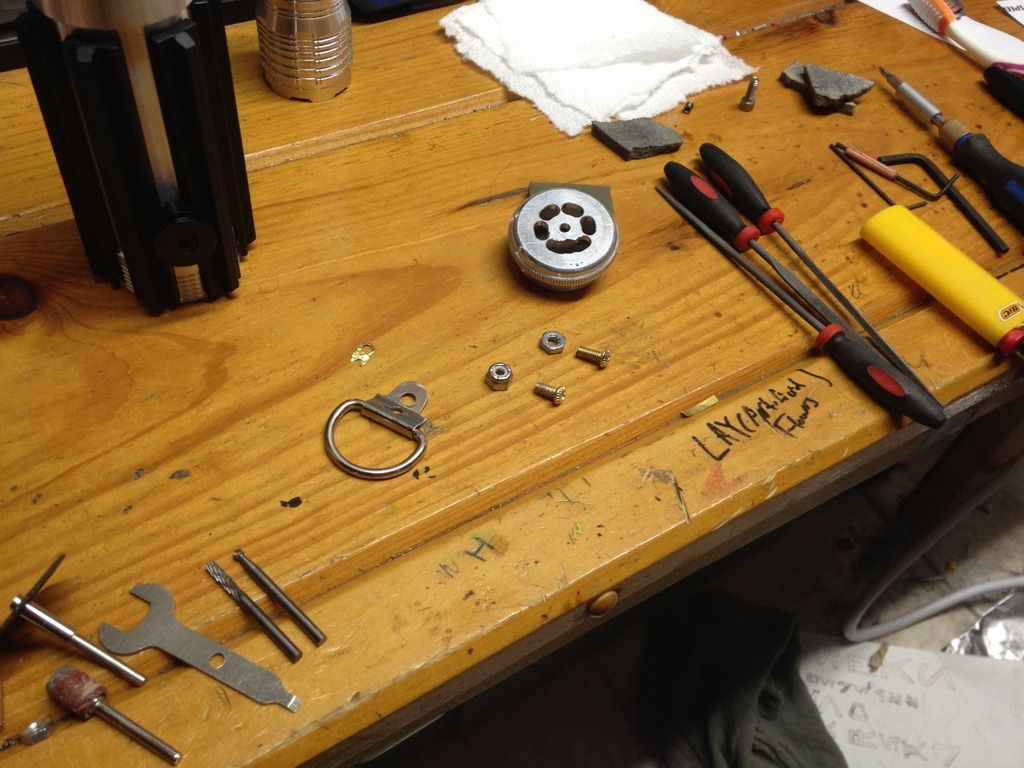
then break out the files, sand paper/ sponges, and dremel stuff. drill out the centre hole for the first/ main anchoring screw, then remove the material in the way of the second screw and the nuts on the inside, trim the length of the screws etc.
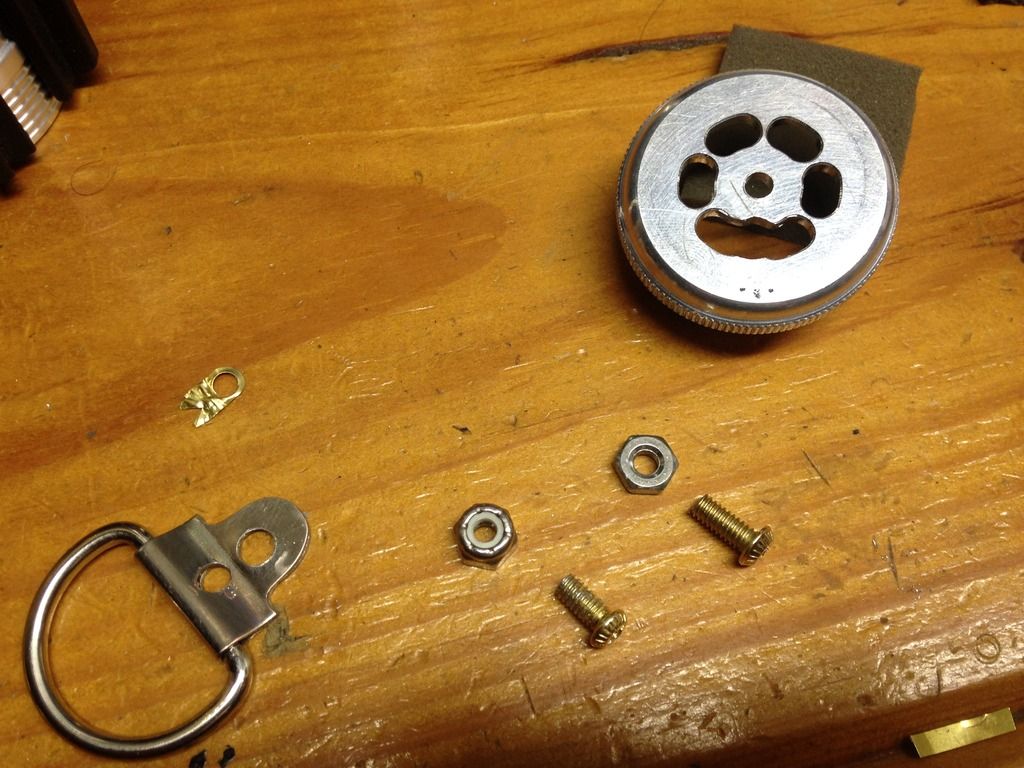
that brass piece is a left over bit from a graflex electrical pin contact strip that i've put the screws through- since the second screw will be raised slightly this will hide the exposed thread and just give a better look down there.
add a few custom vents to help make up for the bit covered by the tab, and plus i just thought this would look totally sick
.
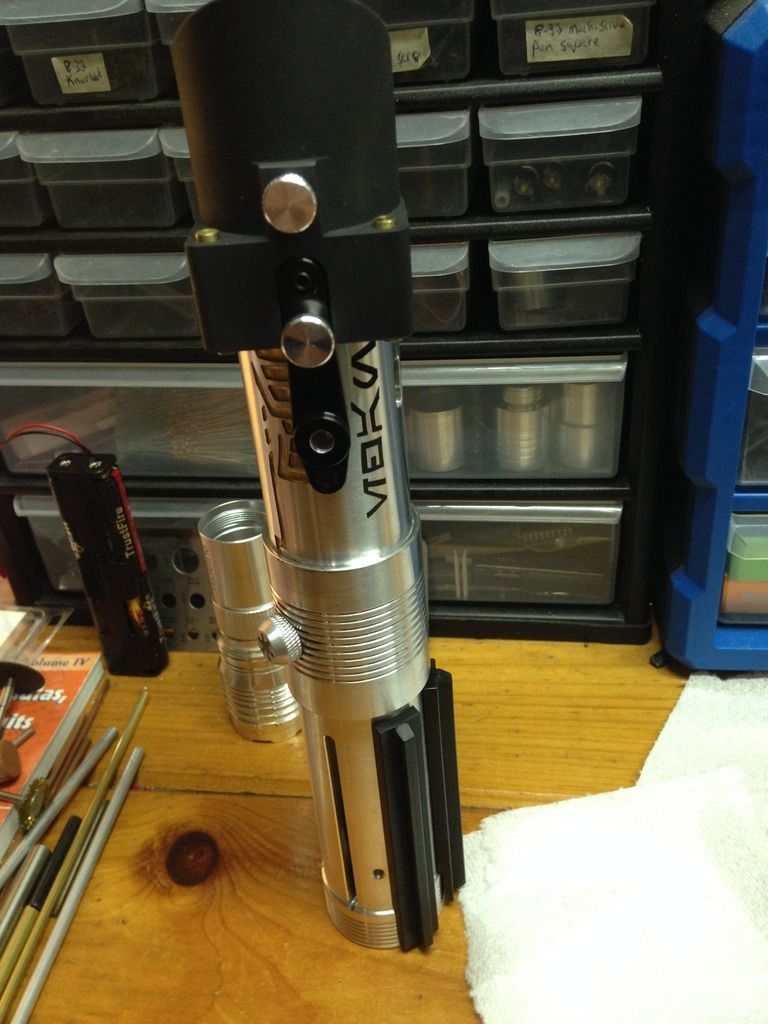
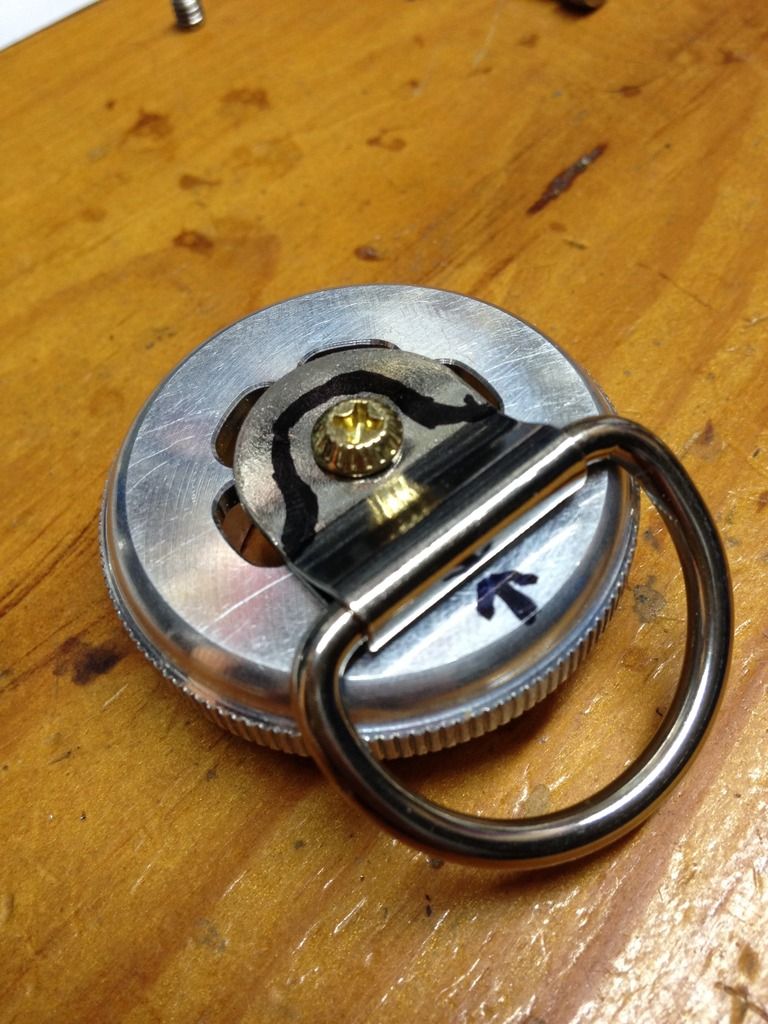
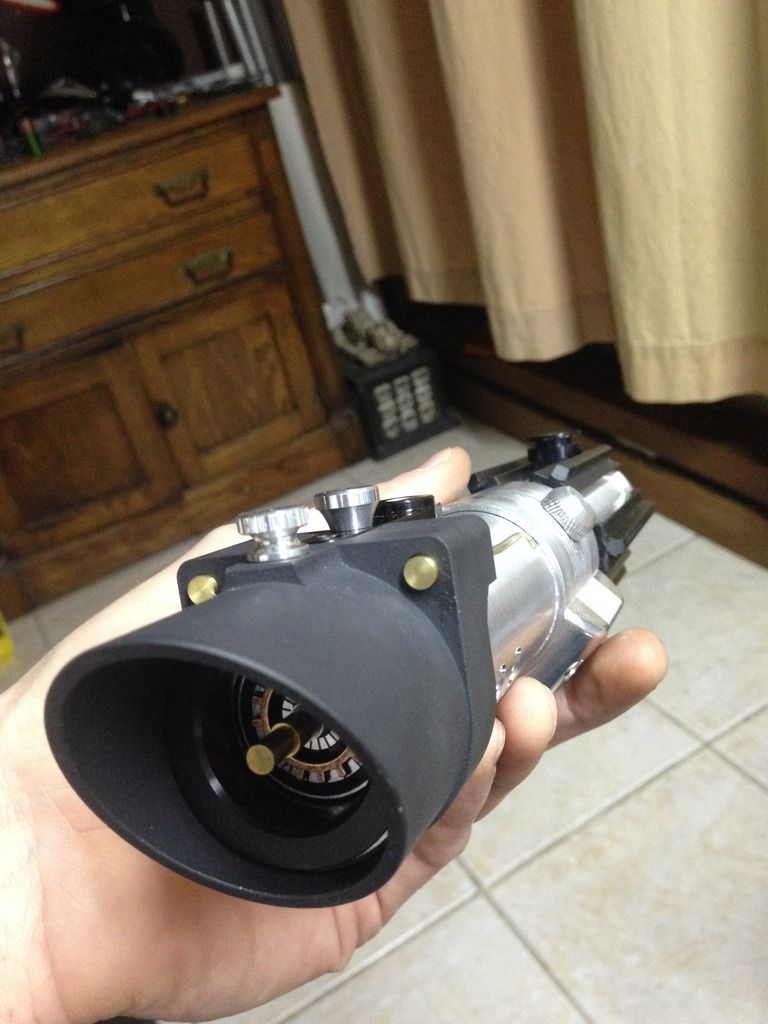
and voila!, one wicked custom vented d ring pommel:
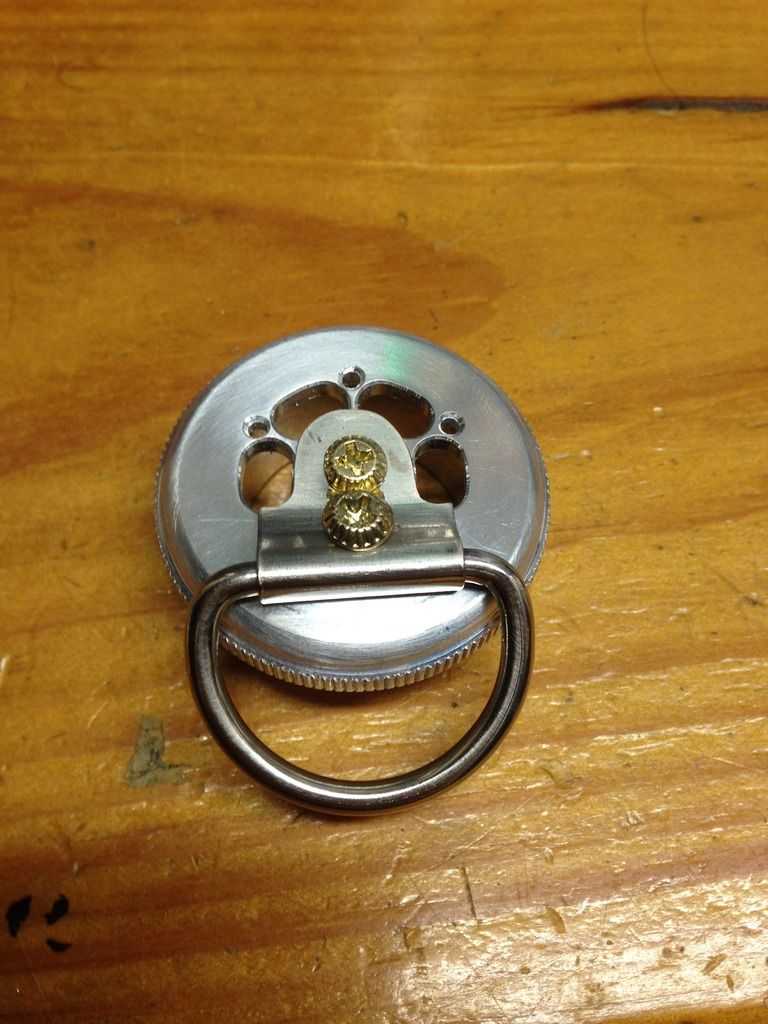
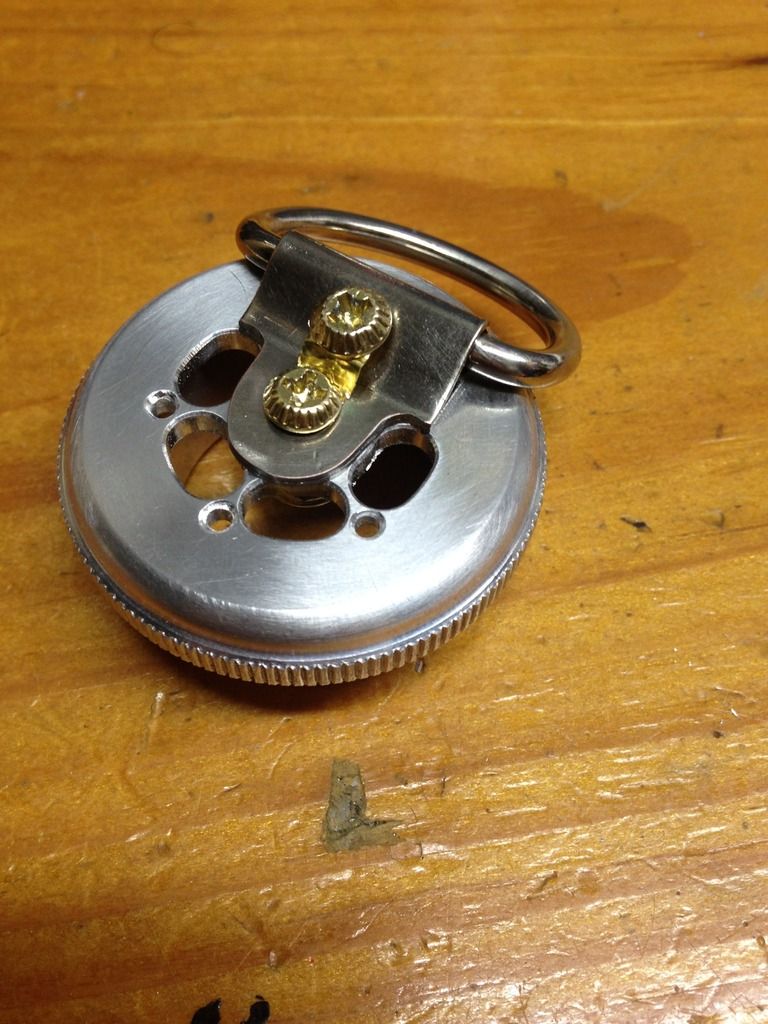
i gave it what i'm pretty sure is the best orientation for a right hander- which is also a pretty familiar orientation to buffs of OT hilts.
if you look close you can see the brass sheet between/ under the screws, giving a more finished look.
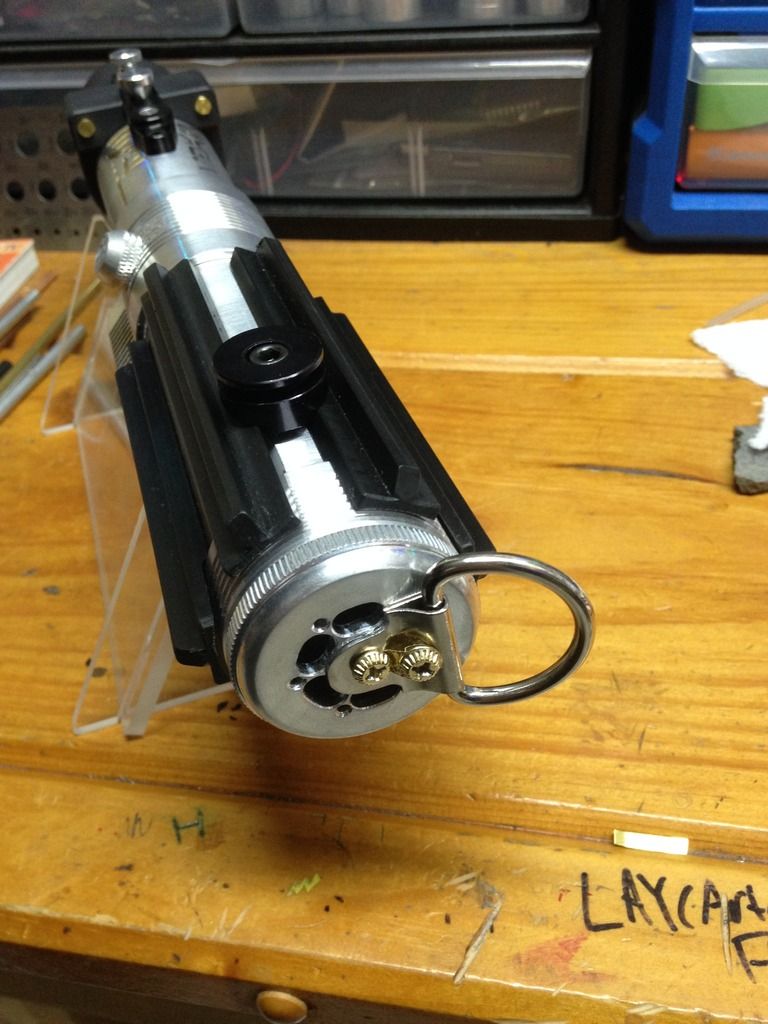

and there's how it would hang- i think thats best for a right handed person, to have this on your left side (easiest to grab with right hand and remove saber) and this way it sits with the business end forward, and the kill key on the outside and ready to be popped he he.
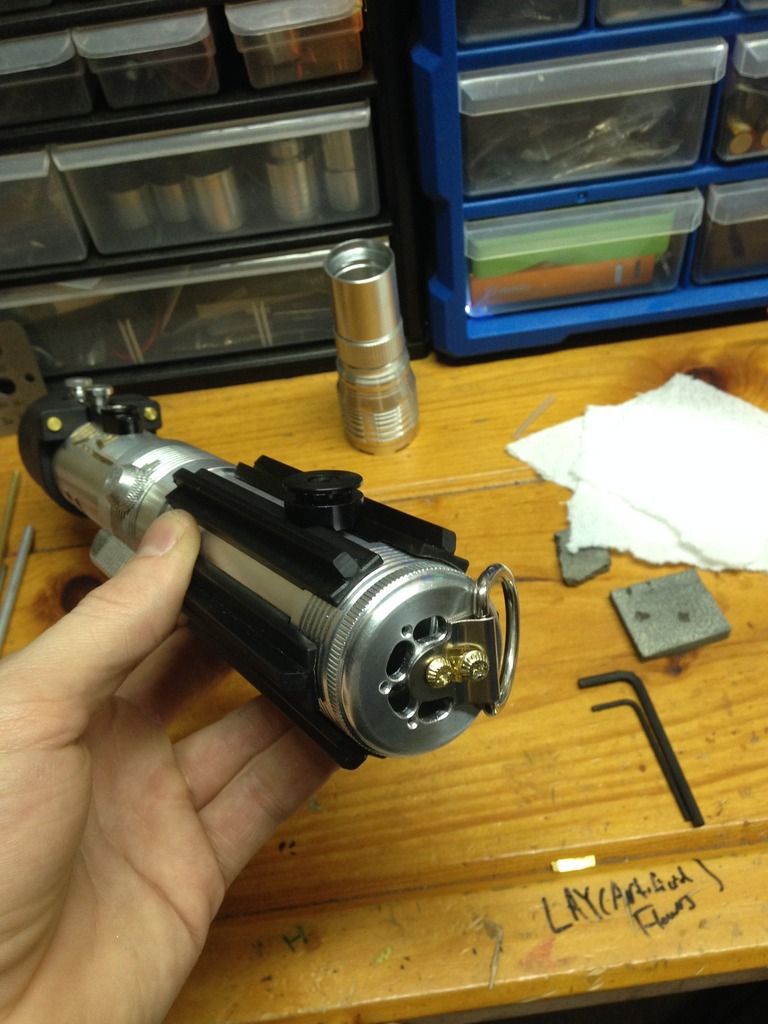
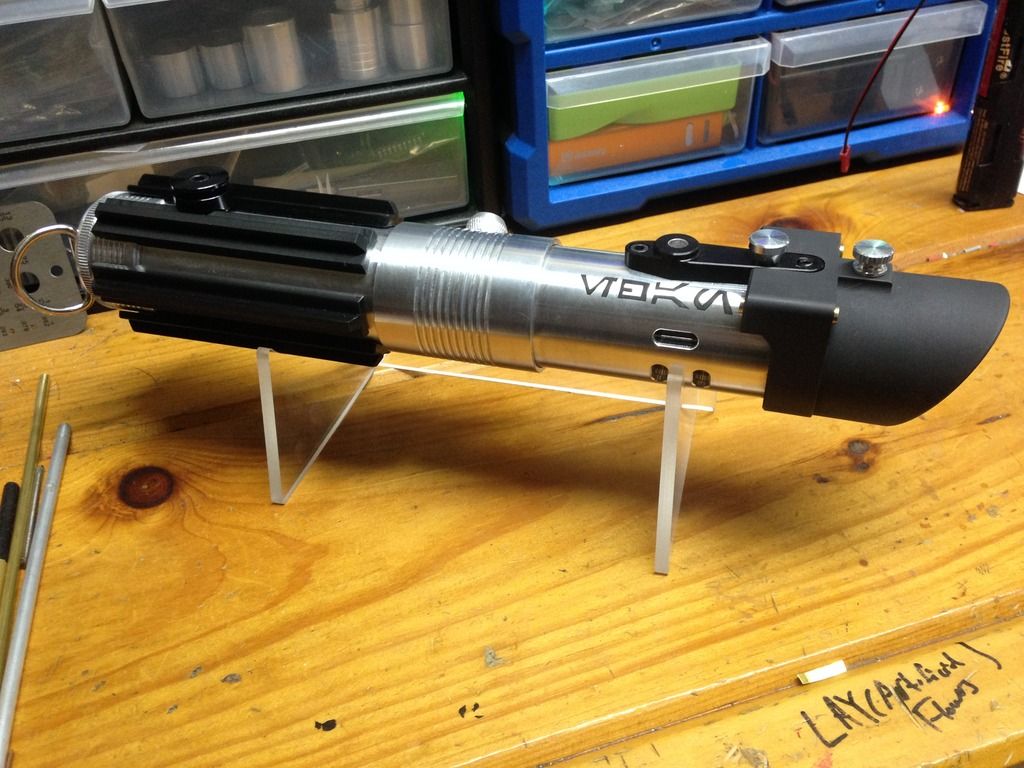
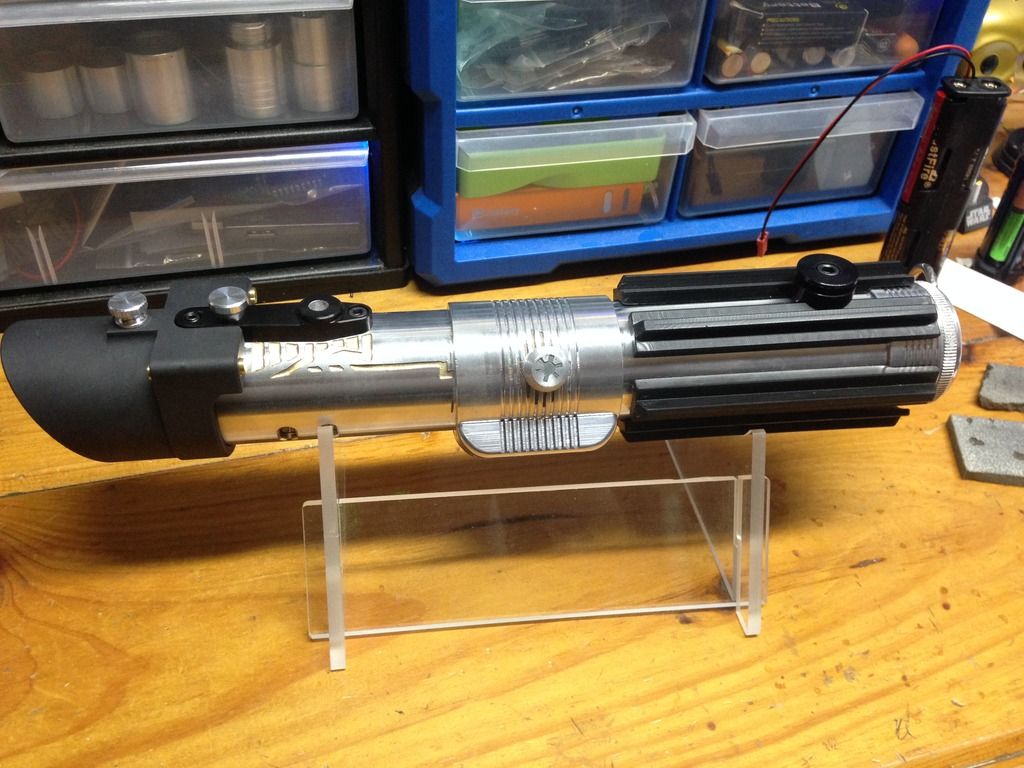
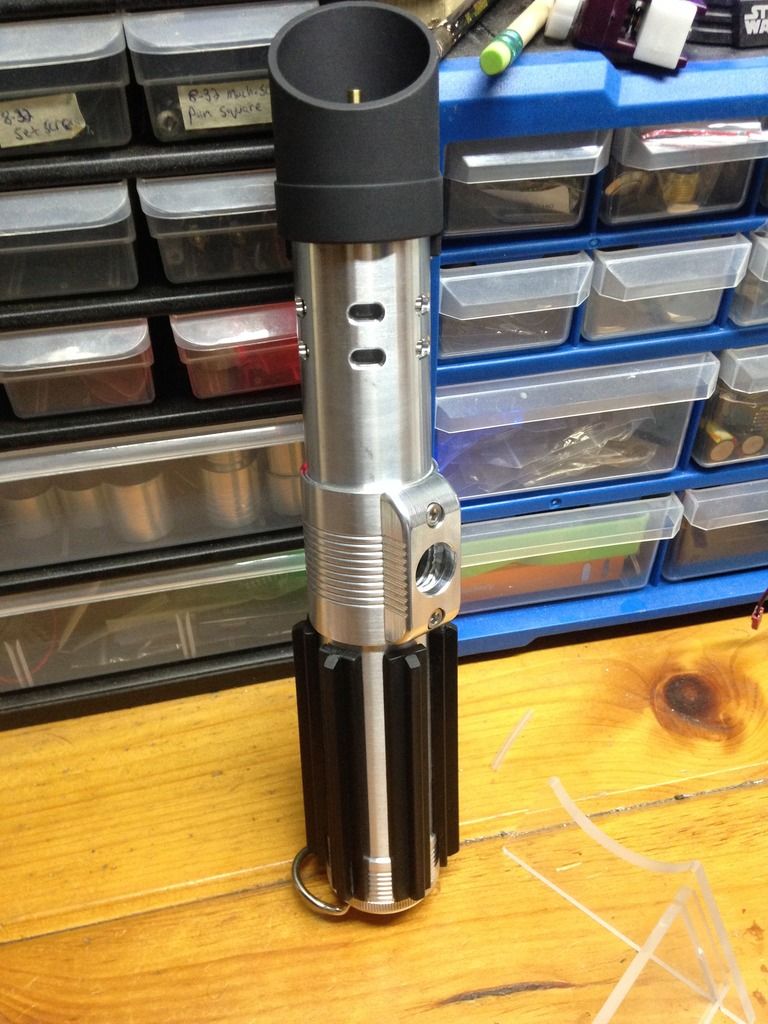
So there we have it guys!! that's the body totally built
.
The electronics are most of the way there, i'm just messing with some 1/4W resistors on the green of the rgb trying to get a more true yellow on the second stage of the accent indicator, but all that's left to do is get the electronics inside at this point. That's my mission for the rest of the weekend.
keep you posted (well actually the next update will likely be the finish, just due to time and technical constraints), but i can't wait to have this all together and configured!!! I'm really loving this saber.
Thanks again everybody and sorry for not being around! I'll try and get back to everybody who's pm'd me as quck as possible- I've got SO much correspondence i'm behind on it's overwhelming lol, but i'll get it all eventually- right now i just have to give this project top priority though, as every hour of this weekend counts. like literally lol, i put in a full 24hr's from the time i got home from work yesterday morning until just now lol, and this is my first break to get to computer. I'll likely be taking (first a nap lol) care of all the loose ends, installing, and wrapping up here before i get back to the computer again. Thanks for bearing with me, and for all the support!!


