Greetings,
After looking around at some of the ideas, and leather works on the hilts, i thought id share my .02 worth, of bringing some trade skills from custom Sword hilts to carry onto here.
if one is looking for a nice to Sweet wrap, but does not want the stitching, or s basic cord wrap this is what i have done for years, which will work for saber hilts. aside from a tutitorial, these are the basic's everyone adjust's their own style. before i start in short i tested my old method this morning on the inner lining of my scorpion pommel, to see if the adhesive qualities will work on aluminum ( being this is mainly a sword grip, wood core method.) It held like no tomorrow, even from trying to tear it off took extreme effort to do so. So in my opinion will work , feel perfect. non slippage etc. will be using this method on a basic saber in the future for fun
Part 1. What you will need:
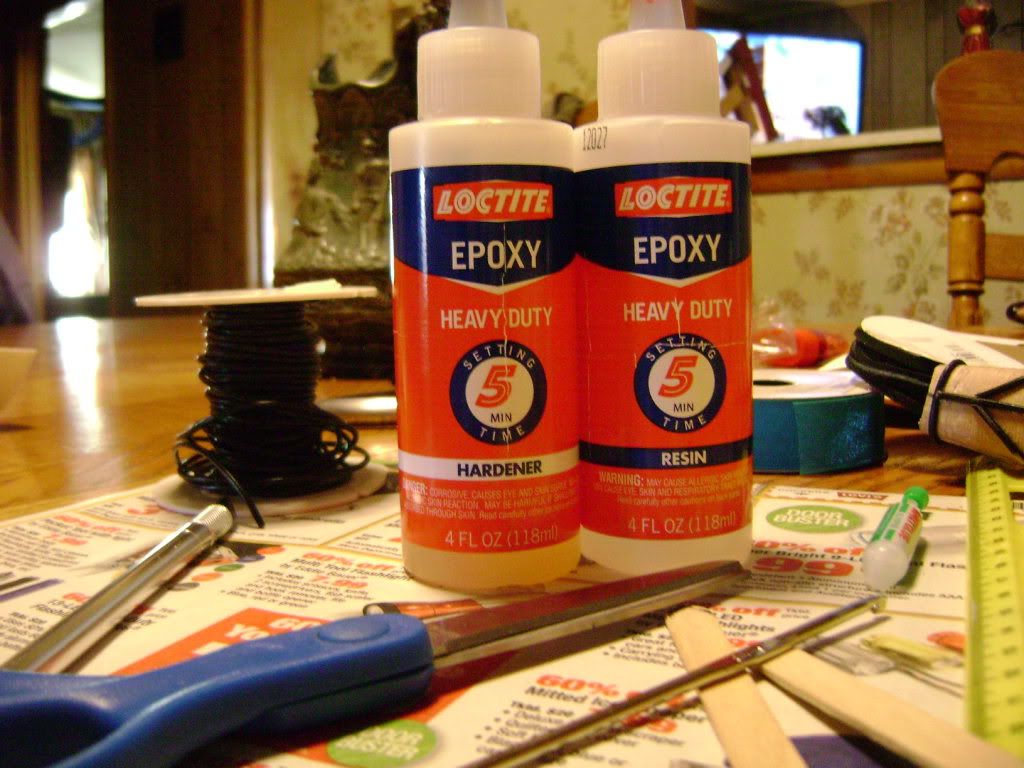
1. go to your local, hardawre store, buy the 2 part Loctite epoxy " resin/ Hardner" $6 are bigger bottles will last forever , can get a small pack $3
2. if you want to place riser's on your hilt grab some craft cord small mm. 6' - $3
3. scrap leather remmants price varies, (2 -3 oz is what i have always used) craft store/ you can order squares off of yes Dreaded ebay) simple search, colors of your choice all the way to whole hides. No exisiting leather ie, from a cut up purse wallet etc, if you do this method WILL FAIL
4. popcicle sticks/ croche hook ( explanation later )
5. small bowl of water
6. razor blade / craft hobby knife
7. scissors
8. Ribbon/ yarn/ ( will be used to wrap around your project for a few hrs to keep everything in place like a vice)
9. masking tape/ painters tape
10. Your favorite drink
11. Patience
Step 1. wrap your leather piece around hilt cut desired length/ position etc. leave plenty of over -lap a few inches, (Always better to have extra then not enough)
Tape Off the area that will not have the wrap to avoid accidental epoxy where you don't want it. As you go if u get epoxy where it shoudln't be just wipe it off with a damp paper towel
Step 2. (OPTINIONAL) use the small " mm" craft cord cut the length you need to the wrap around hilt for a riser ( * riser = better hand grip), now you can also make any design / pattern you may like ( Keeping in mind the more intricate pattern desired the more effort it will take) you still keeping that in mind need to allow for spacing between the cord, so you will be able to get your leather pressed firmly down ( Flush) with the surface of your hilt. now mix a very small equal amount of resin & epoxy use the popcilce stick to dab the spots where your cord is going * Note - sections at a time you will need to hold the cord to your hilt, till it takes hold, a few mins being this is a metal not a wood grip. when all completed let dry for 10 mins for max holding
3.whether or not u used risers you get the idea. Now take your leather piece lay it flat , then use your fingers dab small amounts of water to the inside, along the edge for your starting point like the entire side length, and about 1" wide across etc. Moisten DO NOT saturate.
4. Mix a fair amount of the epoxy, say the puddle size of a quarter.
5. grab popcicle stick smear some of the epoxy on then start your edge, press moderately along your start point until epoxy starts to take hold. 2 mins. ( with risers, as you press down use your fingernails to groove out the leather to form it around the cord)
6. keep going small sections at a time, repeat. * for the risers/ designs, use another popcicle stick to help you form the leather around the cord, small meeting points i use a croche hook.
i dont know how big this post can be, so part 2 next after a freshing up my Rum n coke


