
Okay, so for May 4th I wanted to upgrade my costume since I wore it to the same party last year. I was never truly happy with the cybernetic forearm I had made previously. It was actually re-purposed from a space-pirate costume I had created along time ago and had some distinctly non-Star Warsy parts to it so I set to work on a replacement.
The main components for this piece were cardboard, a thin matte black vinyl, some two-colour indicator lights and a solar powered LED string from Ikea (as well as some other misc greebles).
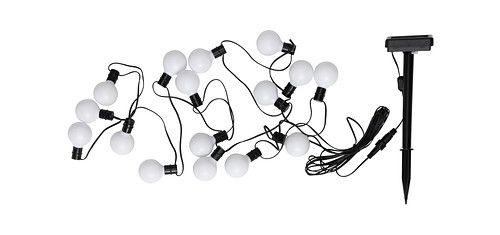
I removed the plastic bulbs (obviously) and was actually going to incorporate the solar panel into the design (it was black and shiny and kinda sinister looking) but it proved way too big (even without the stake). When I took it apart I found that it was powered by a single rechargeable AAA battery. I cut the wire short, separating the LED chain from the rest of the kit and attached it to a battery holder with a built-in on/off switch that I picked up at a local DIY shop. I'm not good with electronics but it was a simple task to attach the LED string to the leads on the battery box.
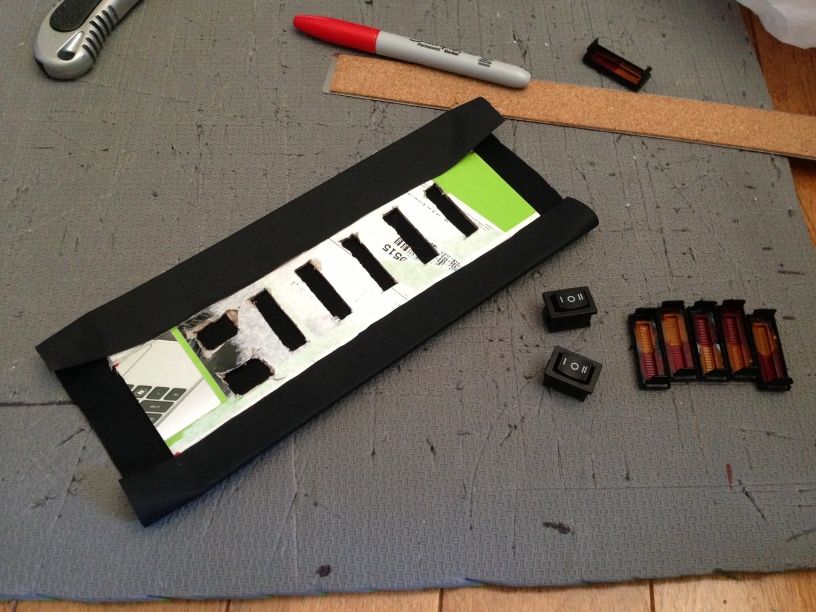
The base of the bracer is cardboard - this might have actually been the hardest part - measuring precisely where the indicators would sit and cutting out nice uniform holes. I went through several arrangements before settling on one that would space properly on the panel I had available. I actually dissembled the indicators to use only the translucent coloured windows - I'm not smart enough to know how to power and program the individual lights that were inside them, so they went in the trash.


I started running out of time, so I forgot to take more WIP pictures.

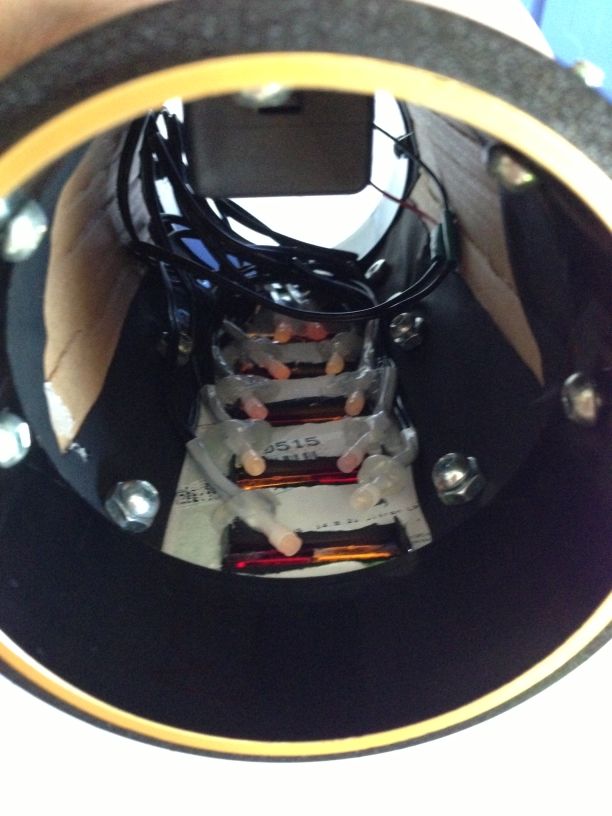
The cardboard gets wrapped in vinyl and glue-gunned secure on the inside and holes are sliced to allow the indicators and little switches to be inserted through the cardboard frame. I rolled another piece of cardboard into a tube and covered it in vinyl as well. This was secured to two speaker brackets with nuts and bolts (which I'm going to replace with some Chicago screws to make it flush, I don't like the pointy bolts and visible nuts). I had to use a power drill to make the holes in the plastic bracket.
This is not the speaker bracket I used, but since they're already attached I thought I'd show you kinda what they looked like originally. Mounting everything to these plastic brackets made my life SO much easier and made the prop much more solid.

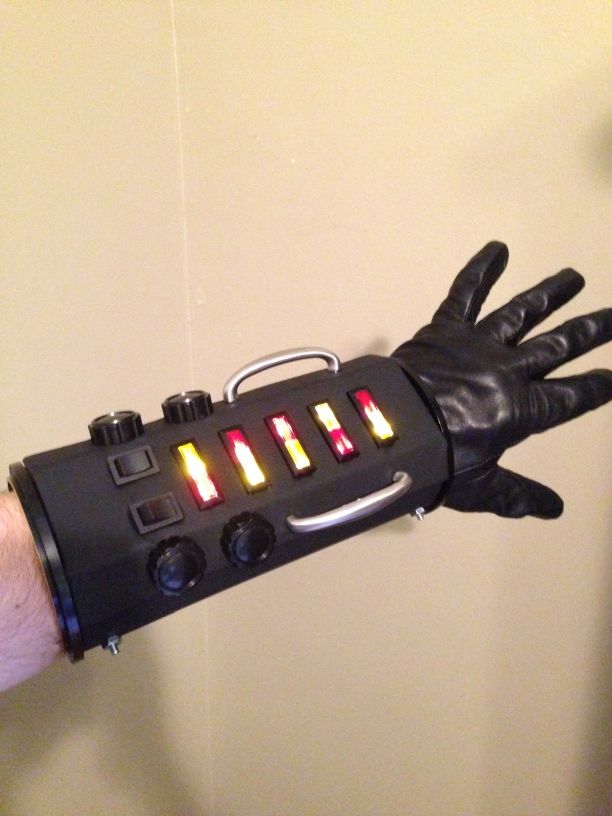
The LEDs from the Ikea string were just glued into place underneath the indicator windows so they shine through from behind. There is a huge mess of wires inside which I think I'm going to need to add an additional piece to cover for next time. The battery pack is attached right under my wrist (where there's the most room) by some adhesive velcro strips so it's easy to remove and replace the batteries when needed.
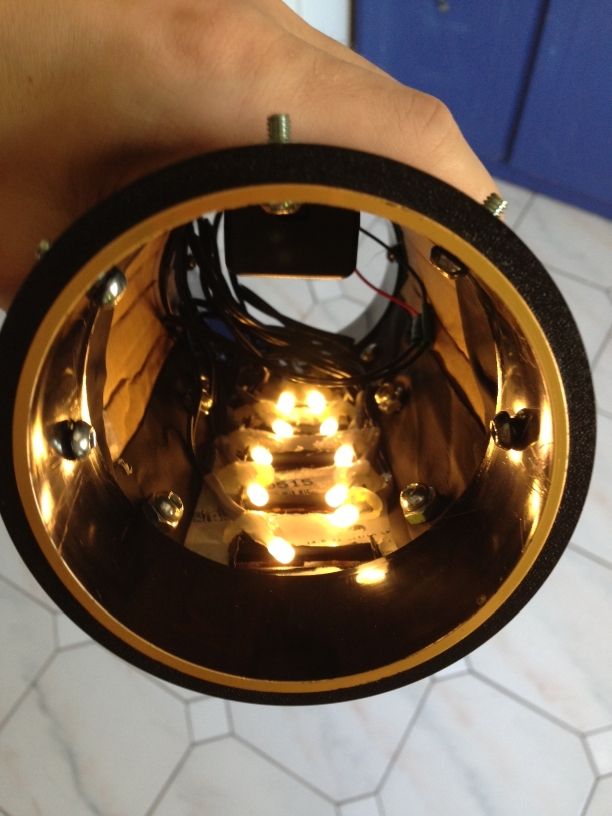

I finished it off with some knobs and two chrome drawer pull-handles. The best part about the knobs and handles is that they actually secure the LED panel to the rest of the bracer cylinder.

It got a great response, especially in the darkened club environment, it really popped and people wanted to touch it and make "beep boop bop" noises while doing so.
I'm really happy with how it turned out - let me know what you guys think below!


