Click here for lightsabers
  • Home
  • Help
  • Login
  • Register
Pages: [1]   Go Down
Author Topic: PVC shroud help  (Read 1850 times)
Matt37
Force Sensitive
*

Force Alignment: 7
Posts: 9


Light Side Points please


« on: March 27, 2014, 02:15:49 AM »

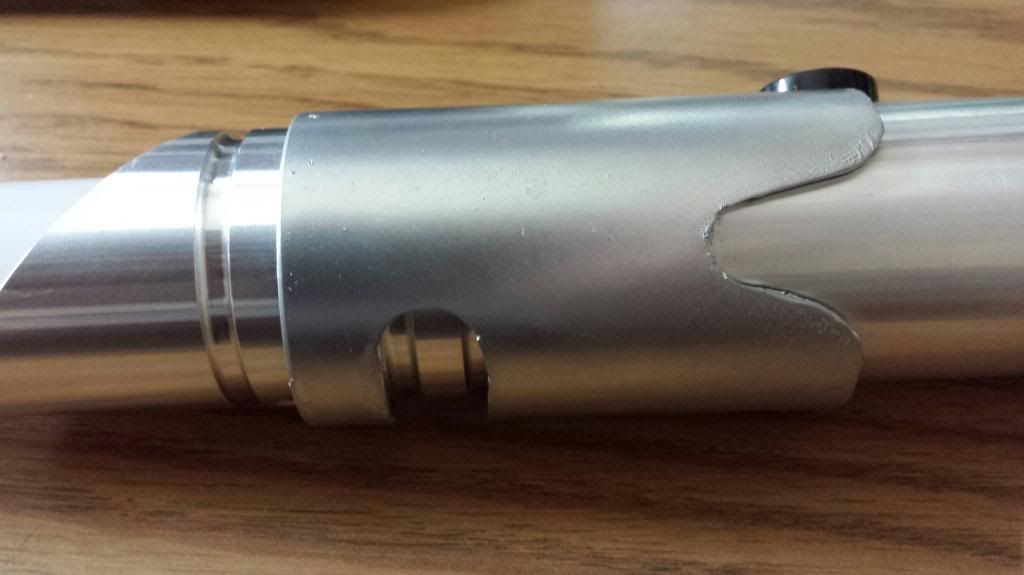
So I just got my first saber and I wanted to do some custom work to it, starting with a PVC shroud. I checked out the stickied thread about PVC shrouds and followed the link that lead to PVC at Lowes that worked. So I got some and started working and this is what I came up with


Now here is where I need help, the inside diameter of the pipe is 1.52 inches, .04 inches larger than the diameter of the saber, so it won't just stay on with friction as the shroud in the PVC thread does. So I need some help figuring out how to secure the shroud to the saber, but I don't want it to be permanent. Thanks everybody  Smiley
Logged

scraver
Knight Commander
*

Force Alignment: 89
Posts: 708

Force is in the application


« Reply #1 on: March 27, 2014, 02:49:23 AM »

Hmm, my suggestion would be to run strips of electrical tape inside the shroud to build it out.
Run the tape lengthwise down the inside in a 'top'/'bottom'/'left'/'right' pattern until it fits snug.

Hope that makes sense. I'm seeing it in my head as an image not words.
Logged

Guardian with Sound (Emerald) and nickel plated shroud

Wish list:
Bunch of DIY bits. Cheesy

tse_epic
Knight Arbiter
*

Force Alignment: 62
Posts: 288

Do the Impossible!


« Reply #2 on: March 27, 2014, 03:04:34 AM »

Running tape through the shroud should work, adding more as necessary. You should really only need a single strip all the way down if it's that small of a gap, but you never know.
Logged

CURRENT WEIGHT LOSS GOAL - 280
CURRENT WEIGHT - 310
CURRENT TOTAL - 102LBS LOST

You are the impossibility of life. Your existence spits in the face of doubt and negativity. You are a walking miracle just by *living*. You are *priceless*. You *mean* something. You are loved.

Never believe otherwise.

scraver
Knight Commander
*

Force Alignment: 89
Posts: 708

Force is in the application


« Reply #3 on: March 27, 2014, 03:08:51 AM »

The other option would be cut a small lengthwise slot then heat it enough that you can then 'shrink' it.
Logged

Guardian with Sound (Emerald) and nickel plated shroud

Wish list:
Bunch of DIY bits. Cheesy

srams
Knight Commander
*

Force Alignment: 375
Posts: 1924

Speak softly and carry a big saber...


« Reply #4 on: March 27, 2014, 03:33:41 AM »

Hmm, my suggestion would be to run strips of electrical tape inside the shroud to build it out.
Run the tape lengthwise down the inside in a 'top'/'bottom'/'left'/'right' pattern until it fits snug.

Hope that makes sense. I'm seeing it in my head as an image not words.

That's exactly what I was going to say! I hope you found my tutorial easy to use, that's a nice looking shroud, on a great looking saber!
« Last Edit: March 27, 2014, 03:36:52 AM by srams » Logged

"I will always oppose the Darkness, but I will never hesitate to defend myself from the Light..."

"I looked my demons in the eye and said, do your best to destroy me. See, I've been to hell and back so many times I must admit you kind of bore me."

striker8
Knight Lance Corporal
*

Force Alignment: -8
Posts: 52


« Reply #5 on: March 27, 2014, 05:03:19 AM »

Like others have said, tape should work. You could also swab the inside of your shroud with a bit of rubber cement or a bit of silicone sealant leaving some ridges and let it set up before installing and it should tighten the fit but still allow relatively easy removal.

Now if you want it a bit more permanent 3m trim adhesive would be the ticket, it's the same stuff that they glue the lugnuts to the wheels in NASCAR and you can usually find it at most auto part shops.

You could also just put in a set screw to hold it.
« Last Edit: March 27, 2014, 05:11:54 AM by striker8 » Logged

Matt37
Force Sensitive
*

Force Alignment: 7
Posts: 9


Light Side Points please


« Reply #6 on: March 27, 2014, 05:19:47 AM »

Just finished up putting on the electrical tape and it worked like a dream! It aint coming off unless i really want it to haha thanks for the help everybody! @srams i found the tutorial very easy to use, and actually used the paper towel roll technique you demonstrated
« Last Edit: March 27, 2014, 05:24:31 AM by Matt37 » Logged

Pages: [1]   Go Up
Send this topic | Print
Jump to: