I recieved my Obi Wan TPM by Hasbro in the mail, and as soon as I got it that set pin was loose, almost as though it was urging me on to hurry up and convert it. I naturally obliged. I have to say, this was one of the touchier conversions I've done, and probably something best left to the professionals at Ultrasabers. It took me fully 5 hours and I didnt do certain things right, but I came out with a really, really neat lightsaber, which isnt hard to do with this model.
For those who don't know, the Obi Wan TPM is about the same thickness as many US models. It is the thinnest Force FX lightsaber ever made. True, it can feel a little bit flimsy thanks to this and the 5 or 6 major pieces that go into it, but I kind of like that little touch.
Speaking of, yeah, there are 5 or 6 major pieces here. The rounded pommel which on the real saber is an extra power source is hollor, making a resonance chamber for the speaker, another thing that we only see on this lightsaber. Then there's a sheath which the pommel screws on to. Then there's a second sheath that that first sheath is pinned on to and contains the actual electronics and blade. Then there's a black piece and a silver piece on the front, plus the emitter guard which screws on or off with a great deal of force required to get it off!
Yeah, so definitely complicated. But I didnt have too much trouble opening it up. This thing has a button that looks like the twist button on a Darth Maul, but in fact it's a slider, which would be a problem later. Anyhow, I managed to open up the core and got the old LED strand out. The on/off switch is connected to all of that and I must have wiggled it wrong because one of the wires fell out. I ended up reattaching it fairly easily and then went on to my LED, which was a blue one I think came from one of my free sabers, and had been switched around a bit. Due to that the wires on it were a little short, which was ok cuz I didnt have a lot of space inside the saber for extra wire length. Then tragedy struck:
I cut the wire when I was only trying to strip it. But this turned out to be a stroke of good luck: I took apart the LED assembly and discovered that this was an RGB. I spliced the wire but didnt cover it with electrical tape. Instead I left it bare and laid the lead from the blue overtop of the green with the bare wire contacting it. The result: Arctic Blue. AWESOME! And the color is spot on, the same color as it is from my proper RGB saber. So that was great.
I got it all put together and then got the saber in. It took a little slicing to get the US Ultrsaedge blade to fit, but I got it after a few. The entire electronics and blade assembly went back in with a little effort, and was slightly misaligned. Once again though, this turned out to be a blessing: It made the on/off switch a little harder to move, thusly, it'll be harder for me to accidentally switch it on or off in combat. I reassembled the saber and it's now hanging out on my saber rack, the jewel of my collection.
One interesting effect: I didnt really want to mess with the LED too much because I'm unsure about that stuff, so I didnt secure the wire to the green port... As a result, if I slap the saber just so, it can switch between Guardian Blue and Arctic Blue, though it favors Arctic.
It only cost 75 dollars since I used parts from my free saber for the conversion too. Sweet awesome! With any luck I'll sell my Obi Wan style custom US saber on ebay to make up the difference, since I dont need that one anymore.
Here's the pics youve probably been waiting for.
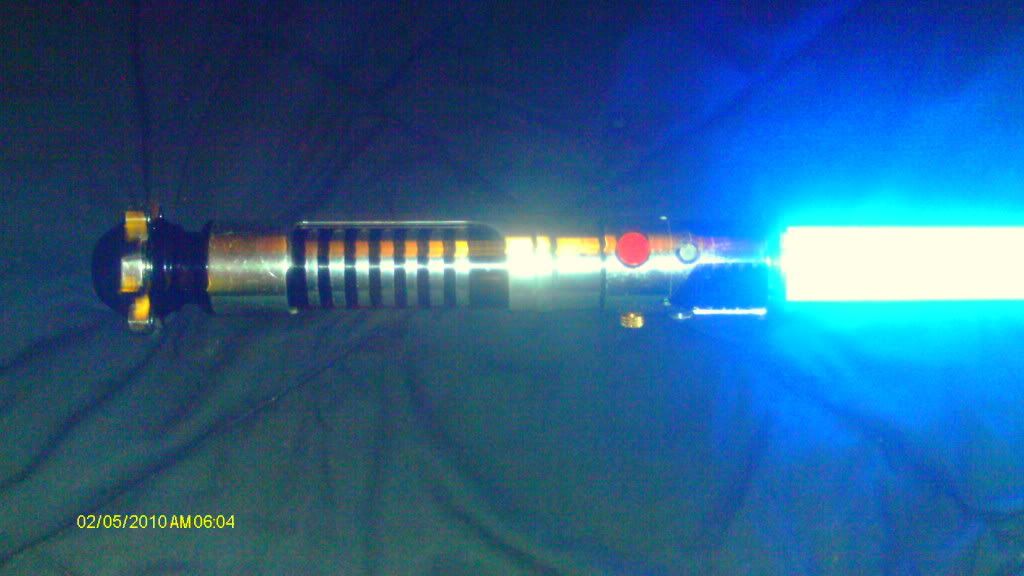
hilt in guardian blue
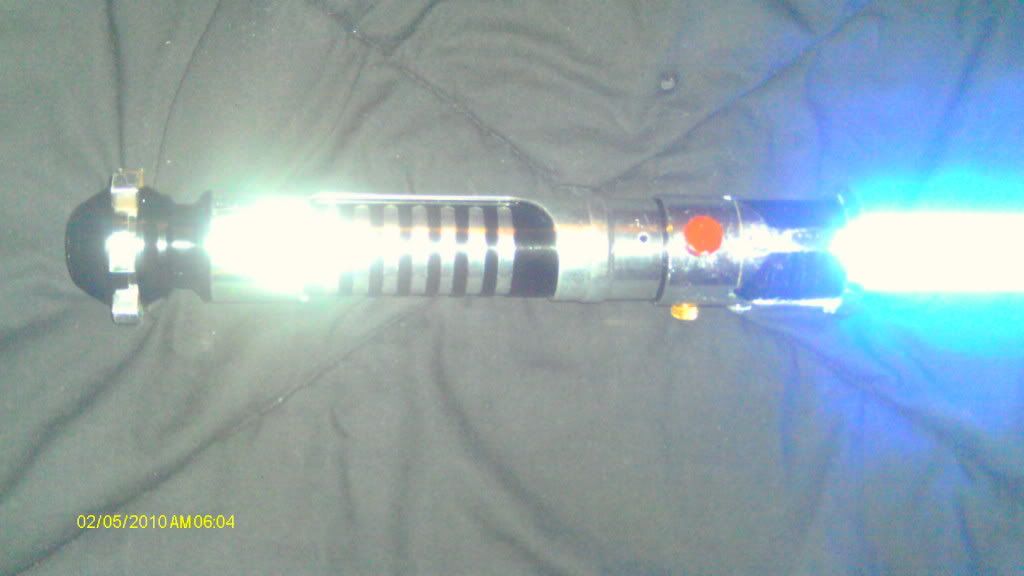
in arctic blue
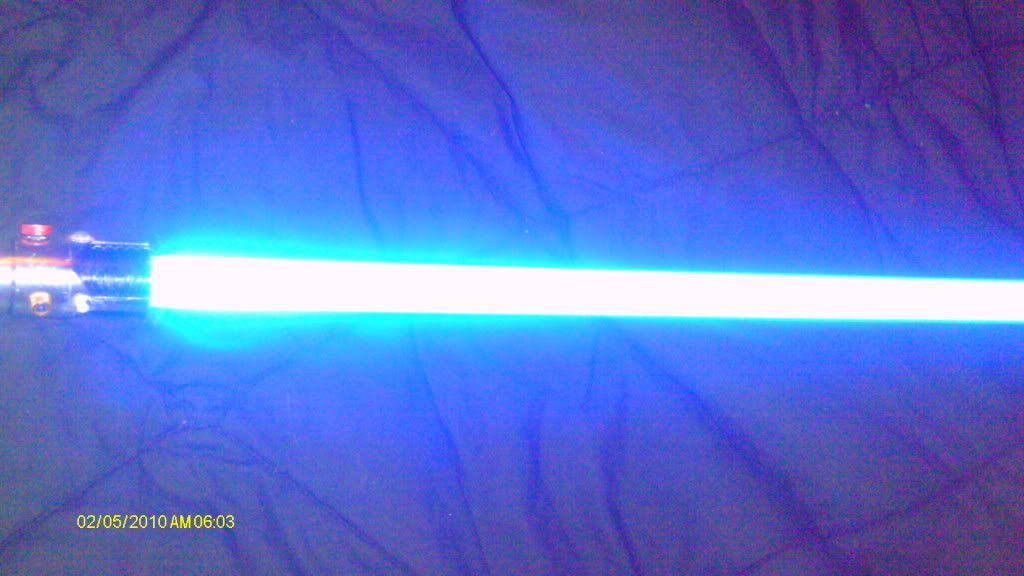
blade in guardian blue
blade in arctic blue


