I was asked to post a tutorial on how I made my leather pouch, so here goes...
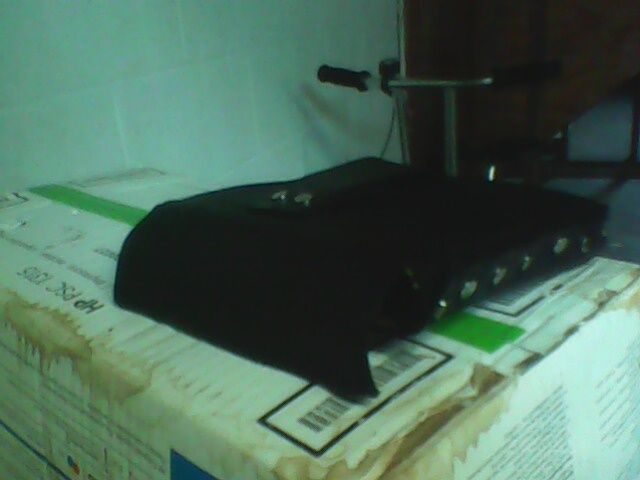
I started with some scrap leather I had from a different project. (It's thicker leather than I usually use for pouches, but it's all I have at the moment)
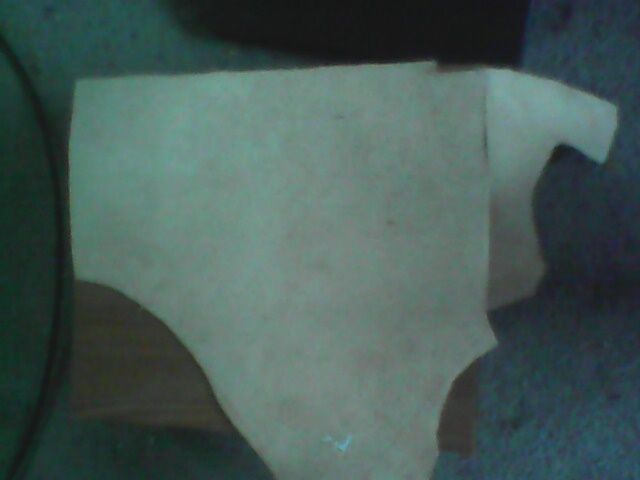
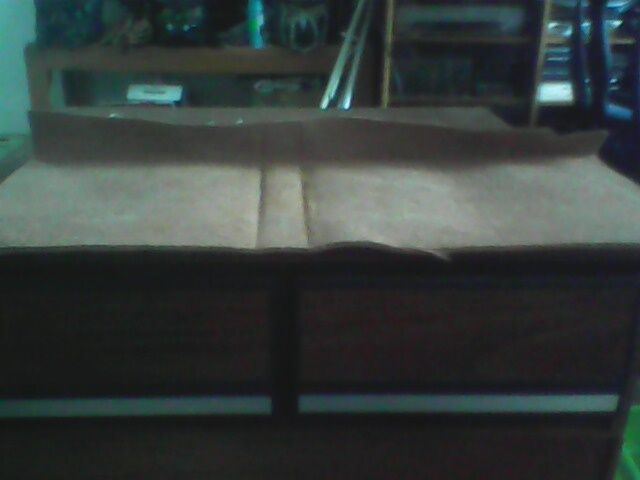
The first thing I did was cut it to the size I wanted. This is a bigger pouch, so I cut it to the width of a sheet of paper. It will be about 3 inches narrower once I'm finished.
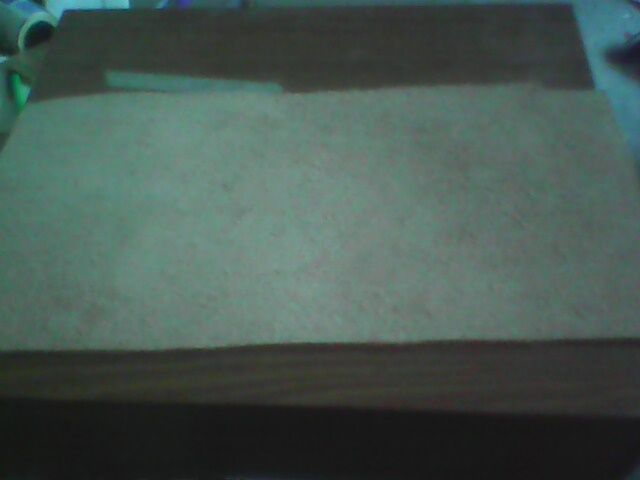
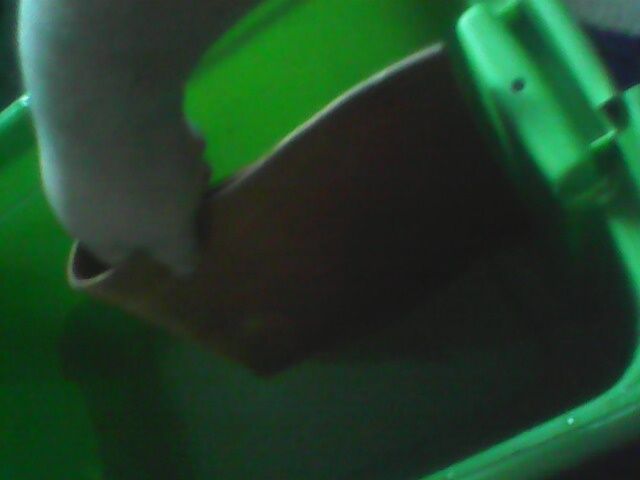
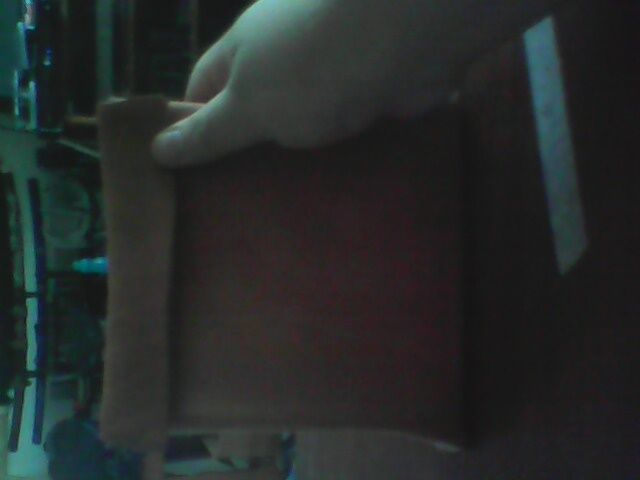
Next was to soak the leather in water to make it easier to work with, then creasing the leather where it's going to fold. If you don't have a tool for it, a butter knife works fantastic for creasing the edge. I'm actually using a can opener for this. After you have the leather bent at the angle you want, run your tool over the leather and make a crease. It's actually a lot like creasing paper, just a bit thicker.
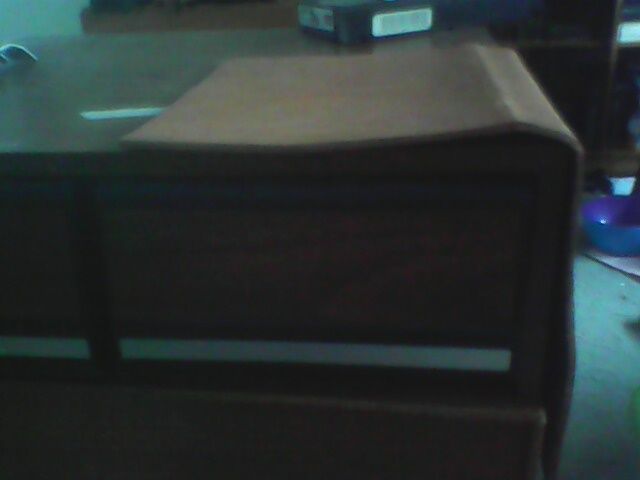
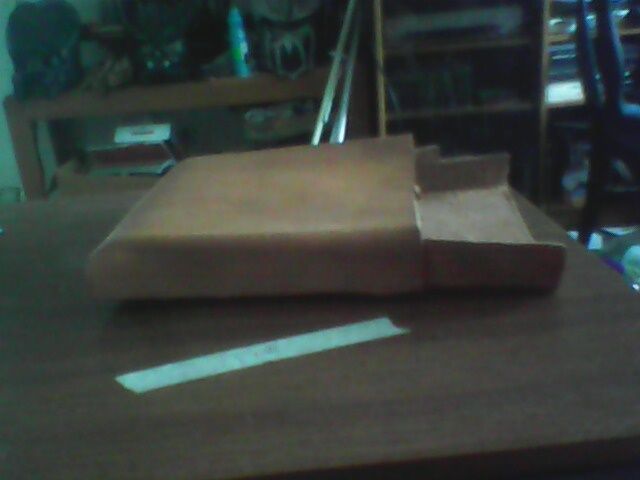
Once you have all the folds in, go ahead and fold the pouch over. Remember to leave enough room at the top for the flap. To get it to fold properly, you'll need to cut a small rectangle out on each side where the bottom of your pouch is going to be. You can see the cuts I made in a picture below.
Then trim off the extra side pieces on the flap.
Now to close up the sides. There's a few ways to do this and it can be tricky. You can sew up the sides (The leather on this one's too thick for me to sew), you can rivet it, glue it, or do what I did with my last one and lace up the sides with leather cord. (This one's made out of much thinner leather)
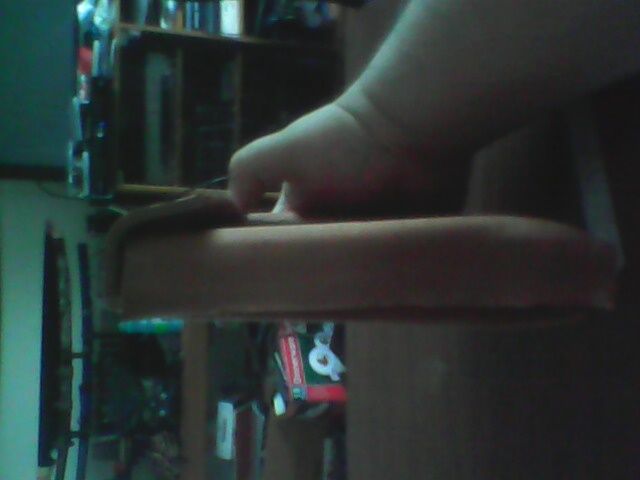
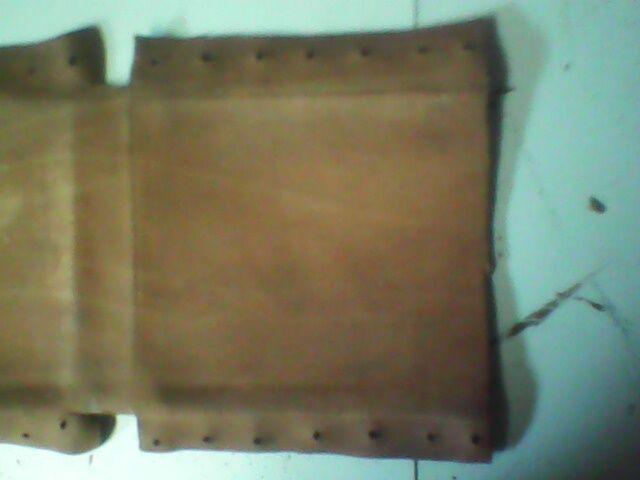
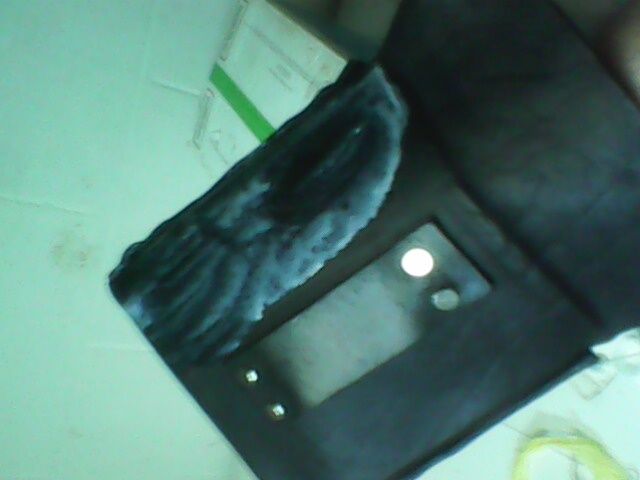
First, I punched out holes on the sides. You can also see where I cut the rectangles out in this picture.
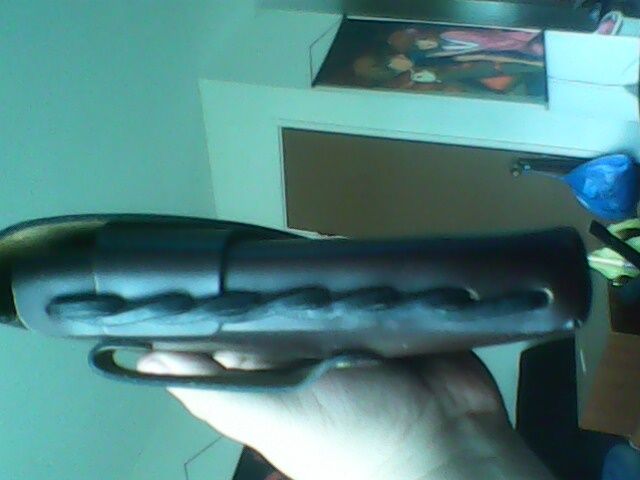
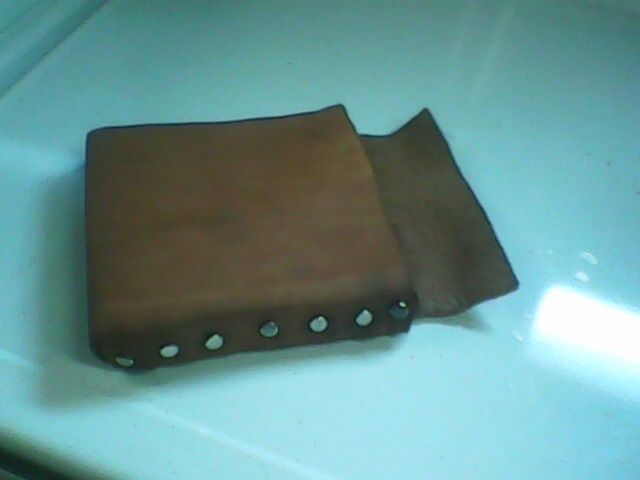
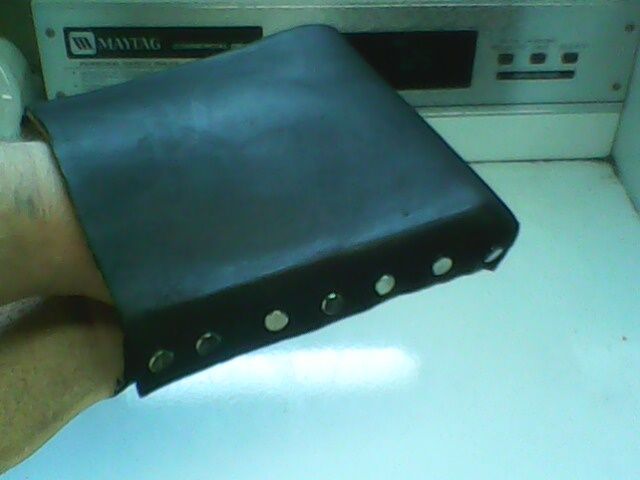
Then I used some flat, button stud screw backs and closed up the sides.
Now, once the leather dries out again, I'll be dyeing it black and adding the closure.
(Time passes)
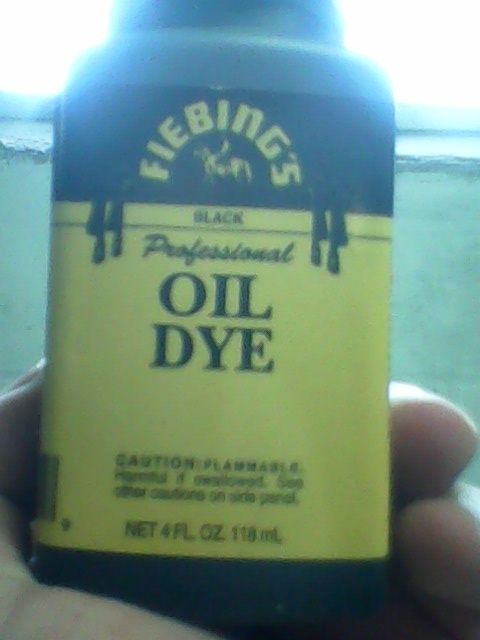
Alright. The leather's dry. Now it's time to dye it. Dyeing leather is pretty easy if you know what you're doing. The main thing is you want to make sure that you give it an even coat all around.
First, you need your dye and some dobbers. There's several types of dye, but I prefer oil dye. In my experience, it just coats better when working with black.

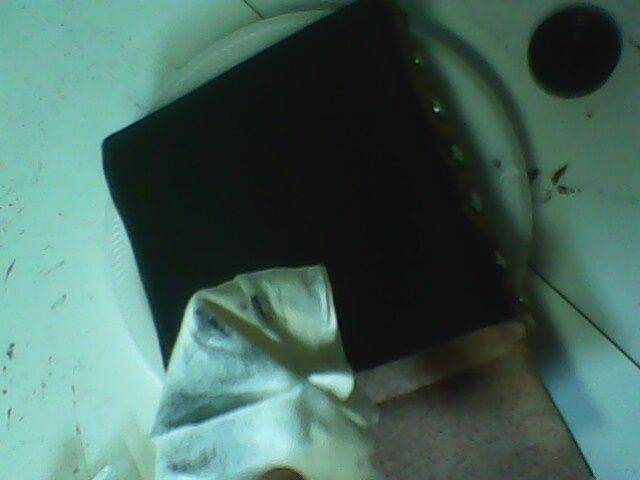
You dip the dobber into the dye and then spread it around on the leather using small circles, almost like you're coloring with colored pencils. When you're finished, let it set for a little while, and then buff the excess dye off with a soft cloth. I'm using higher quality paper towels. Just make sure what you're using doesn't leave fibers behind on the leather or your coat will look tacky.
Keep applying the dye to all sides, making sure each side gets an even coat and you clean up any place where the dye runs.
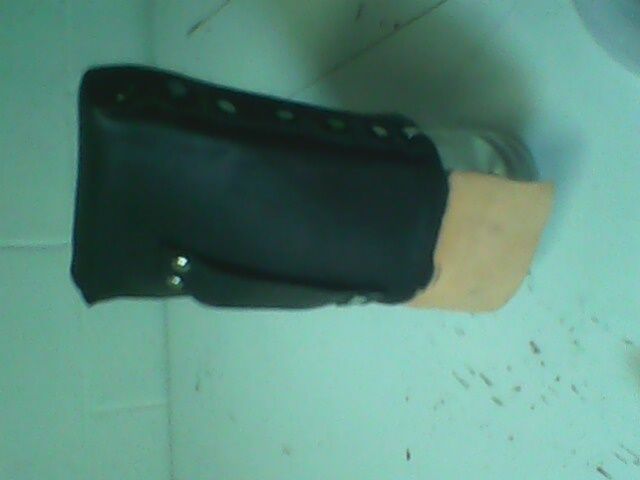
One thing about the dye, is it tends to stiffen up the leather, so any part that's going to move after the leather is dyed (The flap), you want to make sure you bend over and over as the leather dries.
Now that the pouch is all done drying (I like to let it sit for an hour or so), the next step (optional) is to add a top coat that will give the leather a nice shine. I prefer to always do this, otherwise there's a chance that the color will fade over time, this also adds some weather protection, too.
The top coat I use is eco-flow. I like the finish, and it's pretty cheap, too.
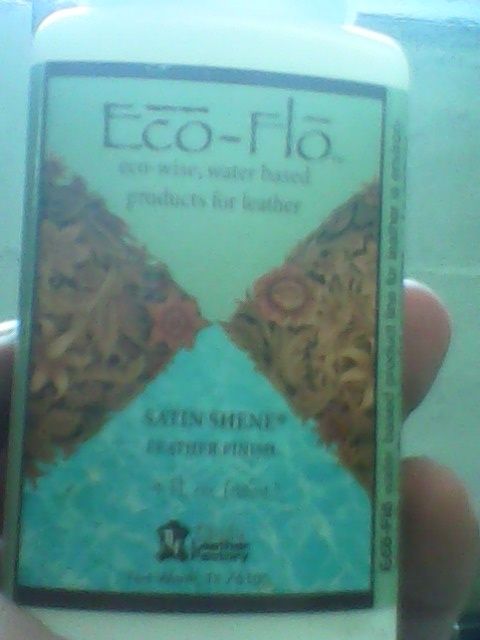
You put it on the same way as the dye with the dobber.
m
Again, you want to make sure you give it an even coat. You can either let it air dry (24 hours) or you can use a hair dryer or a fan. Personally, I don't recommend a fan, because hair and dust could get stuck to it. Once it's dry, I'll be adding the closure.
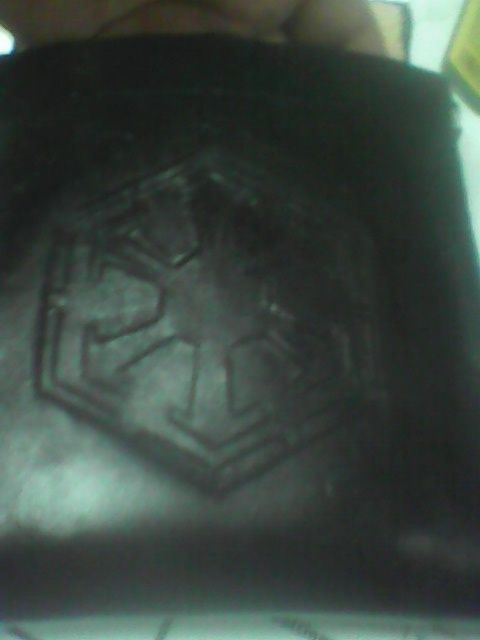
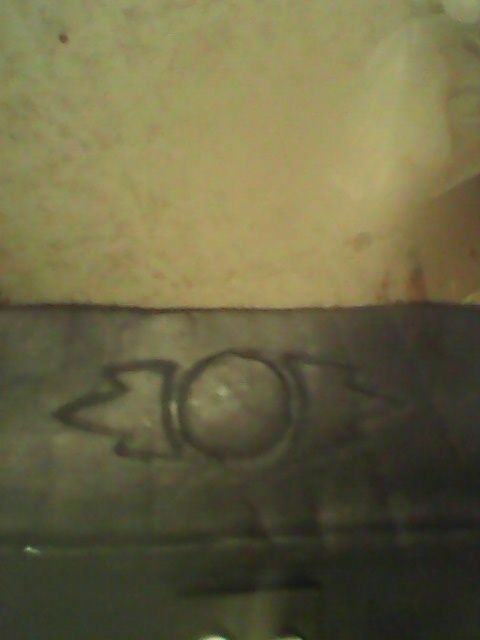
Alright, everyone. Time to finish this. Looking at the pouch, it was bugging me that the front of it looks so plain, so I decided to do a little tooling. I didn't take pictures of the process, but for anyone who wants to know how to do tooling, you need the right tools for it. A punch and a hammer. There are so many different punches that all I can say is try them out and see what you like best. For this design, I sketched a quick picture of how I wanted them and what size (Would have been sooooo much easier if I had a printer) and then lay them over the leather where I wanted them. I used an xacto knife to softly cut the pattern into the leather, then wiped a damp cloth over the leather to get it nice and moist. After that, it's a slow process of tooling in the patterns.
I'm pleased with the results.
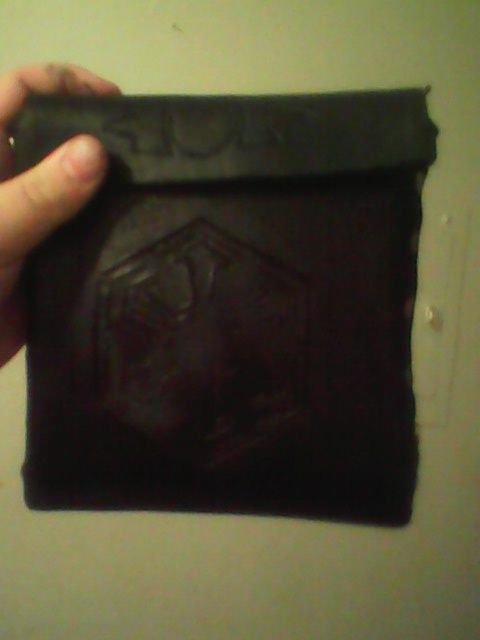
Since the front of the pouch has been tooled, I didn't want to add a clasp that would take away from the design. At first, I wanted to try a magnetic closure, but I didn't have strong enough magnets (Also, I didn't want to put my phone in anything with a magnet) In the end, I went with simple Velcro. It's out of site and doesn't take away from anything on the pouch.
Hope the tutorial was useful to anyone who's interested.
Thanks for taking a look. Questions and comments are always welcome.
-Travis


