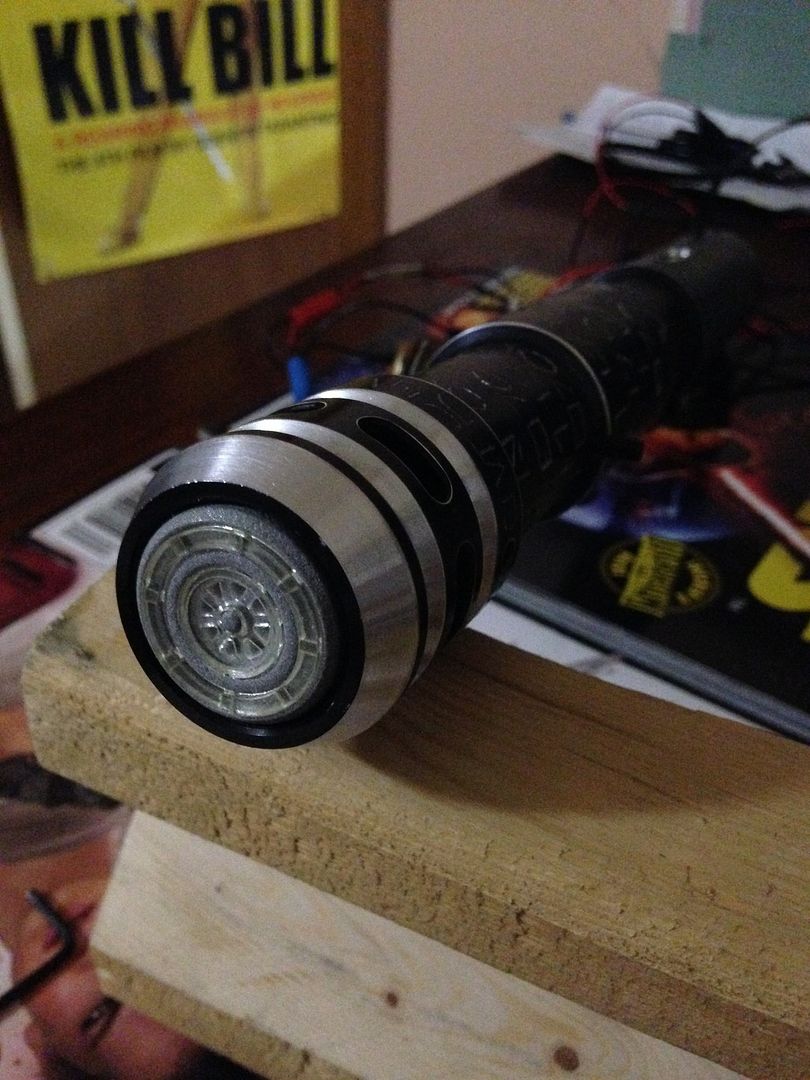
Getting as much done as I can on this until I've got the last of parts (hopefully soon). Decided on one of the three latest plugs from Sedsti I recently grabbed. Not gonna go too crazy showing because I'm gonna put up a post in Sedsti's thread soon as sort of a mini demo of them.
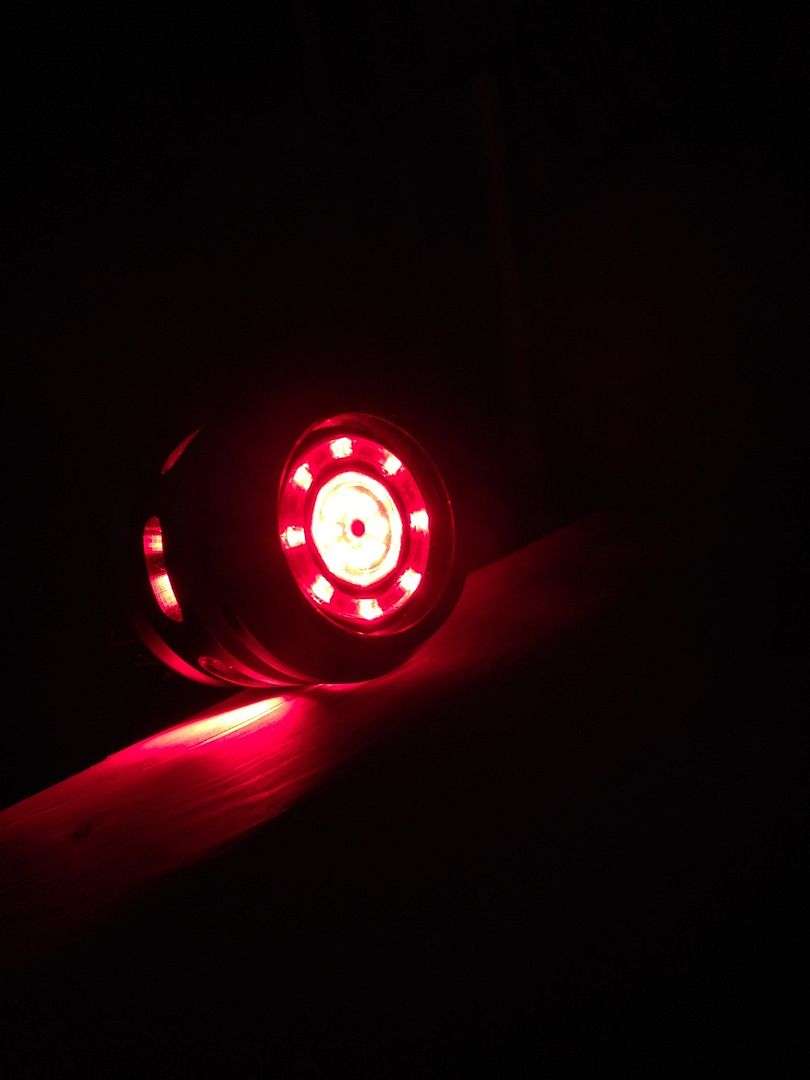
So here's the basic idea behind all these crazy accents and features, kill key, etc. Here it is off- no drain at all with kill key in.
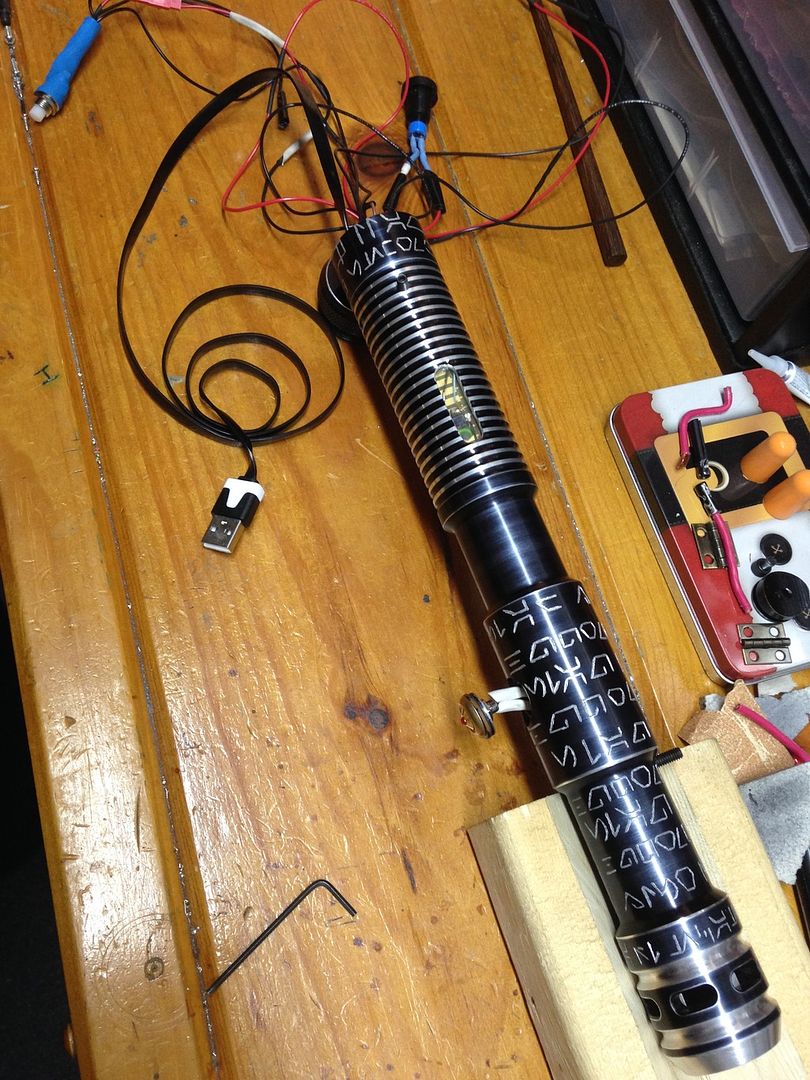
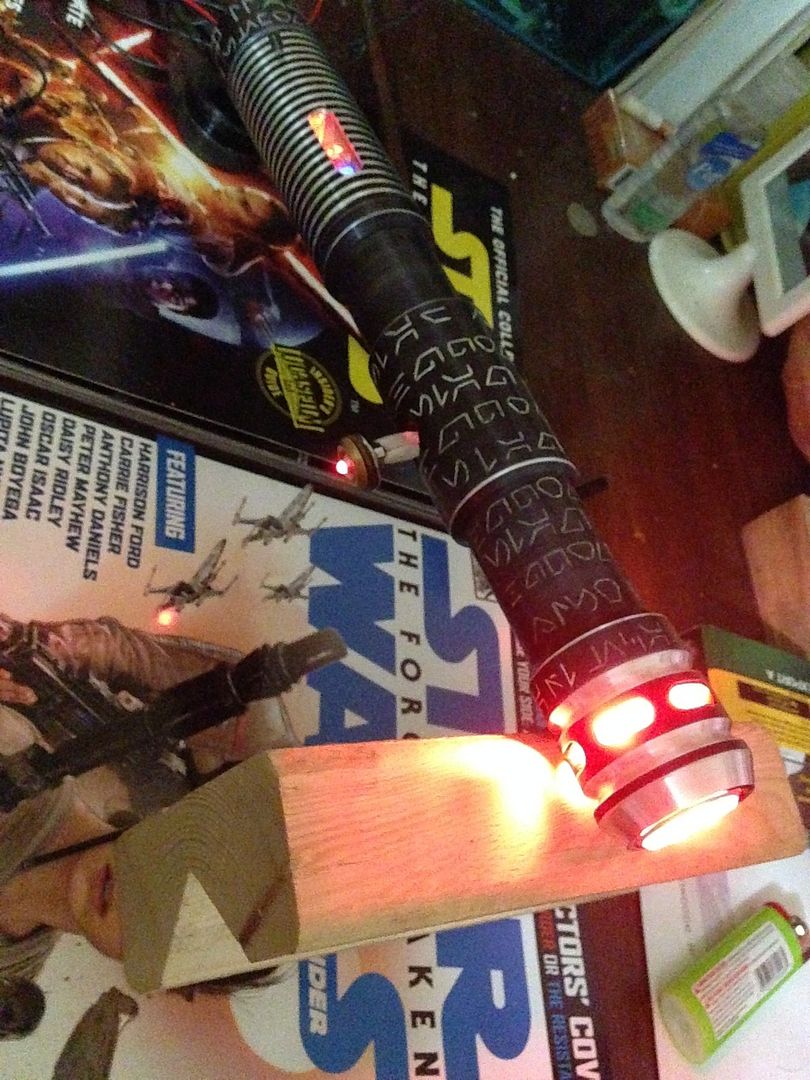
You can see I finished roughing in the aurebesh, but nowhere near done with it- actually you can really see where I've started to go back over with scribe (only just started) and what a diff that makes. That chopstick in top right of pic has proven to be the handiest tool in weeks lol- you know how Jedi use the force to align the inner workings of their sabers with molecular precision? I pretty much had to do the same thing to get all this stuff in or out lol. Only I haven't quite got the knack of levitating everything in a cloud of parts and converging it all gracefully into proper places... so the chopstick really helps lol.
that guarded latching and all that wire on right side up there will pretty much be eliminated when the proper switch goes in. Was having trouble getting the bulky micro USB in, but found this ribbon type/ flat cable at the corner convenience store and was exactly what the doctor ordered.
So for dueling purposes, you just leave the kill key in and fire her up:
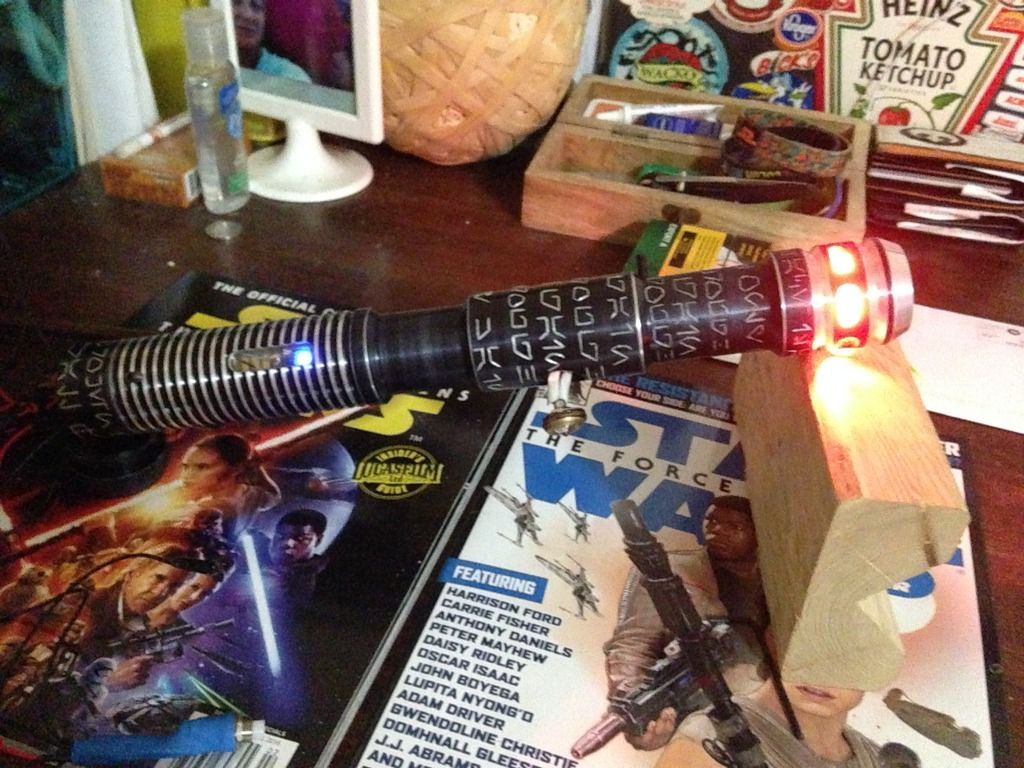
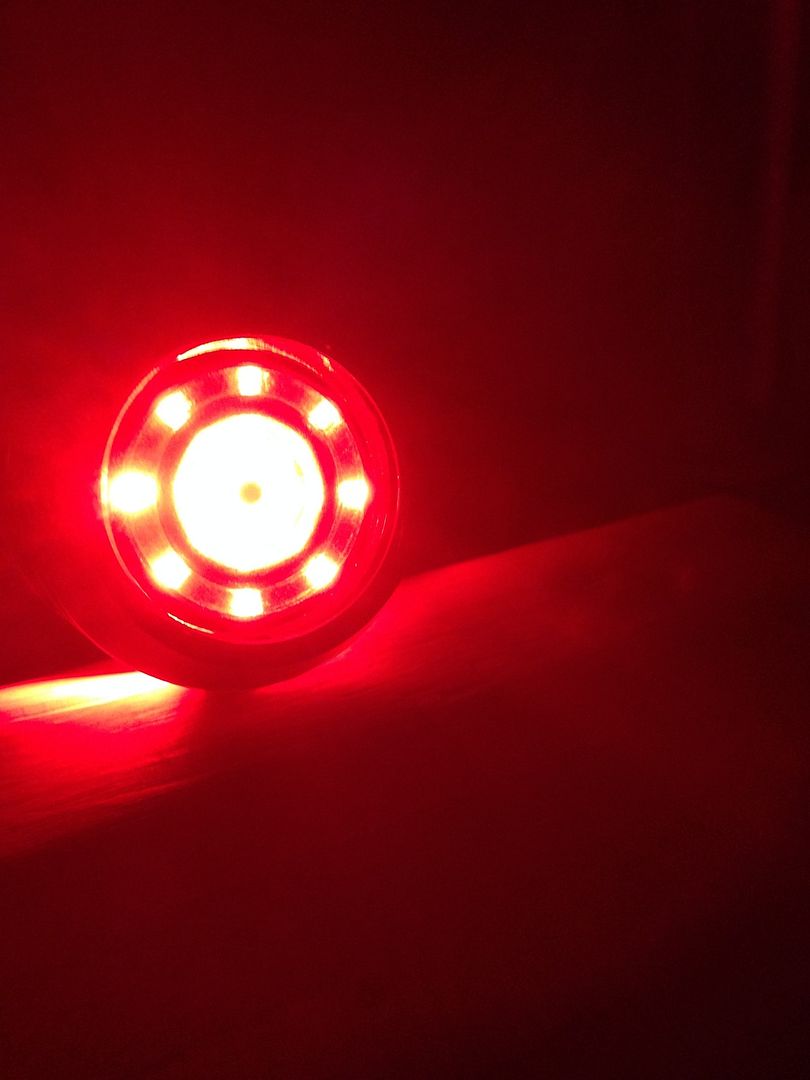
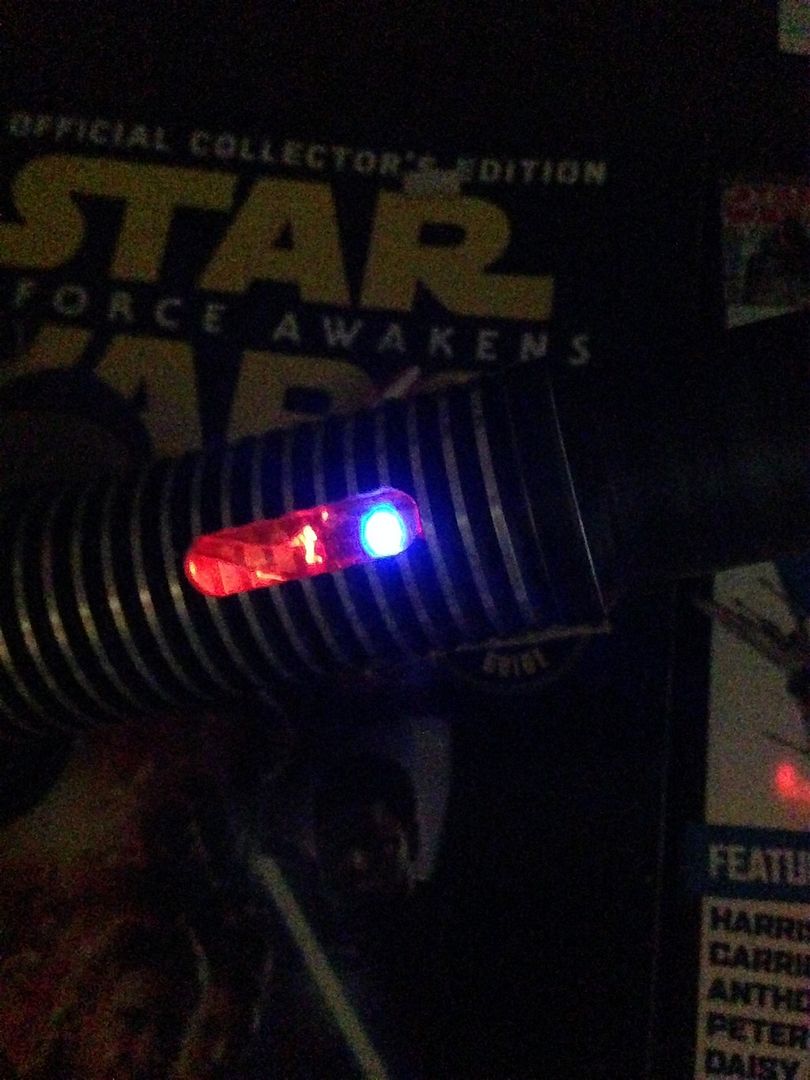
In this dueling mode, as I like to think of it, only the bank's status indicator and the illuminated switch down in the pommel come on, a nice compromise of craziness/ accents spread out across hilt, leaning towards saving most of the juice for the blade.
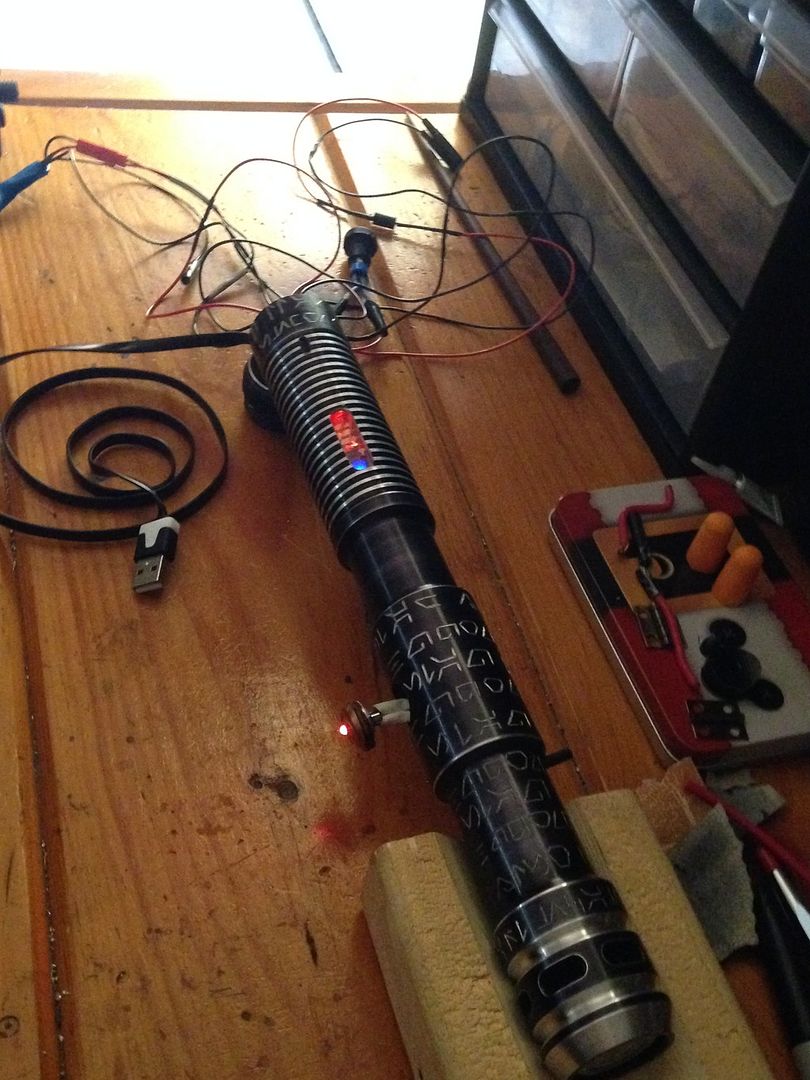
When your done slaying foes, just pop the key out and throw on the stand, in display/ shelf queen mode:
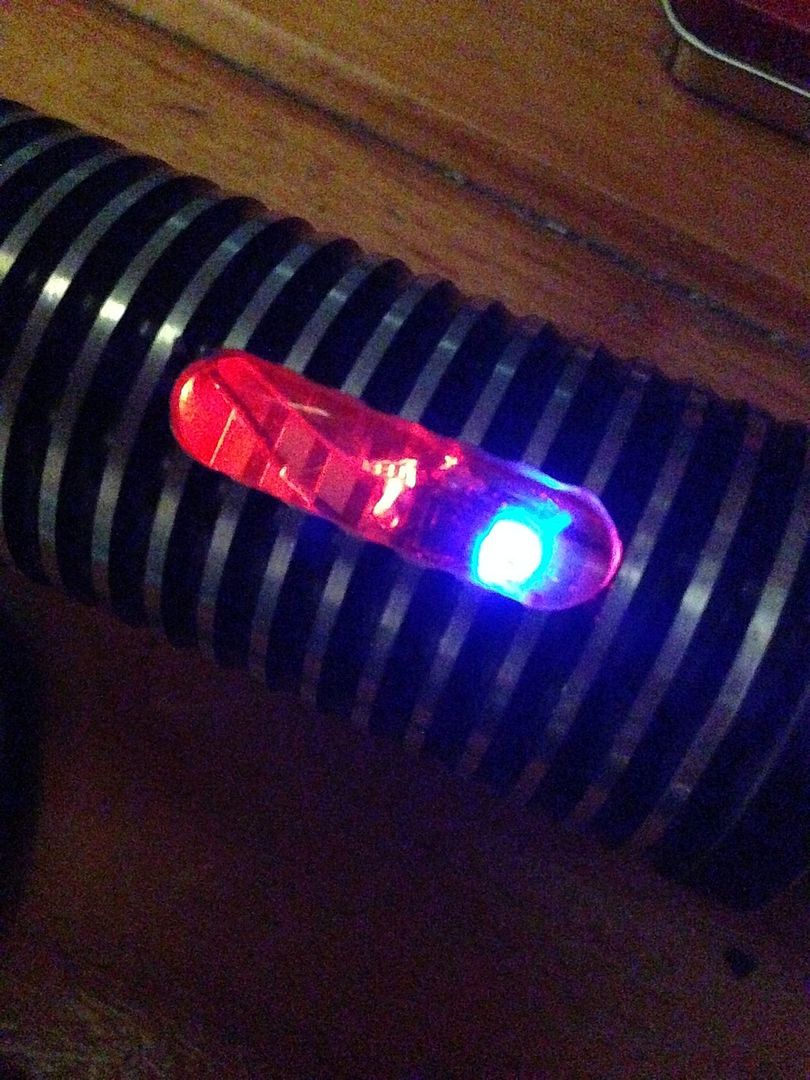
As well as what you see here, there's also a little 3mm led going in a hole in the hilt on the opposite (act box) side, and another of those red illuminating accents that I used in the cutout for bank, going in the recharge port access. So if I can pull off the access hatch, I'll be able to leave it open when on display, looking all red'ish and lit up lol. Tested and you can leave it lit up with all these accents for days.
With the window in there's a much more dramatic colour mixing that happens from the red and blue accents- liking that- the window's here to stay

. Plus will keep stuff out.
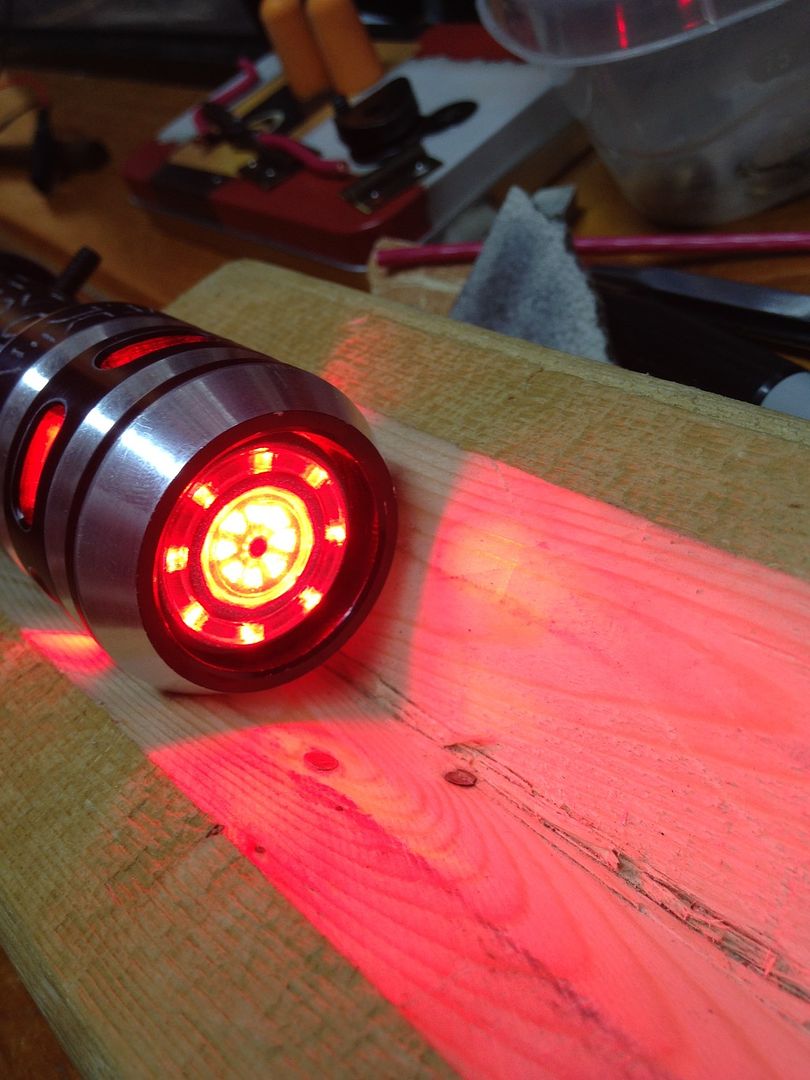
And of course, you can always pull the key and fire her up, with this plus the 3mm, switch, and port accents- and the thing will light up like an Xmas tree... a sithmass tree lol, in all guns blazing mode.
I've tested and the bank will run all this... But I just don't feel really comfortable running it like that very much/ for any length of time. Like I'd feel fine just for snapping some pics with friends at a con or something, but don't wanna push my luck dueling like this. It's wierd, Ive quadruple checked this- most of these banks have a 1/ 1.5 A, 5V output. This one, according to the info from the manufacturer, has an 800mA (0.8A), 5V output... Quadruple checked lol. I'd be well within the limit of a 1.5A output bank's protection circuit- but 800mA? Lol something doesn't quite add up there lol. I mean there's 6 20mA accents and a main led running at what 1000mA'ish, roughly- so ballpark 1.1/ 1.2A running on a 0.8A output? I dunno I find it hard to believe that that's actually what it is- either way, it was like 3$ shipped lol, so I ordered 3 more as backups. I've had these type batteries (NOT 18650!!!) explode on me before, literally, right on me and in my pocket, and I'm not worried about it. Especially from where it's sitting inside the casing of the bank and inside the hilt- it'd just wreck the bank itself, not as dramatically as you would think, and that'd be relatively easy to swap out. PLUS I seriously doubt that will ever happen- if anything I'd just kill it. It's held up in testing, but I just plan on pretty much operating the saber in either mode or the other, either main blade OR all the accents for display, so it'll be fine
.


