This is just my hack & slash way through the Obi-Wan sound card extraction process. There is probably easier ways. It was my second dissection, my first being the Vader equivalent of this. I used my Dremel and my Gerber multi-tool for 90% of this process, and a small screwdriver for smaller screws. I want a contrast battlestaff with an Aeon/Ultraedge heavy grade/arctic blue opposing my Dominix V2 LE (w/black coupler) Guardian Blue/Ultraedge heavy grade. I want my Dominix to have the Sith sound, and my Aeon to have the Jedi sound. I will be doing other mods to my sabers, but I'm waiting for parts, and for my warranty to expire, this also gives me time to flesh out my mods.
Moving on, here we go, this is step 1 for all projects, obtain said Obi-Wan cheap-o toy from Target for a clearance price of $6.99 if you are dumb lucky (like I was the other day), or just get them anywhere that sells star wars toys for around $20.

Then acquire yourself some dissection tools, I went with my Wal-Mart special Dremel, and a pocket knife, small screwdriver, and my Gerber multi-tool.

Next, I used my Dremel to trace the seam of the saber once every single screw on the outside was removed. I think they put those screws there for show, because they didn't seem to hold anything together. Once the seem was cut down the side, I cut around the pommel behind the speaker a bit.
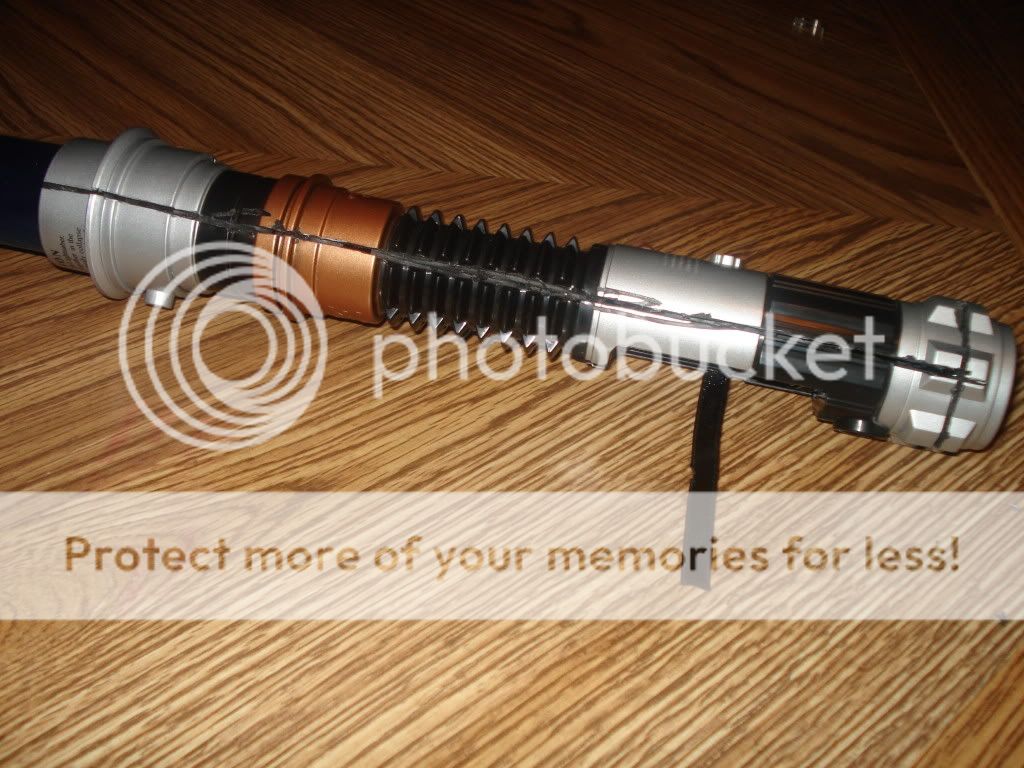

This was tough, I needed to go in deep enough to crack this ridiculously resistant seal, but not too deep to damage the electronics components any. I kind of felt the disc cutter ease up when I made it through the plastic, and just used that as a gauge to go by. Once that was done, I did the same deep cutting around the pommel lines I made, and then forced my cut side apart with my Gerber, and put my pocket knife into the opposite seem I hadn't cut yet, and the whole thing split in two like a log.

Another look...
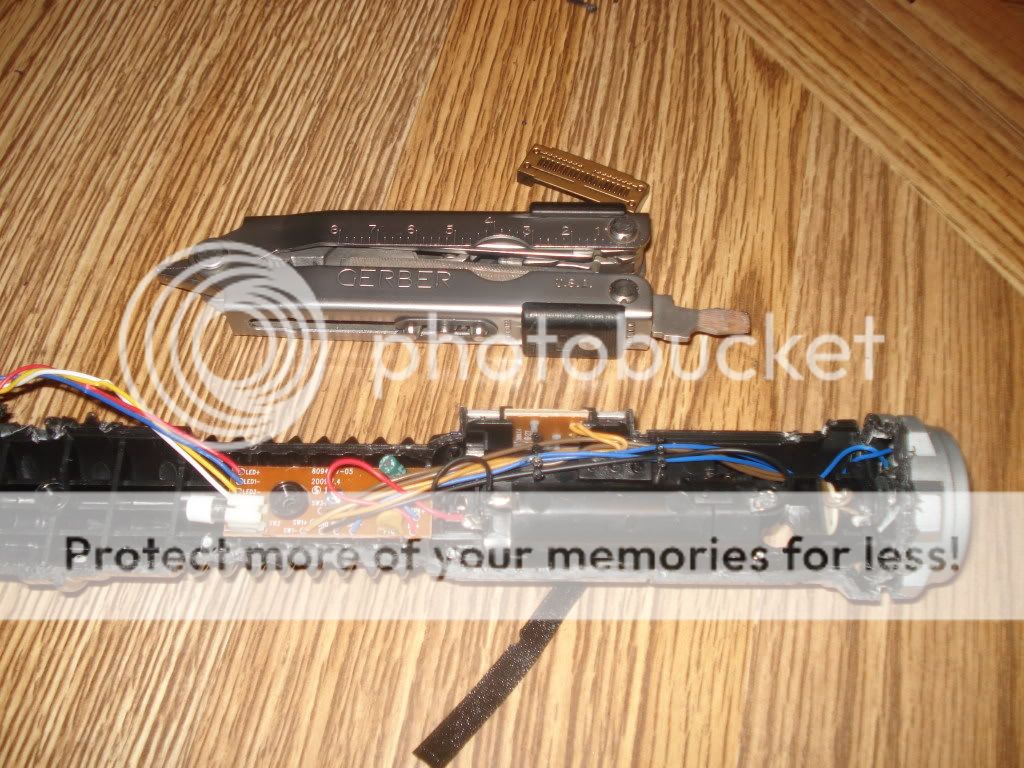
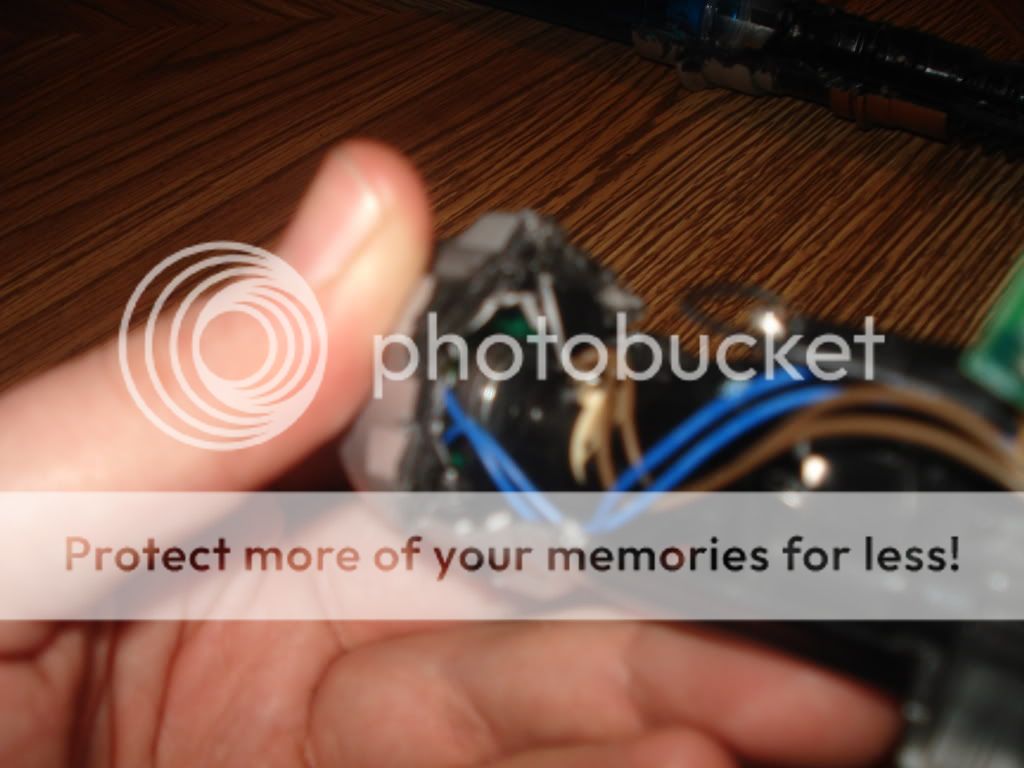
The soundcard was also screwed down, so I took that screw out, and started freeing up the wires from anything holding them down. There is an interesting comb-like cage for the wires near the on/off button, but they were easily snapped aside, and the wires freed up. I apologize for the fuzziness, my camera doesn't like extreme closeups, sorry Wayne, and Garth...
...and here's the speaker/swing sensor unit...
Once the speaker was cracked off, I finished pulling all of the small components wired to the soundcard away...
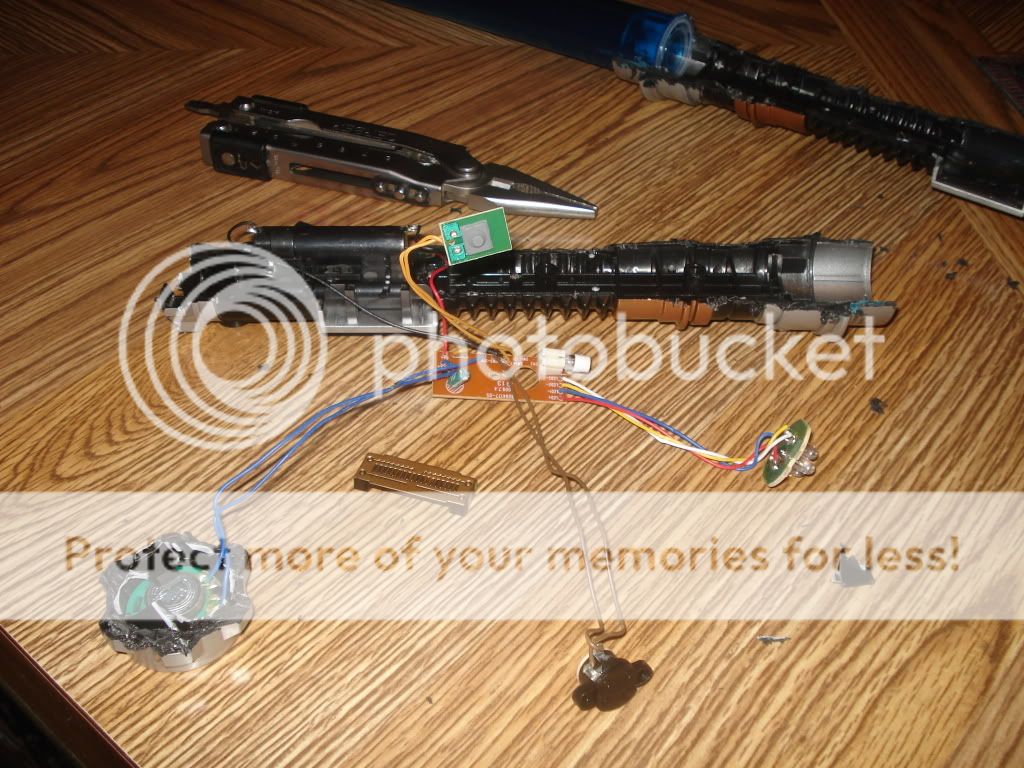
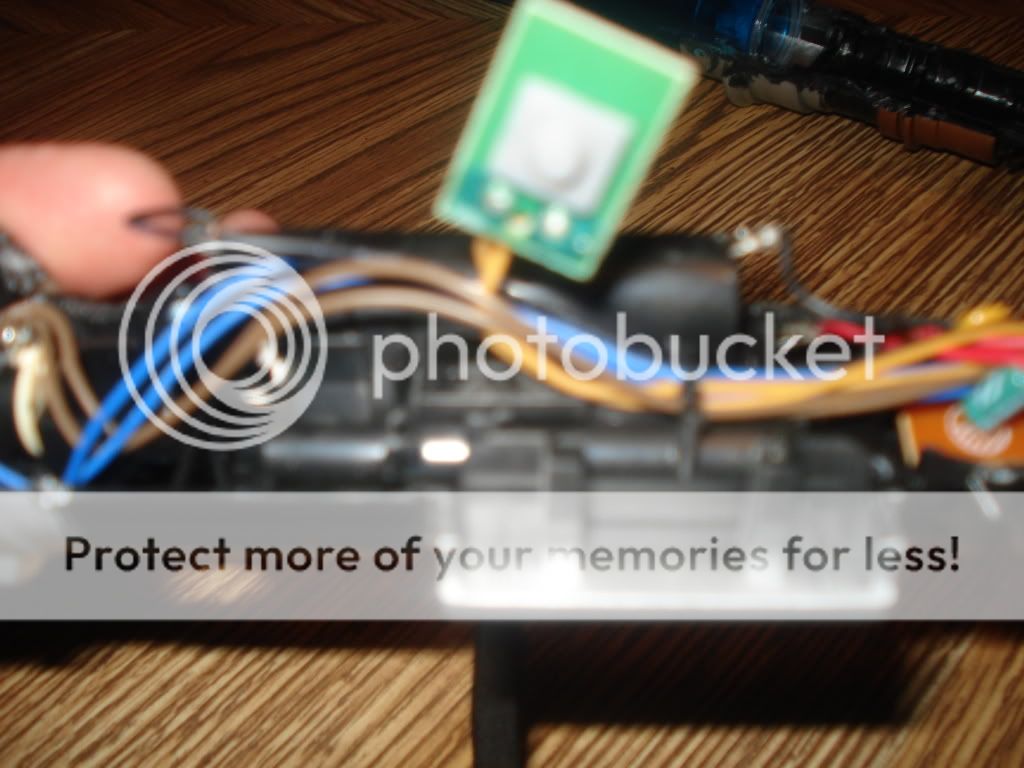
...closeup of the actual soundcard...
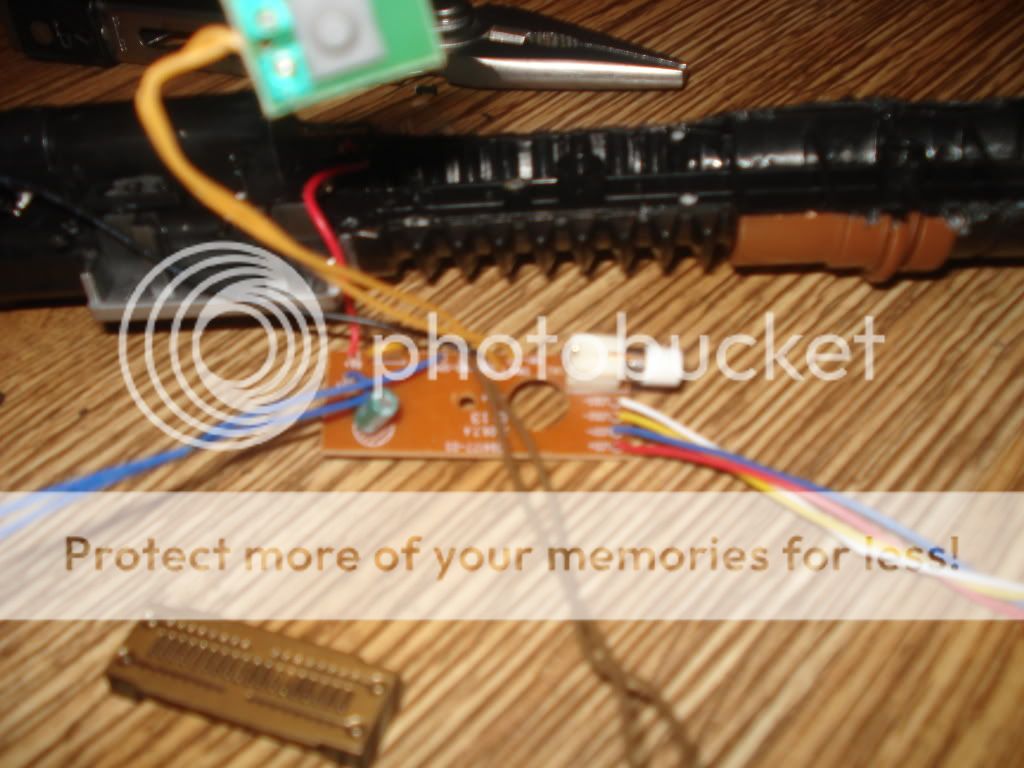
...interesting cage still around the speaker...
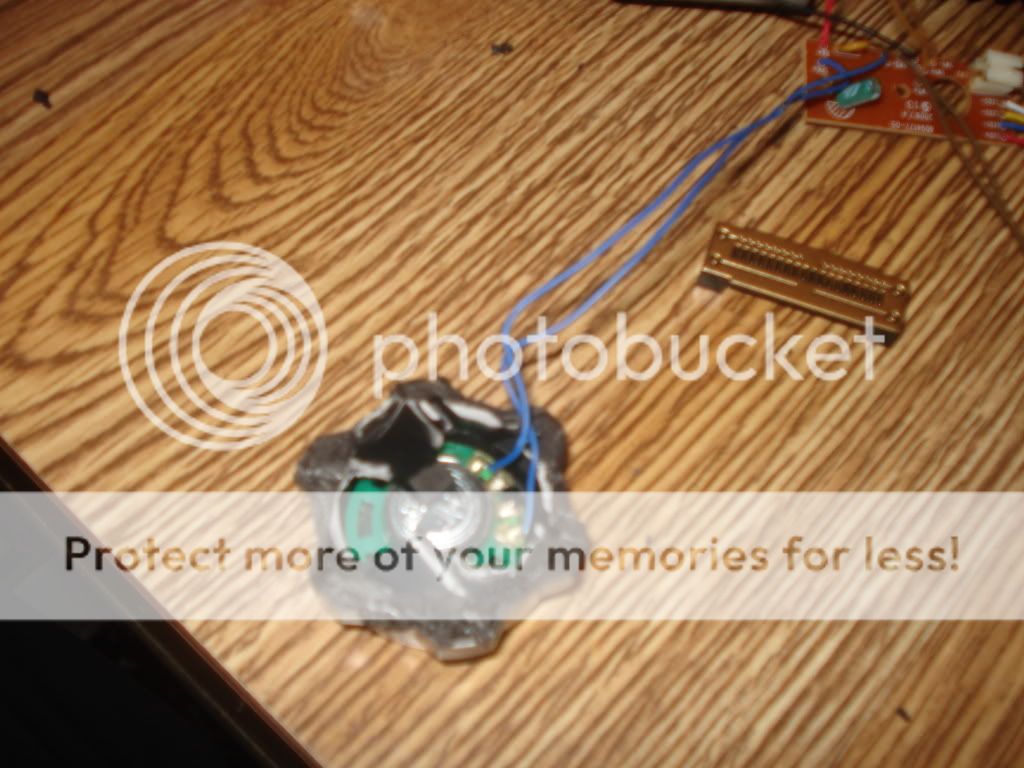
swing sensor and LED array thing...


everything gutted
...and finally, the moment we have all been waiting for, the fruits of my 'labor:'

The left unit with the green electrical tape is obviously the Jedi soundcard we just yanked outta my cheapy toy, and the one on the right with the red electrical tape is predictably my Sith soundcard junk.
Now, I need to figure out how many batteries I need to run my Dominix with the soundcard, how to remove the LED's from the Vader soundcard, what resistors I need, and then to put it all together... I'll be needing all your help in the future guys, but I know this question gets asked a bit, so I figured I'd put up a visual, for those of us who like to see...
Take care all, hope this helps!! Feedback is appreciated!!


