Super excited- the choke and latching AV i need are traveling towards me as I'm writing this, and i recently ordered a pommel i'll need, which I'm assuming will arrive with Ultra Saber's usual lightning speed, so soon i'll be able to move forward with the last aspects of this project! I had been waiting till i actually had those parts because the areas I'm working in are so insanely small that i'll have to finish the designs and assemble the last features to fit the room that's actually there- which i can't know for sure till I've got it together in front of me. I got a good start on these aspects, but its just too tight for me to finalize and then try to fit after the fact.
i was gonna wait to show you guys this until i actually had it installed in those proper parts, so you could see how this will actually sit, but seeing as how its just around the corner now i think i can go ahead and post my early tinkering/ prep work/ test fitting- plus i just can't sit quiet on this any longer it's too awesome

.
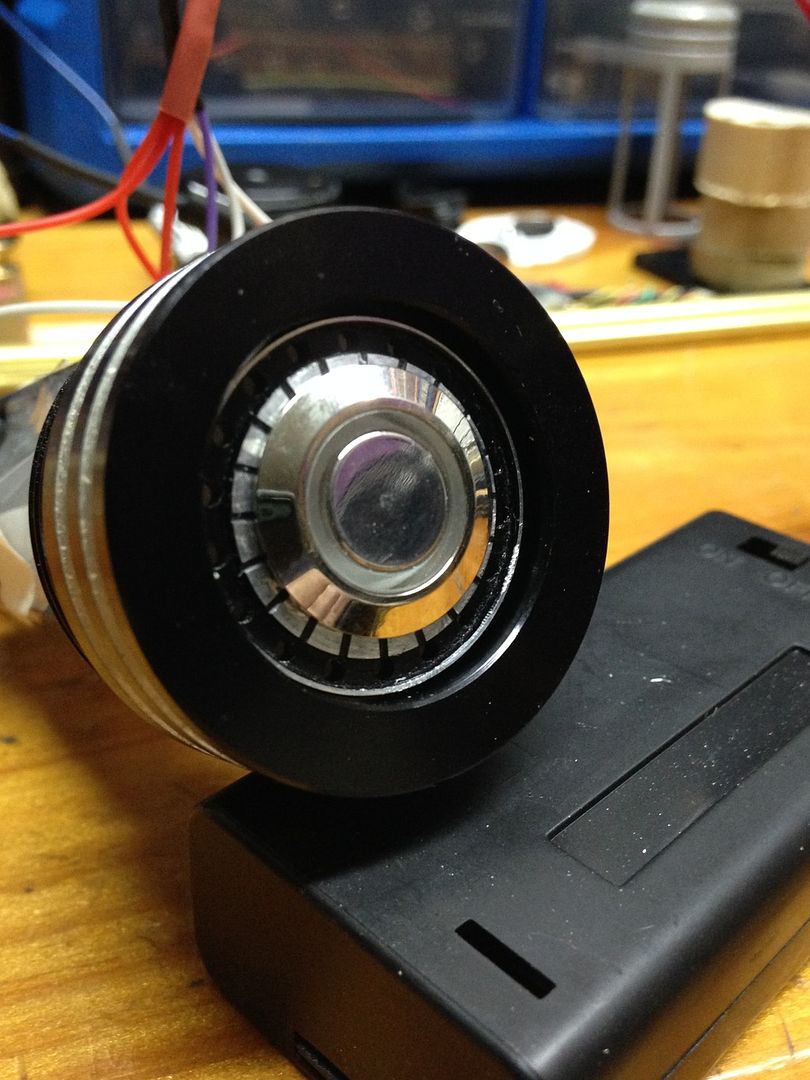
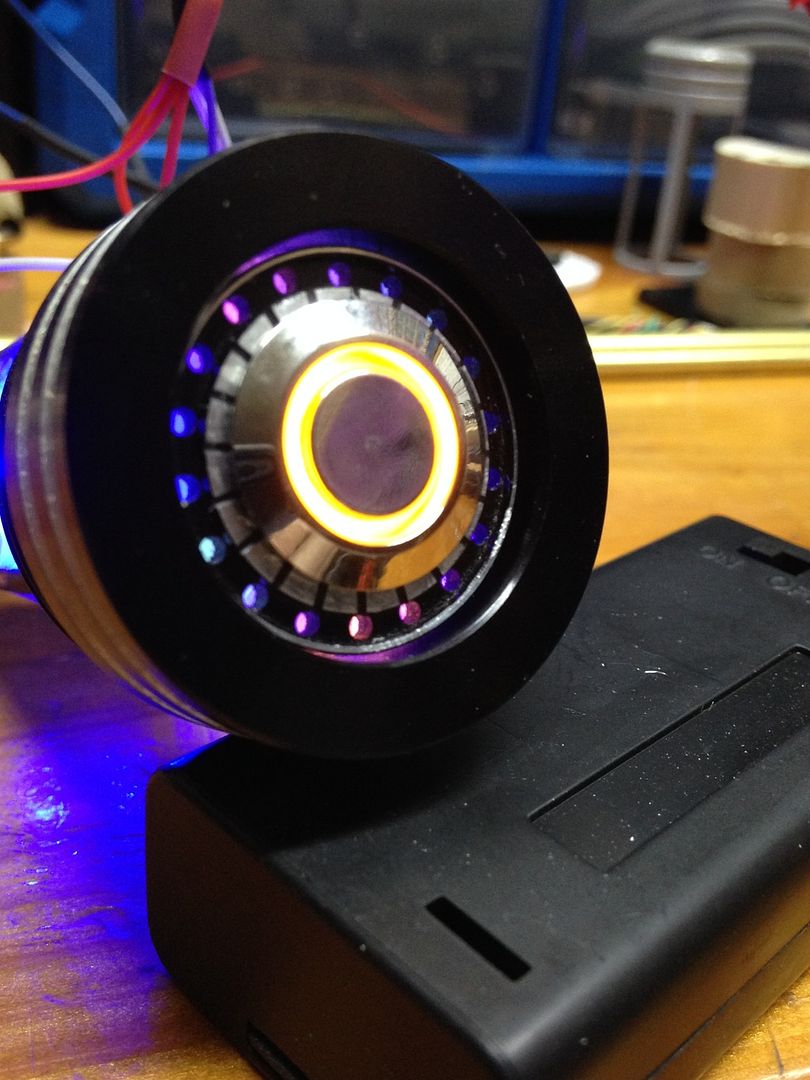
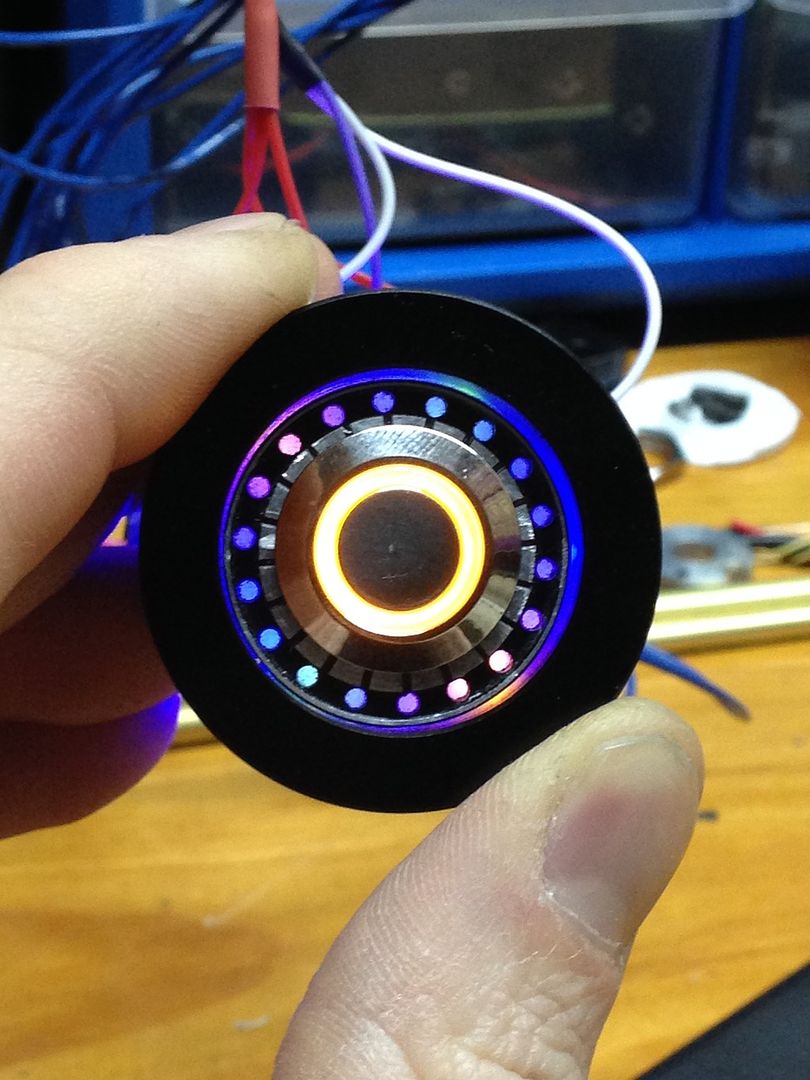
now, first of all, as much as i'd like to lol i can't take any of the credit for this feature- that belongs 100% to one of our resident masters, JediXIX who recently shared an idea with me. I would have never thought of this. It was something he had been kicking around/ pondering but hadn't had a chance to actually use much in projects yet, that he knew would be right up my alley in general and just perfect for this project. When he showed me what he was thinking my jaw hit the floor! The idea was to take one of the cool blade plugs (the US one appeared most conducive to this) and mount an illuminated AV smack dab in the middle of it, then mount that whole thing in a vented pommel, and then backlight it with something. Wicked, right?! so here's one interpretation of this idea

.
now i didn't have a US plug handy- so i decided i'd test out the circle plug... what a nightmare lol! though i will say, if you're willing to put in the work, i rather like how there's this little raised/ grooved ring left behind like a trim or bezel- looks good sitting behind the switch. But man, what a pain- eventually had to switch to the dremel and burs and stones to remove the entire middle area of the plug (and the holes) and then just drill out what was left. hitting it from the front was a no go- and even from the back those holes seemed exactly placed to give the 5/8" bit the hardest time lol. It wasn't so much the thickness that made it challenging, but there's some question as to whether all the plugs are this thick, or whether some batches may be thinner- which might help?
One thing to keep in mind- all this stuff you'll see is just thrown in loose because it's actually gonna end up in the incoming parts, so you might notice things sitting off centre etc in some pics, but only cause not mounted properly atm- just wanted to show you the basic formation of this feature and this sort of test fitting so can get basic idea. So here's everybody's favourite circle plug as is, thrown in one of the only vented pommels i had handy- just as reminder what i started with.
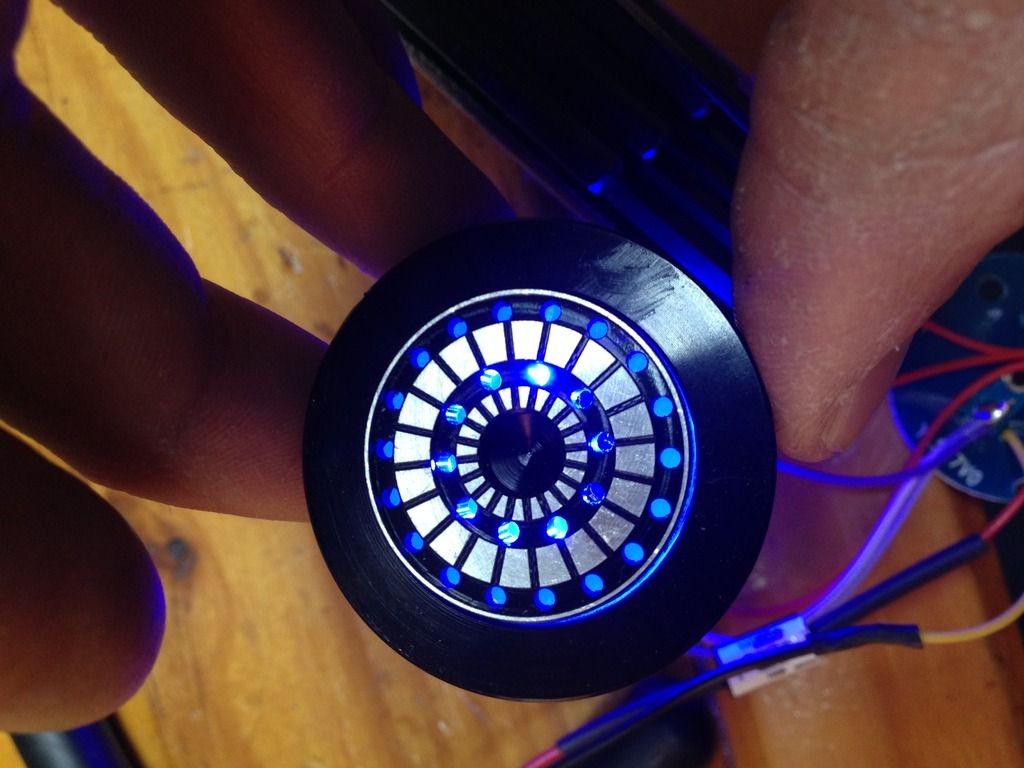
... and after a few choice words lol.
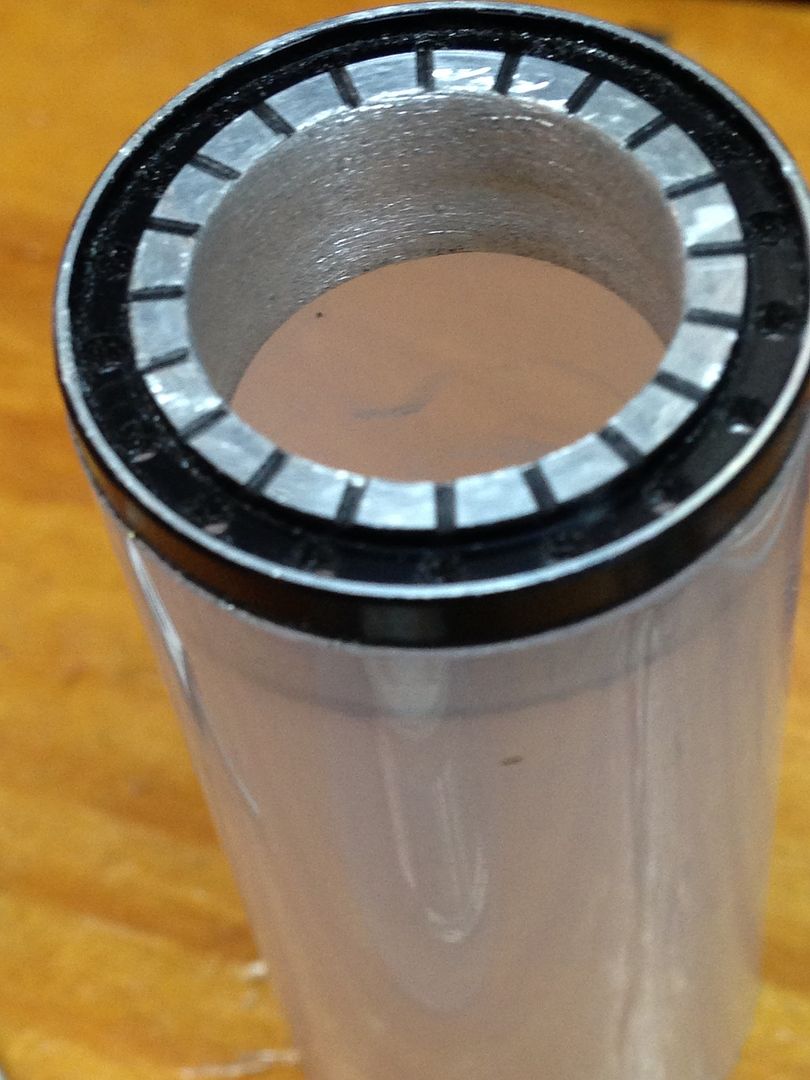
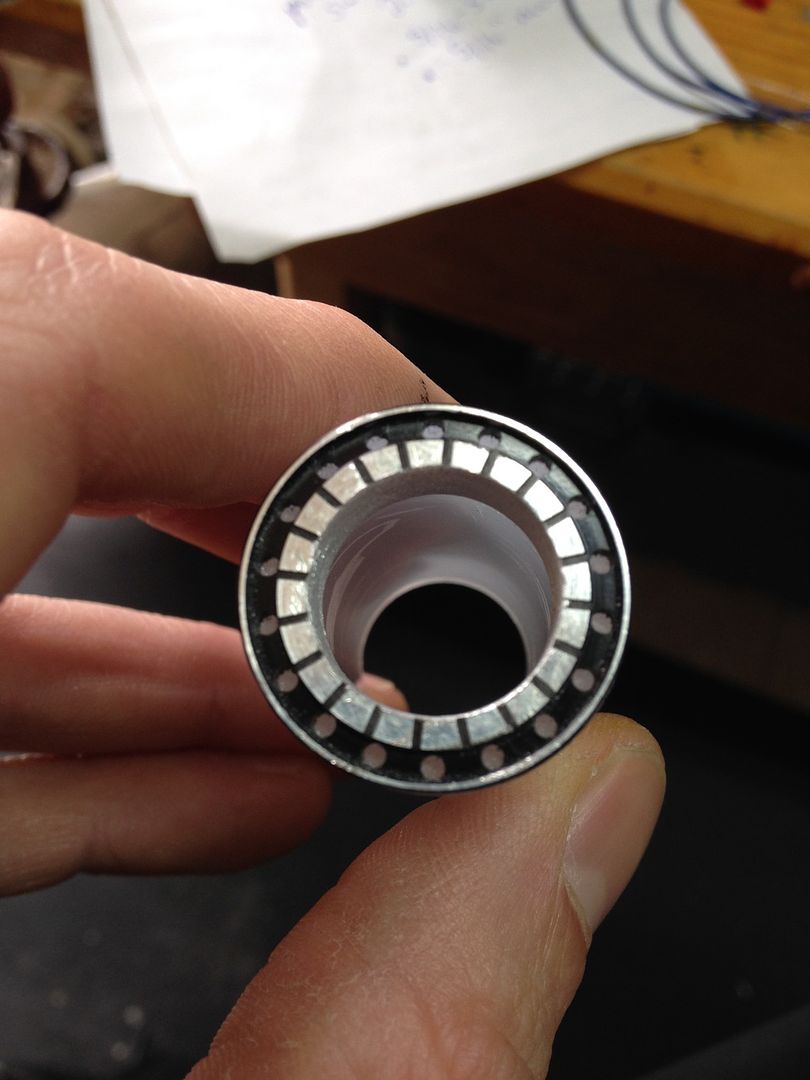
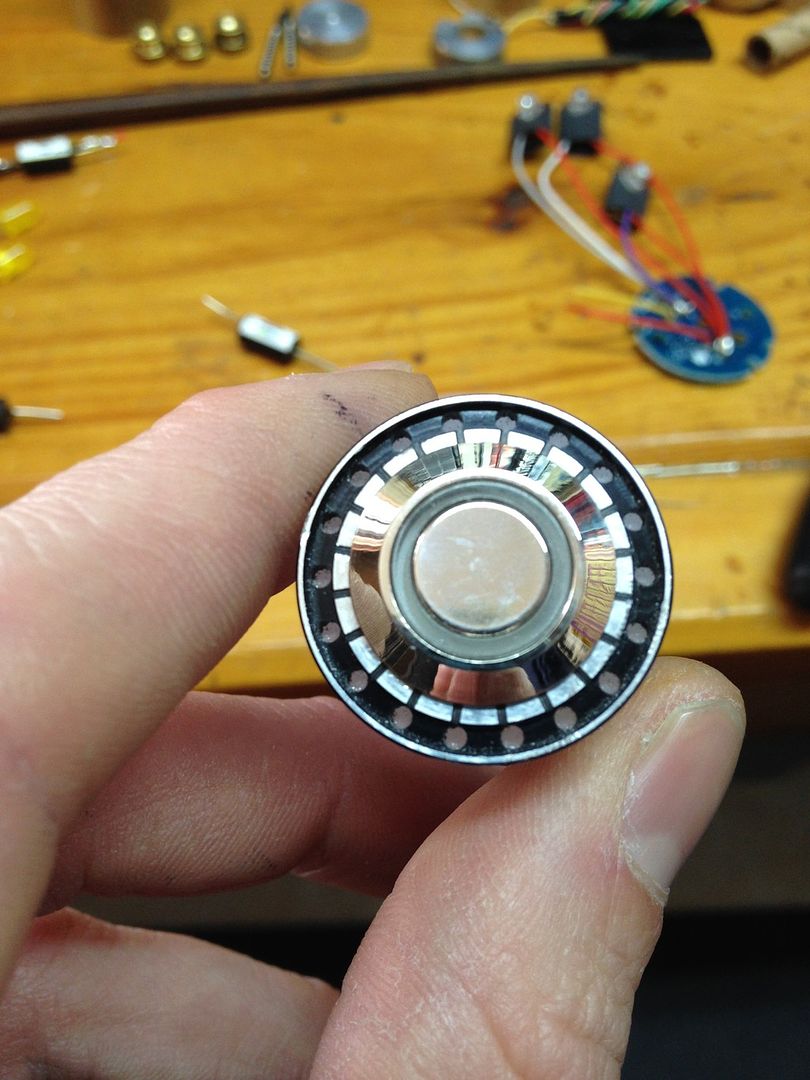
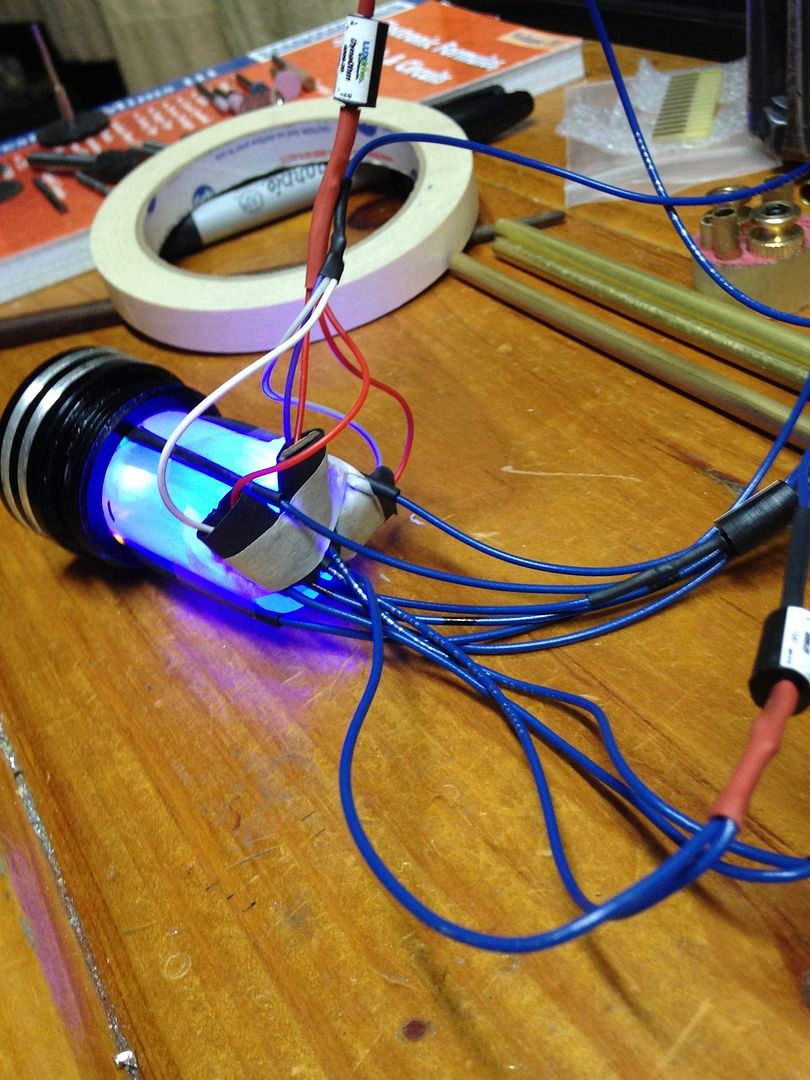
So, if you've ever looked really closely at a 5mm led before (i hadn't really before this) you'll notice they have a little flat spot in the thin flange at the base of their lens, above the cathode. So if you make holes with little notches in the bottom of them like this, you can actually seat the led's inside the wall of the poly carb tube flush- they won't exceed the profile of the plug and so it will still clear a 1" ID

.
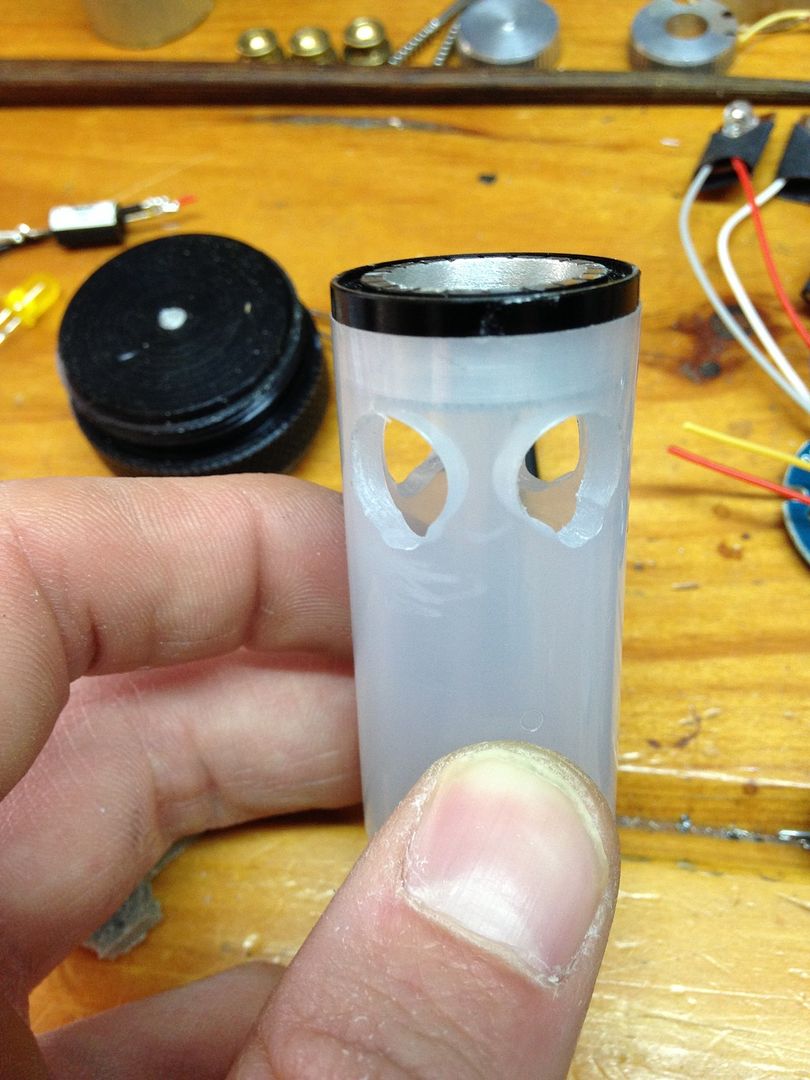
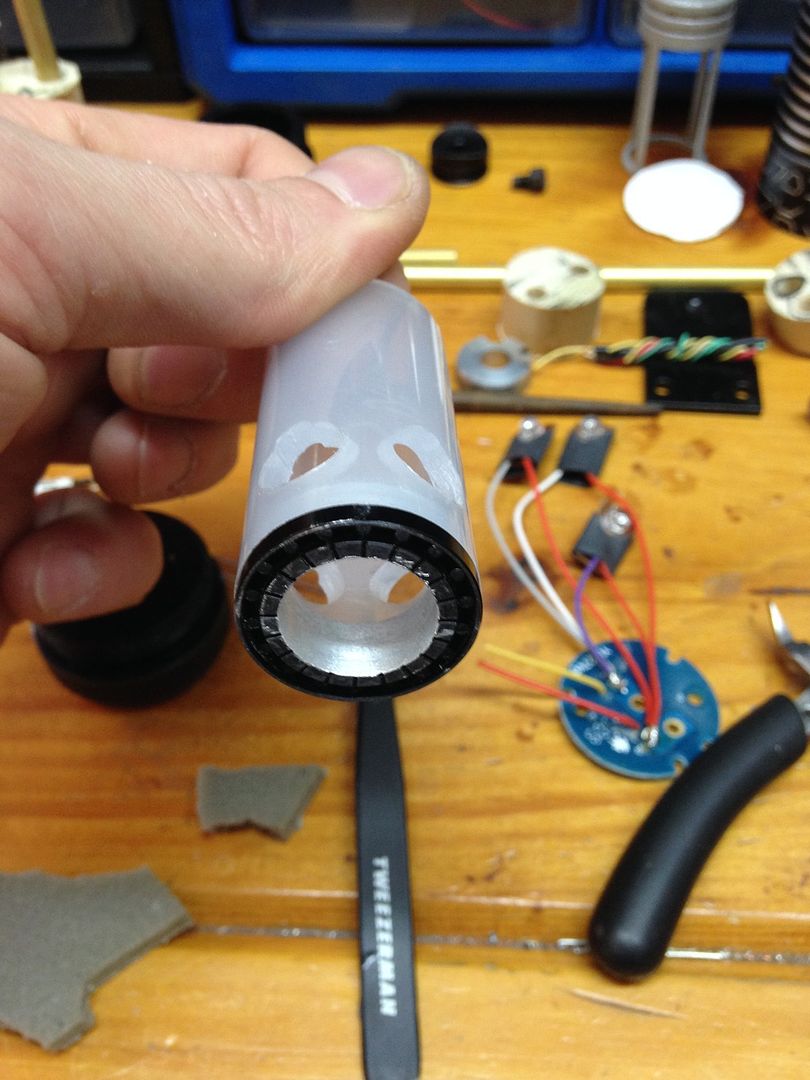
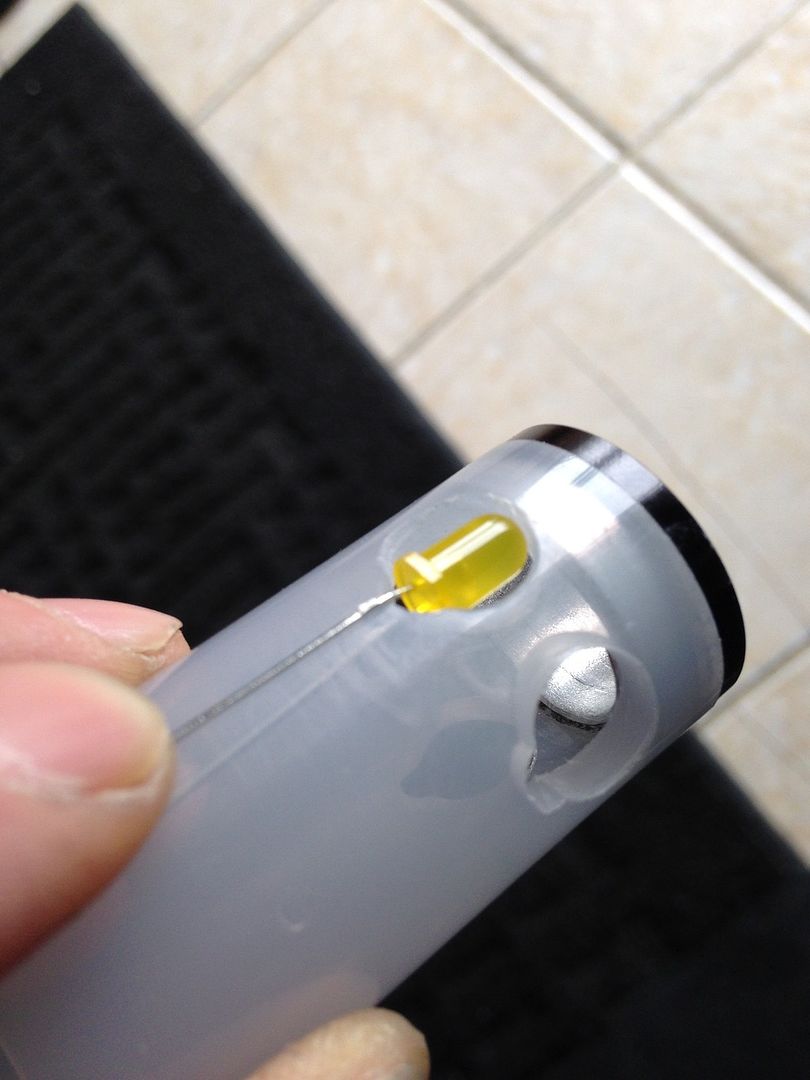
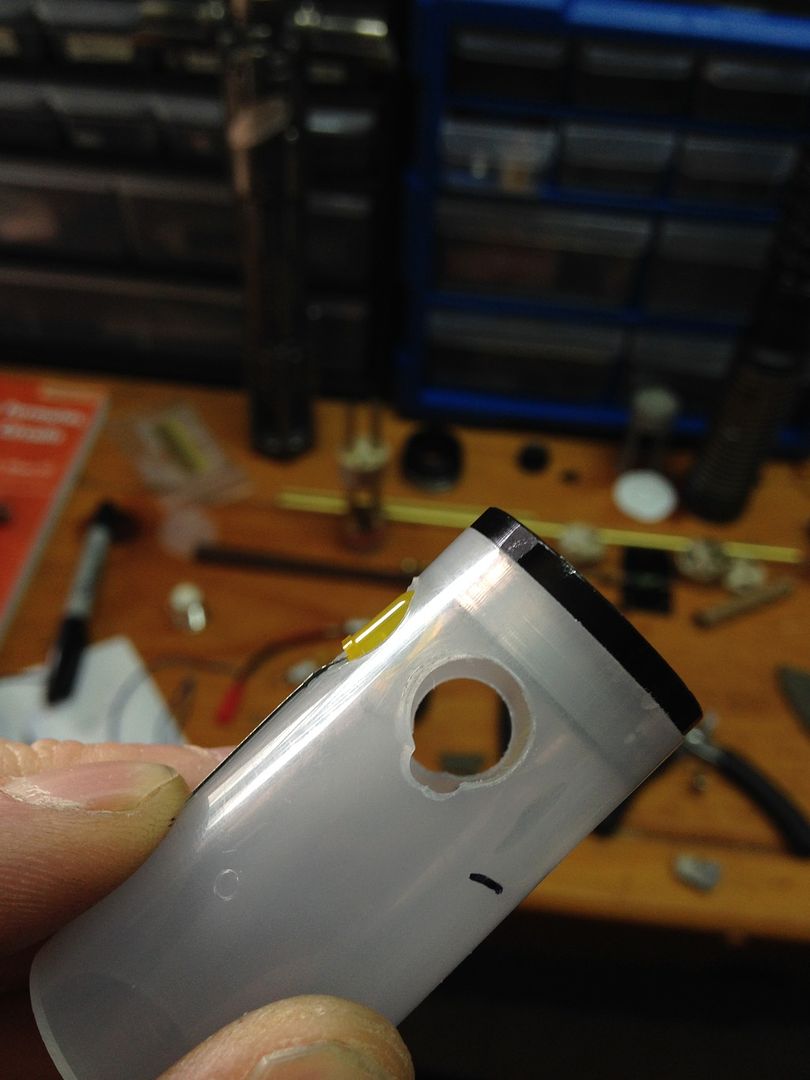
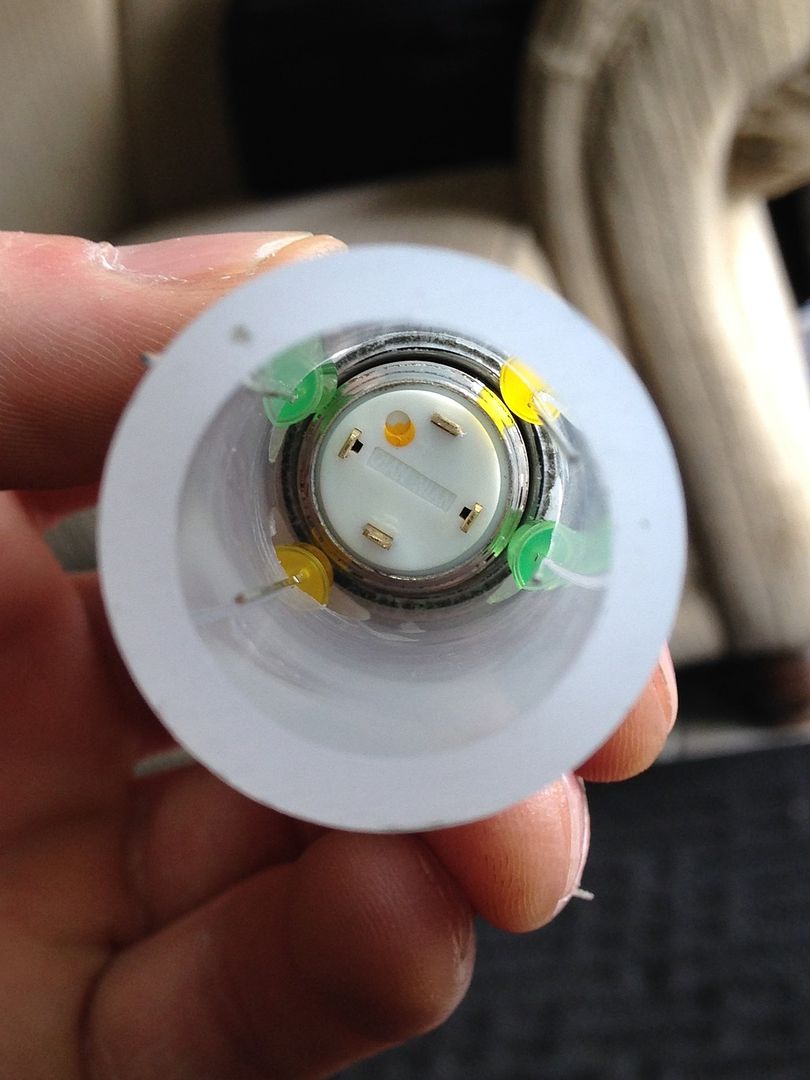
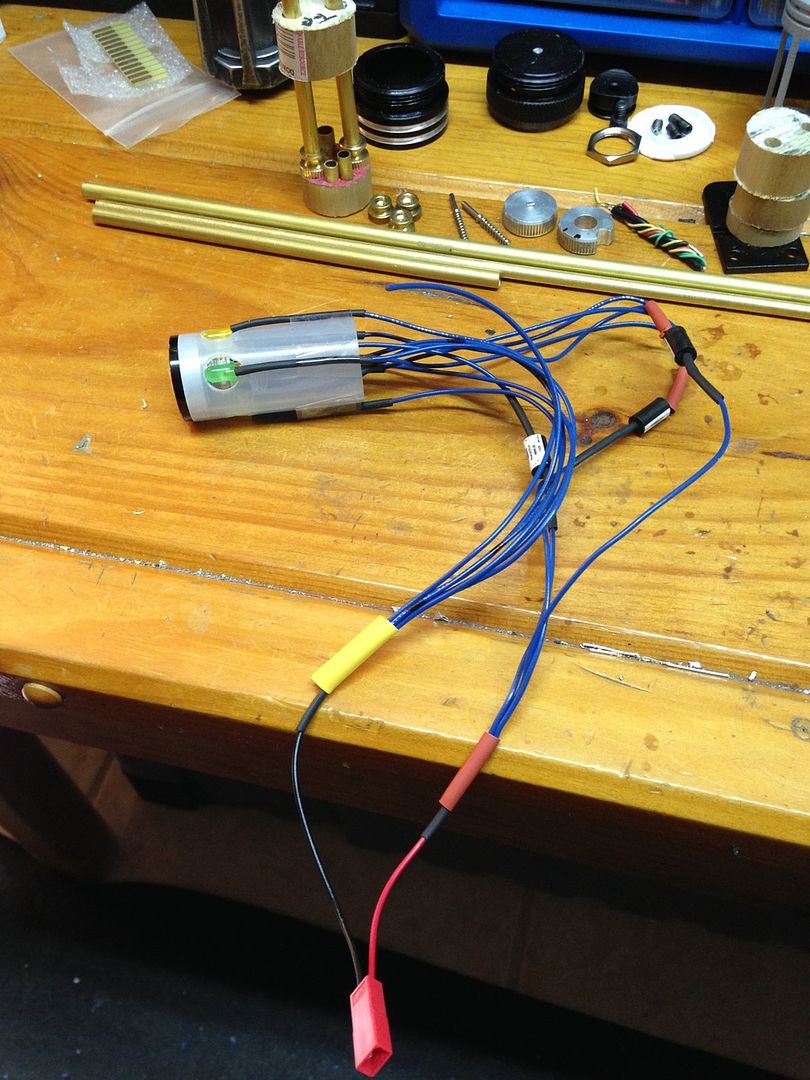
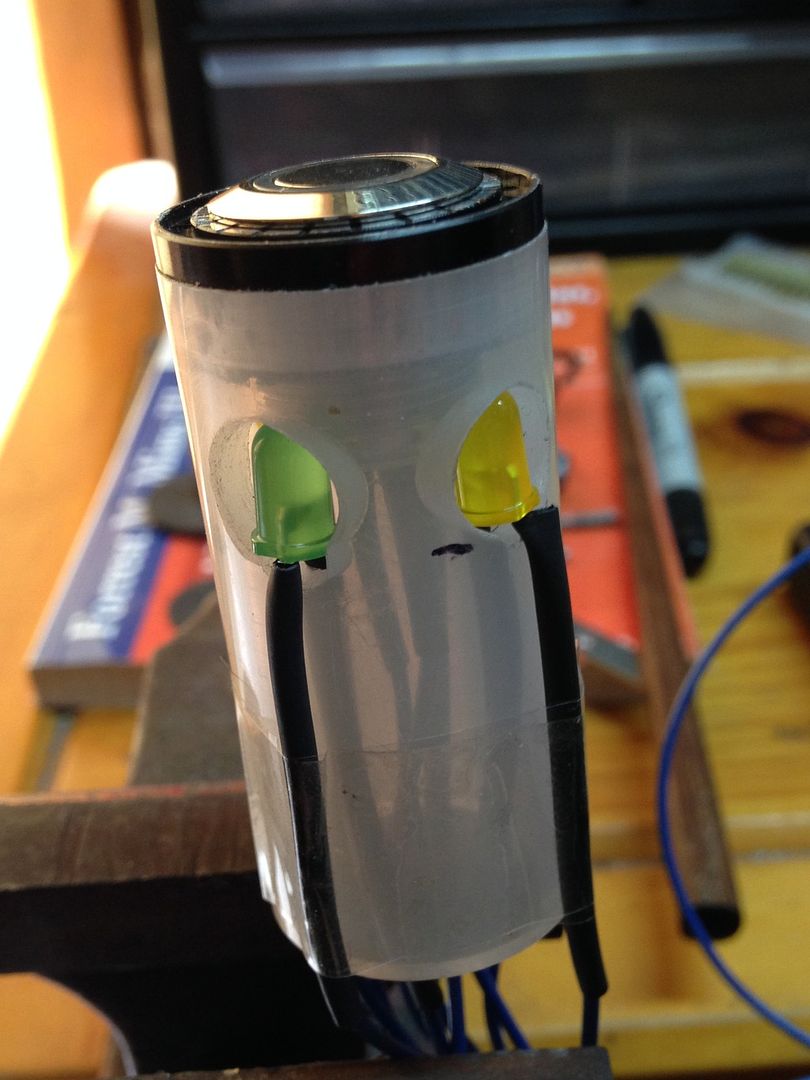
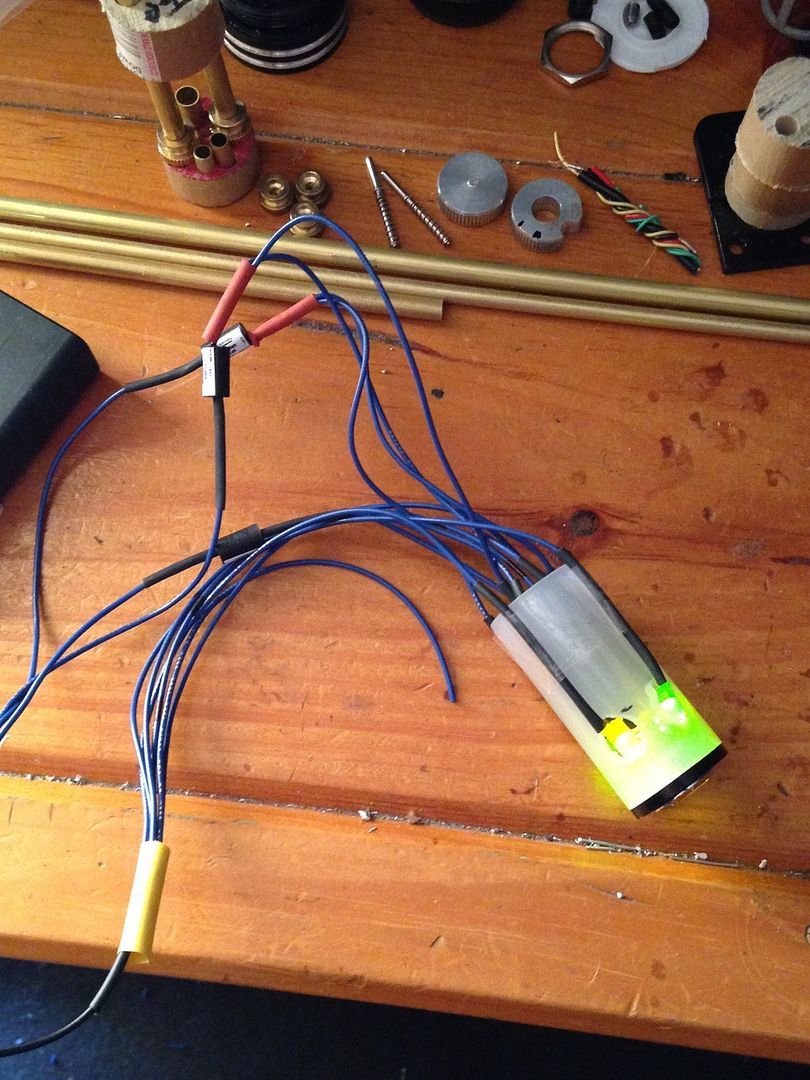
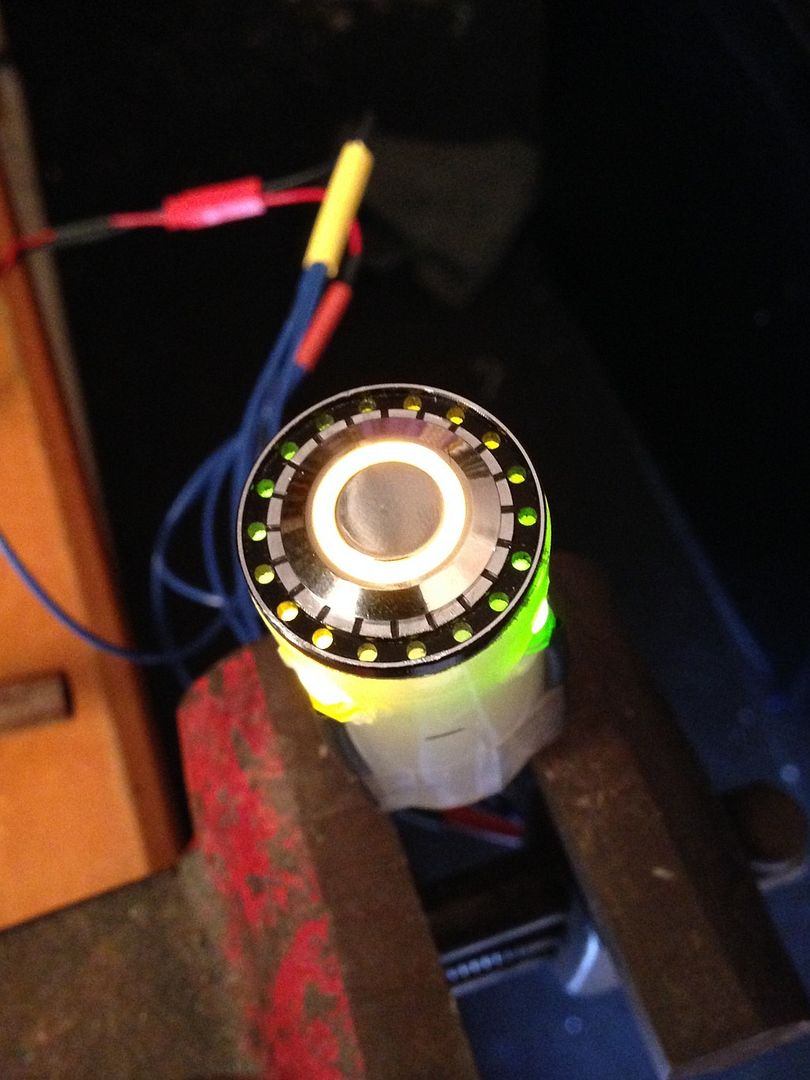
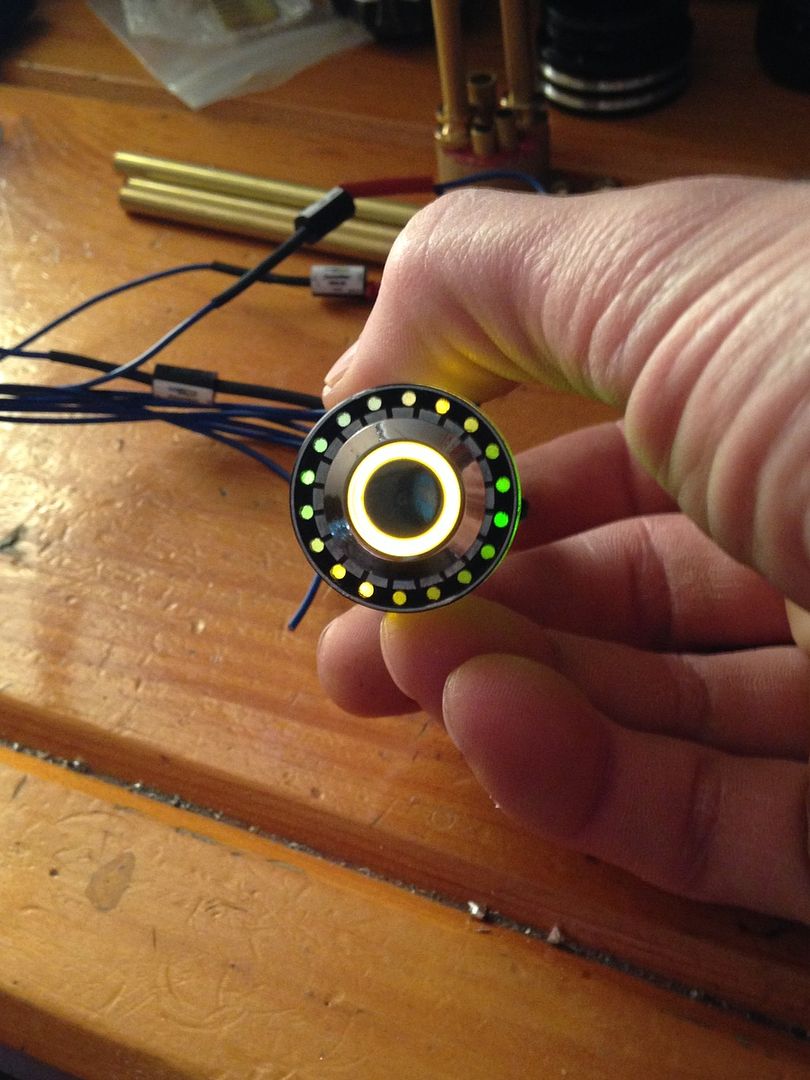
ok, now the only illuminated switches i had at time were momentary, which didn't matter at all for testing since only wring up it's led, but the only red ones i had were dots, and the actual switch i'll be using is a red ring illuminated black latching AV, so i figured i'd get best sense of the look by going with a yellow ring i had in testing. if this were a jedi saber i'd probably leave it at this here, especially if was yellow or green bladed- but since this sith saber's gonna have a red switch all day long, its a good thing that the whole point of ALL that stuff was merely to get a pattern of variation in the colour of the backlighting... so that when i add the real horse power of illumination, it goes like this (well, something like this, i'll def tweak/optimize it when i mount the real deal):
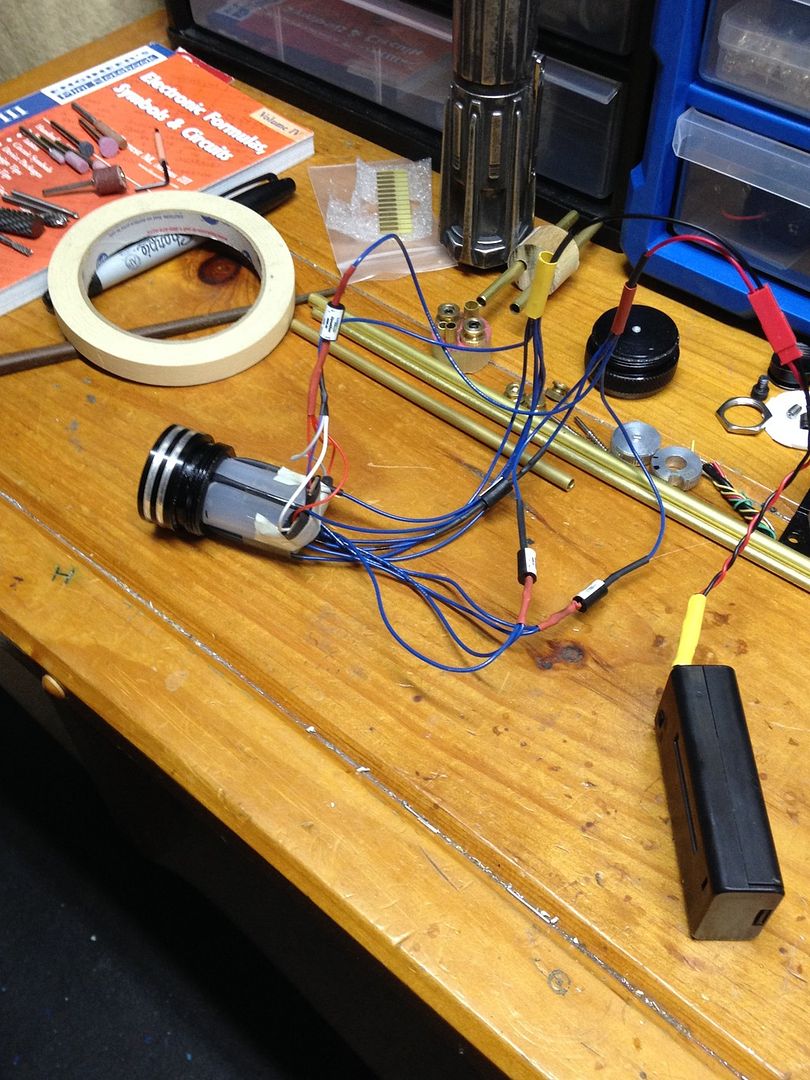
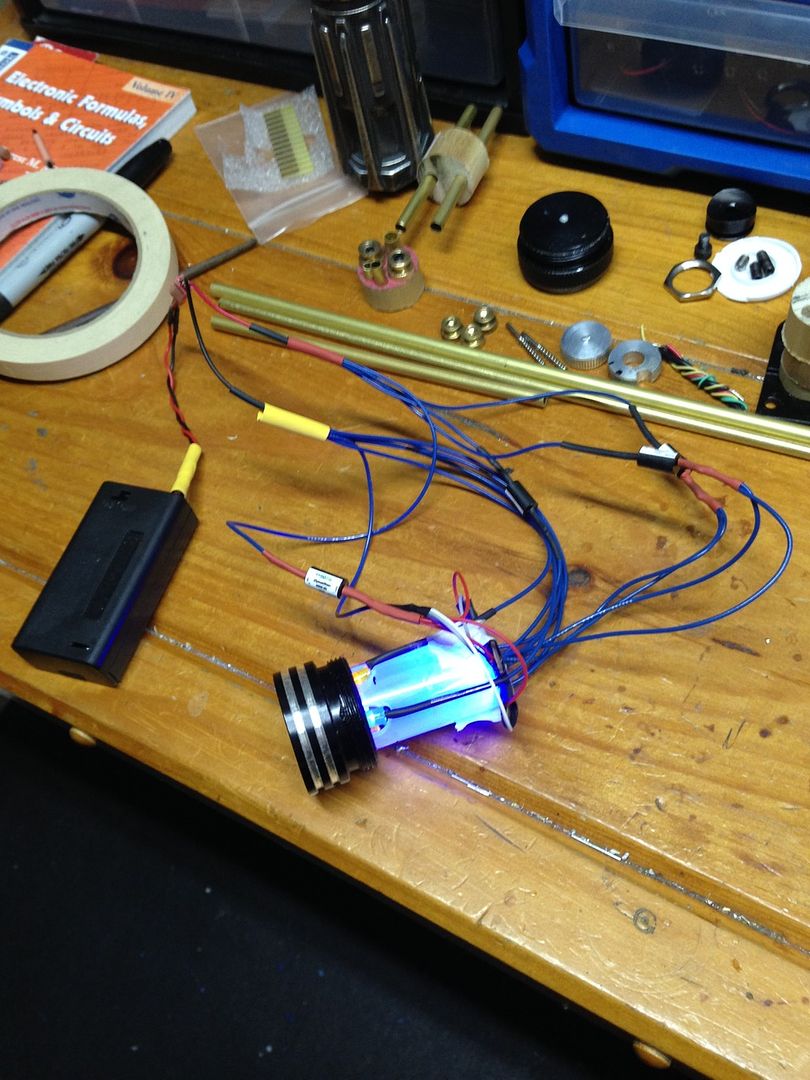
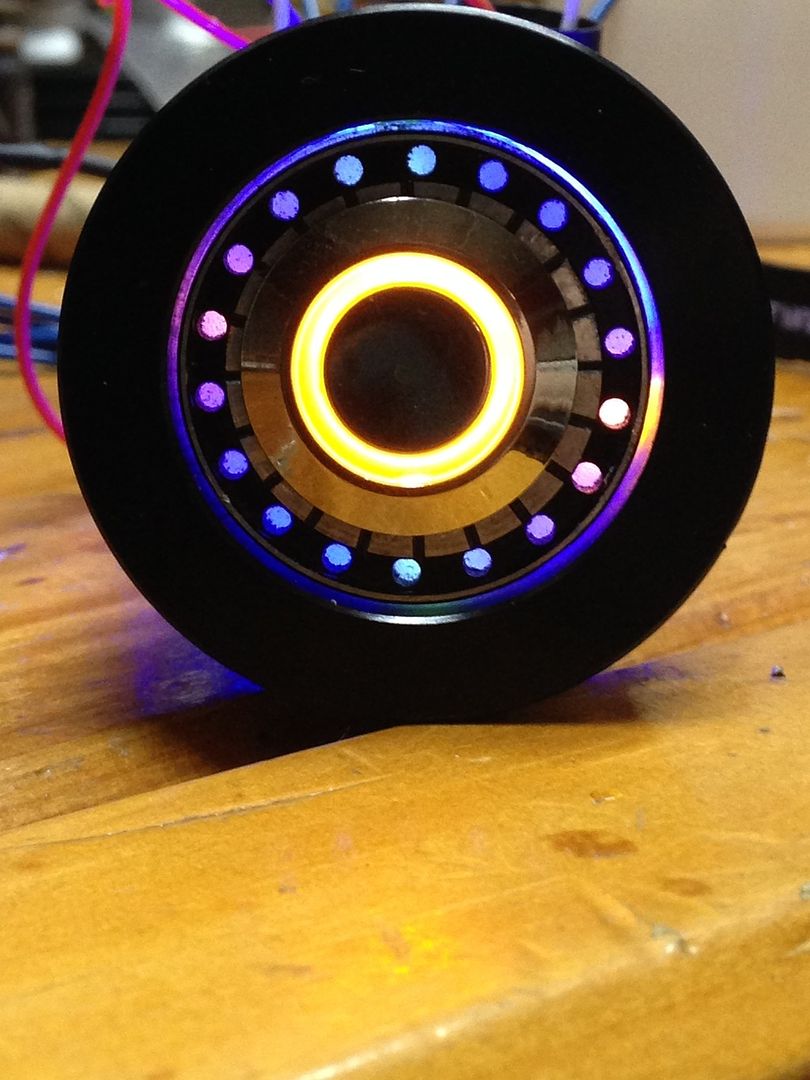
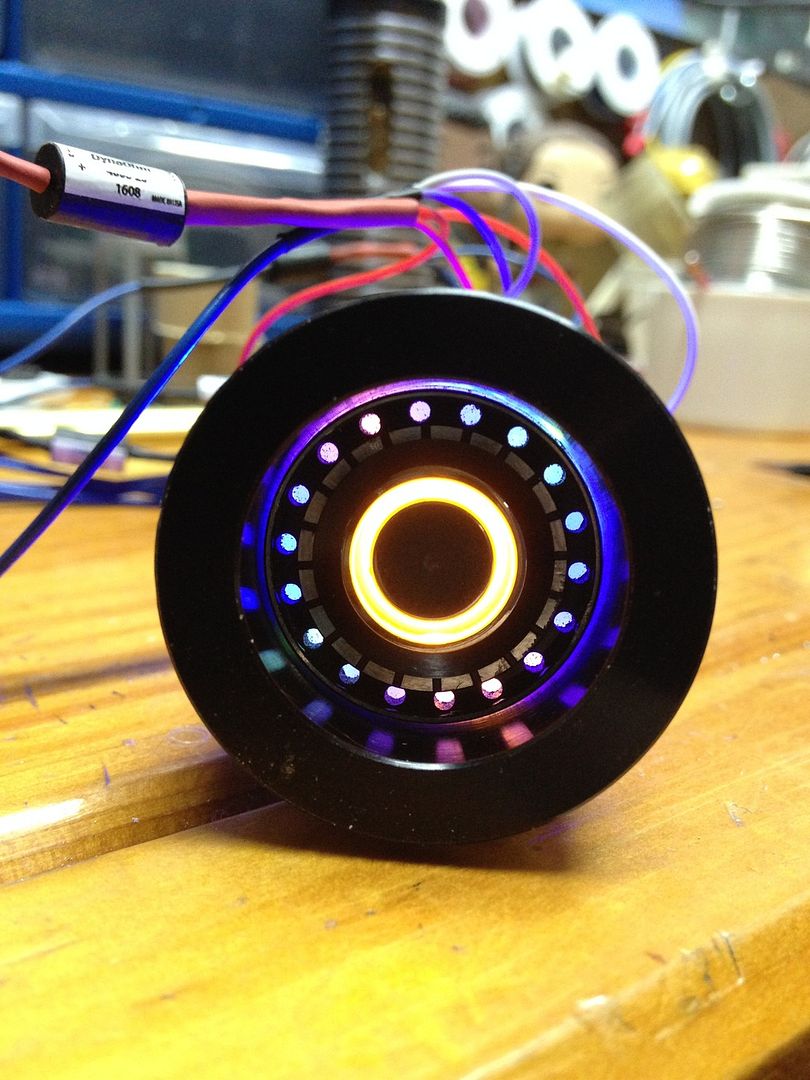
It is gonna be seriously challenging fitting this all in, but i can't wait! Also can't wait to finalize the look of the chamber with recharge port and kill key for switching to display mode. Ive wanted to get into that kind of thing for a while now so pretty pumped- Thanks again to Jed for sharing this wicked idea! keep you posted, MTFBWY

.
